Dark Wax Glaze on Raw Wood

I am always amazed at the versitility of Annie Sloan’s products! And something I would like to point out, is that at The Purple Painted Lady®….we don’t just retail these products- we seriously use them.  We push them, we pull them, we want to experiment with them- so when you havde a question- we have an answer based on experience!

One of the easiest ways to add richness and depth to a piece of furniture is with using Dark Wax to finish it!!! Dark Wax ages a piece and gives it a depth of richness compared to nothing else! This posts is specific to Annie Sloan products, but keep in mind- whatever is your product of preference- explore using Dark Wax like we show here.

Anyway…to focus back on track here-  Anne who is part of our team recently created a Dark Wax “glaze” with our Annie Sloan Soft Wax and Odorless Mineral Spirits.

This is Anne!  Fortunately, Anne has been part of our team for years now.  She has pretty much used Chalk Paint® by Annie Sloan for every home DIY project you can imagine.  Anne has painted her kitchen cabinets, bathroom vanity, baby’s crib, dressers, coffee table, her outside brick on her front porch, her mantle, her fireplace’s brick facade, and etc……….

Anne recently transformed a raw wood table we have in our Greece, NY location using Annie Sloan’s Dark Wax mixed with Odorless Mineral Spirits.  Anne mixed the two in equal amounts to thin the Dark Wax  to a “glaze” consistency.

Here is a close up of the table prior and the products Anne used.

Anne took a plastic spoon and scooped a couple tablespoons of Annie Sloan’s Dark Wax and placed them into a plastic cup.  She then pouredan equal amount  Odorless Mineral Spirits into the plastic container and mixed the two well.  This will cause the Dark Wax to not be so thick and work more like a stain.   The below photo shows the change on the raw wood after the initial application.  Anne use an inexpensive Chip Brush and brushed it on and then followed up with wiping off the excess using lint free Scott Shop Towels.

Here is an action shot of the wood leg with the Dark Wax “glaze” being applied.

Seriously- you have to try this technique if you have a raw wood project.  It is so easy and beautiful!  Here is the tabletop completed.

And- here is the table back in place at our Greece shop location.

SAVE this image to Pinterest to remind you of this technique!

BUY PRODUCT FROM …..THE PURPLE PAINTED LADY®:

Come visit us at 

EAST SIDE OF ROCHESTER (Our MAIN store!)  77 West Main Street in Macedon, NY 14502   OPEN Mon – Wed 10– 4, Thurs 11–7, Fri 10 –5 & Sat 10-4.…CLOSED SUNDAY

If you live out of NY state, if you have a local stockist- go visit them and build a relationship with them.  Go to them with your questions and project issues.  BUT- if you do not have a local stockist- we invite you to try our customer service!

As for buying any of the products we mentioned earlier in this post- I hope that you select The Purple Painted Lady® to be your one stop resource!  We have two locations in western NY.  Check out our Information tab and come and meet us!  Otherwise- if you are not located near me- the following information may apply to you.  
 
This information is directed to those who do NOT have a local stockist.  Because if you do – go and meet them, shop from them and build a relationship with them!!!   The guidance, information and knowledge they share with you – will be invaluable.  Get inspired by their shop that they lovingly curated – just for you!   Enjoy that one on one experience!  
 
But for those who are in a location where there is no one selling paint products- and you must buy on-line- consider us.  With that said, visit www.anniesloan.com to find a stockist near you.
 
We are here to help you, our customers!  We want you to be successful!  
 
SOME OF THE REASONS WE THINK THE PURPLE PAINTED LADY® CUSTOMER SERVICE IS THE BEST:
 
*  We love our customers and it shows!
*  We want you to be succesful the first time you use this product, so you fall in love with Chalk Paint® and tell all your friends about it!  So, with that said, we promise to provide you with all the “know how” information you need to be a DIY Warrior!
*  Ordering online?  If you order before 3 pm EASTERN TIME any day Monday thru Friday – we will ship out your package that SAME day.   We ship orders out every since week day all over the US.  (THIS IS DIFFERENT than SAME DAY DELIVERY. We do not offer that)
*  We offer low flat rate UPS shipping cost so if you are one town away or 10 states away- the shipping cost is the same.
*  We have awesome follow up customer service, too!


: )  And I will be here to help you as you progress through your future project!  And if I do say so myself- we offer the BEST customer service that you will ever experience!  Lastly- if I was helpful to you- ….please consider leaving a positive review on my Facebook business page sharing your positive experience or thoughts about The Purple Painted Lady®.  Here is a link to my Facebook page=> http://www.facebook.com/pages/The-Purple-Painted-Lady/291882785710    This really helps me!  (wink, wink!)
XO
Trish

The Purple Painted Lady® ~ the serial no. is 86/641,416 with the US Trademark Office


Paris Grey, Graphite and Coco Chalk Paint® Buffet

The Purple Painted Lady The Grateful Painter corner shot Buffet Chalk Paint General Finish GlazeThe Purple Painted Lady loves to share pieces that have been completed by her customers. One customer in particular, is Nikki Counahan. She is also know as The Grateful Painter.

Nikki,  “The Grateful Painter” has both a Facebook page HERE and an Instagram account HERE for you to check out.

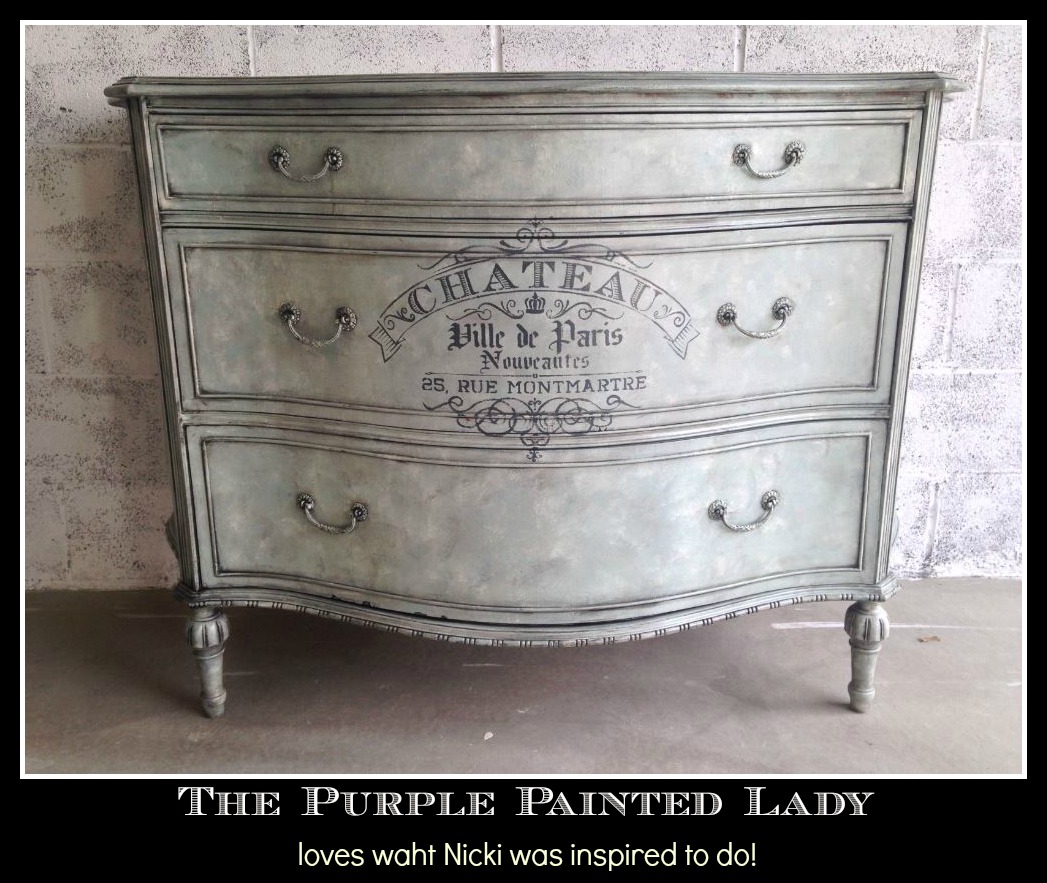
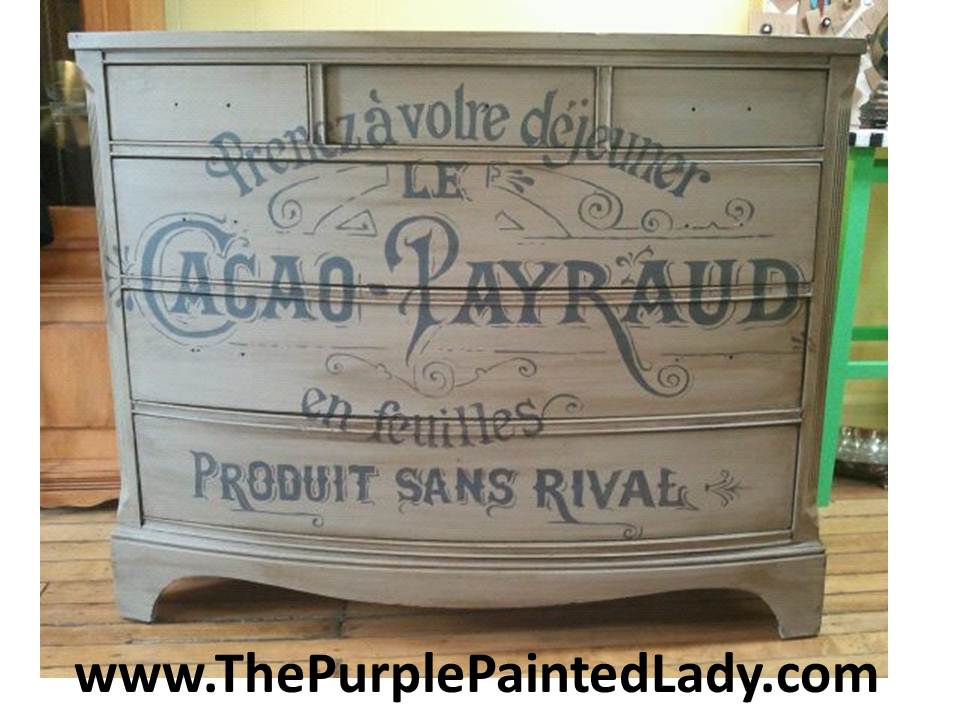
I asked Nikki to share some information about this buffet that she recently completed because I think it is helpful to understand how others use products and to learn from one another.   The Purple Painted Lady The Grateful Painter Logo

Here is the fantastic information Nikki shared with me:

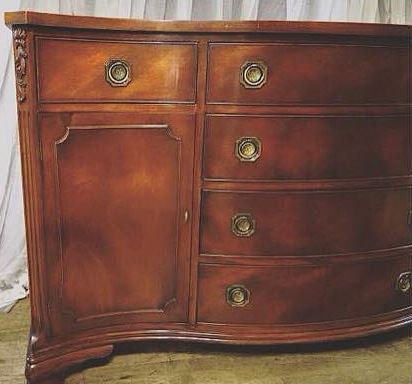
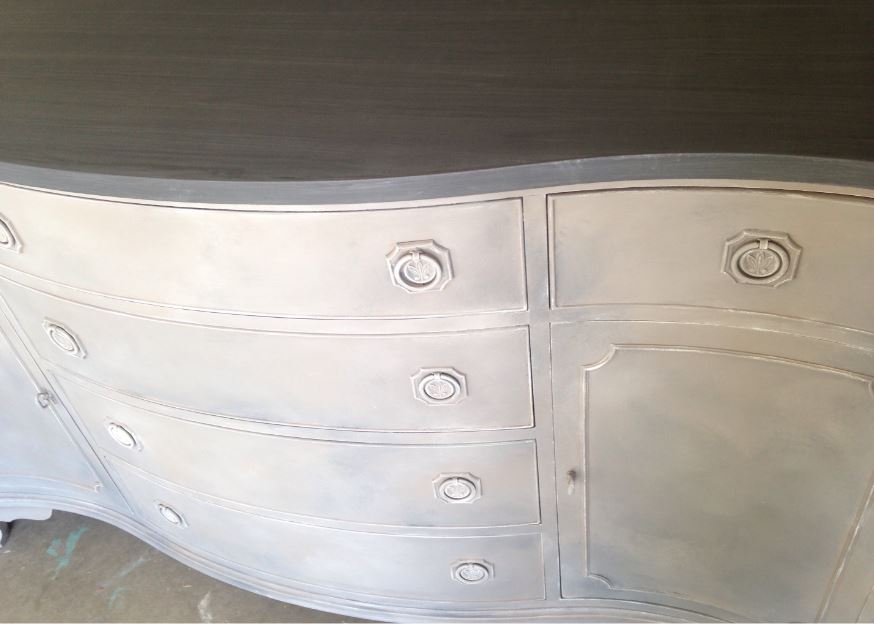
I bought this piece from an online auction. I spent more than I normally would on this buffet but I have always wanted to paint something like this so it was worth it!

The Purple Painted Lady The Grateful Painter BEFORE buffet fuller shot June

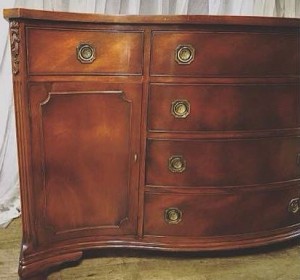
I am always so excited to start painting a piece as soon as I get it home but this one needed just a bit of prep work before I could dive in. Luckily it was in near perfect condition when I picked it up.

surform plane The Purple Painted Lady The Grateful Painter
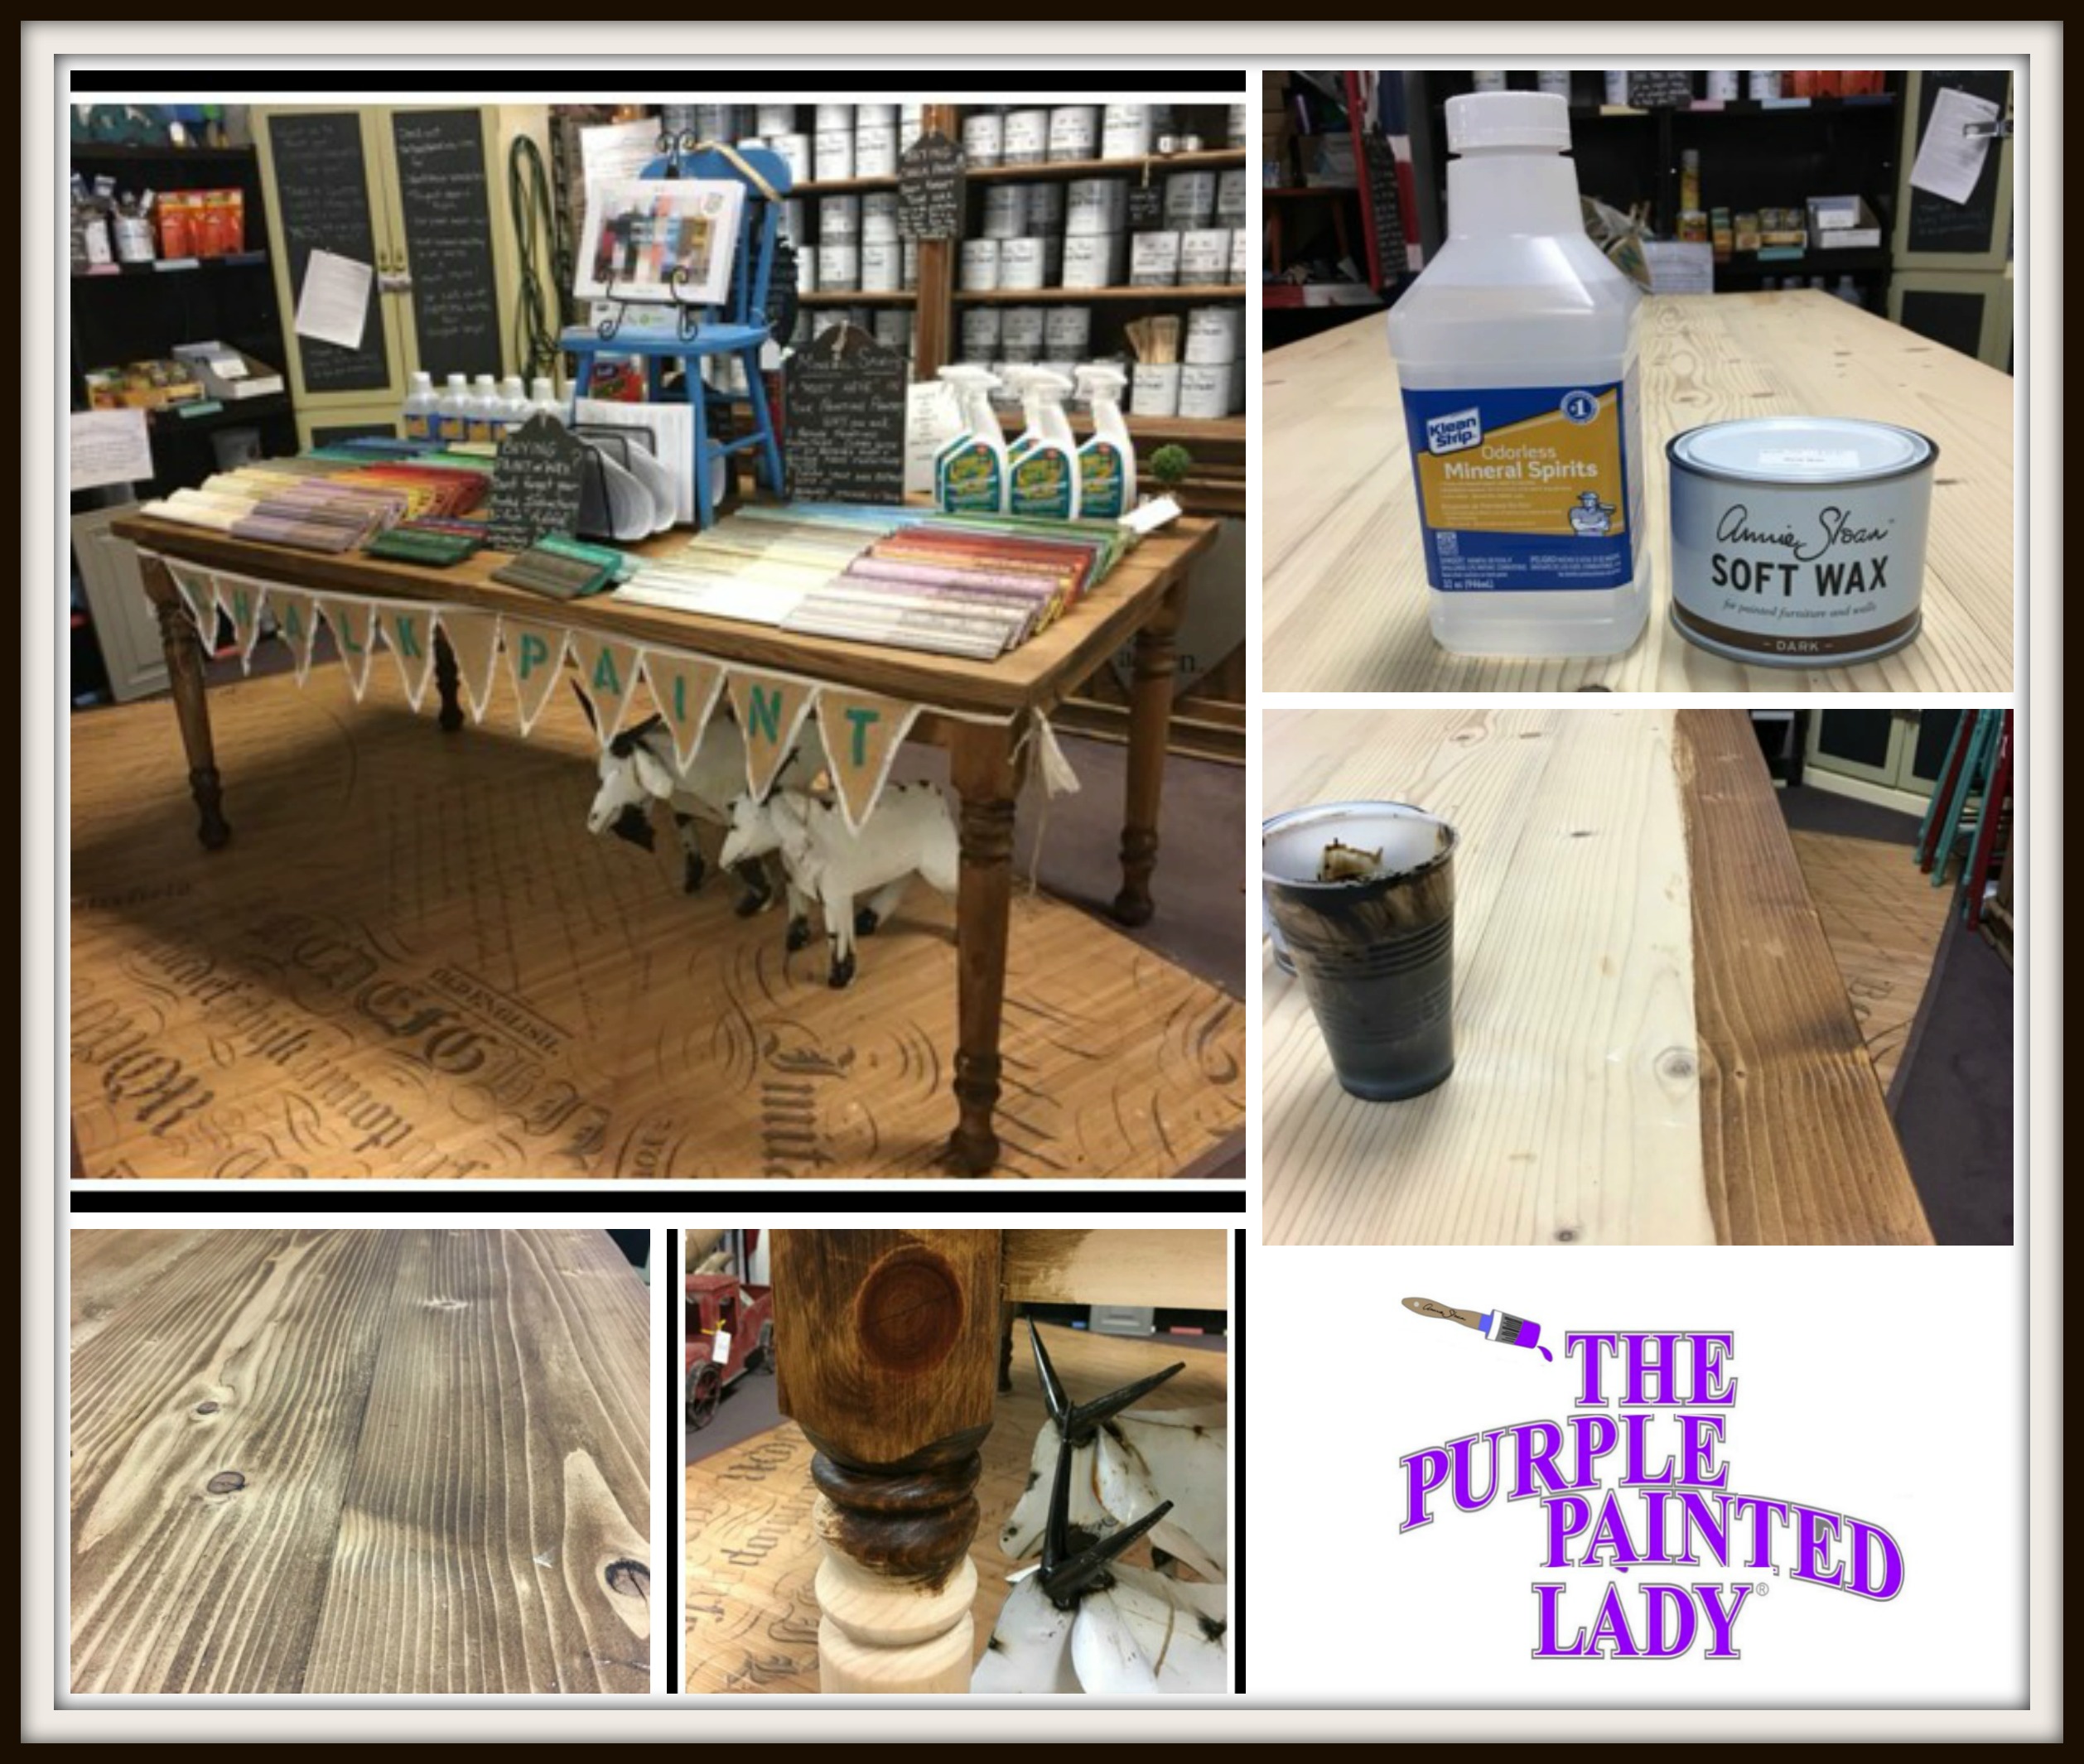
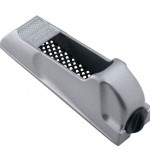
One of the cabinet doors was a bit tough to close– the top of the door just seemed to not fit into its space. I tried to adjust the screws in the hinges but it wasn’t budging. I have this handy dandy tool called a “surform plane” that I use in these situations. It basically shaves down the wood making it easier for doors and drawers to fit. Make sure to smooth the surface out with sand paper after using the surform plane otherwise it will be left a bit uneven.
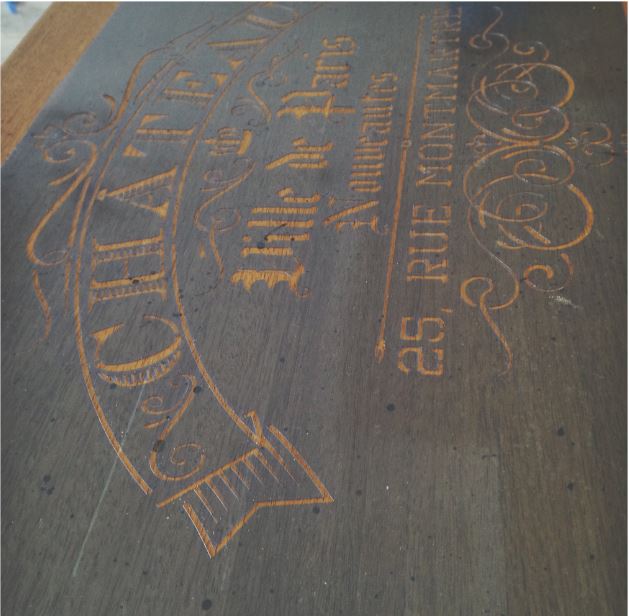
 

SHELLAC:

This piece was a very bright mahogany wood and I knew it was going to have MAJOR bleed through. Zinsser Bulls Eye Shellac is the quickest and easiest way to make sure you have NO bleed through.

Read this post HERE on The Purple Painted Lady website’s to learn more about using Shellac.

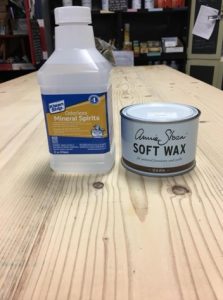
I ran sand paper over the entire piece just to rough up the surface, wiped it down with water and bit of mineral spirits, then let it dry before starting. I did two thin coats (of shellac) just to make sure the piece was completely covered. I lightly sanded with 120 grit sand paper before I applied the second coat. Let each coat dry for about an hour and make sure to dust off the piece after sanding! This is definitely an “extra” step but it is VERY important!! (per The Purple Painted Lady ~ sanding between coats of shellac will help prevent paint from crackling)

PAINT:

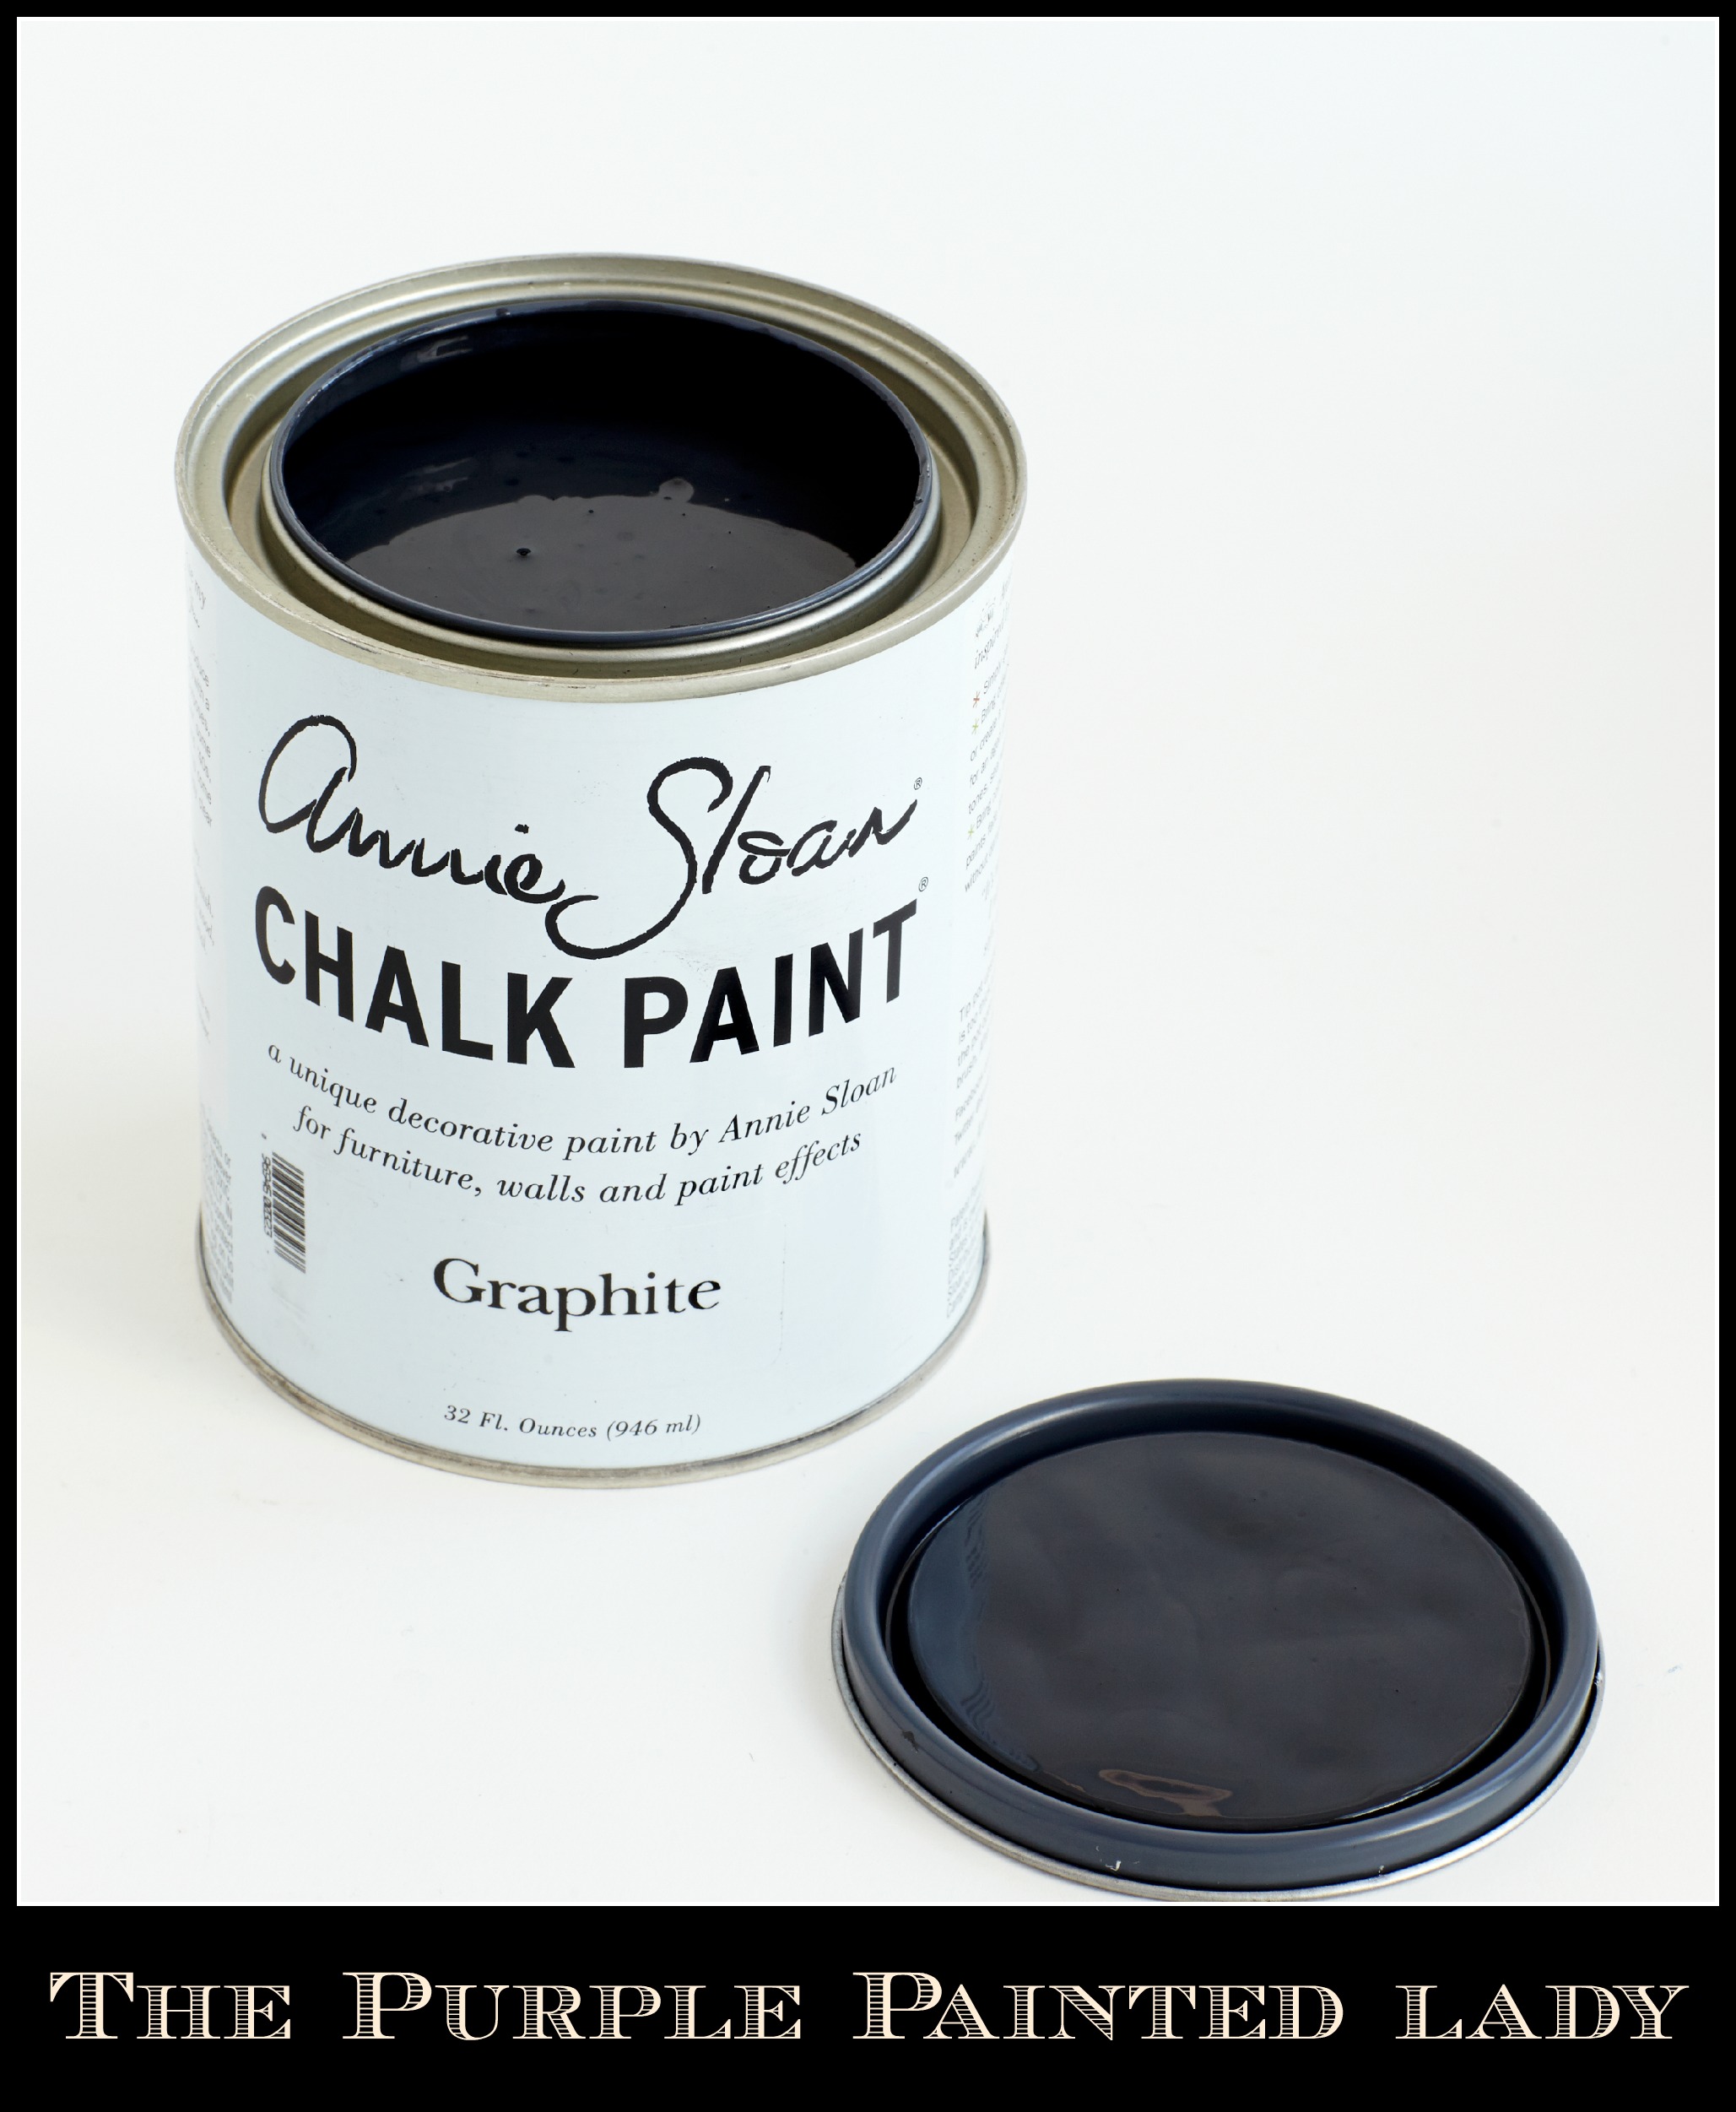
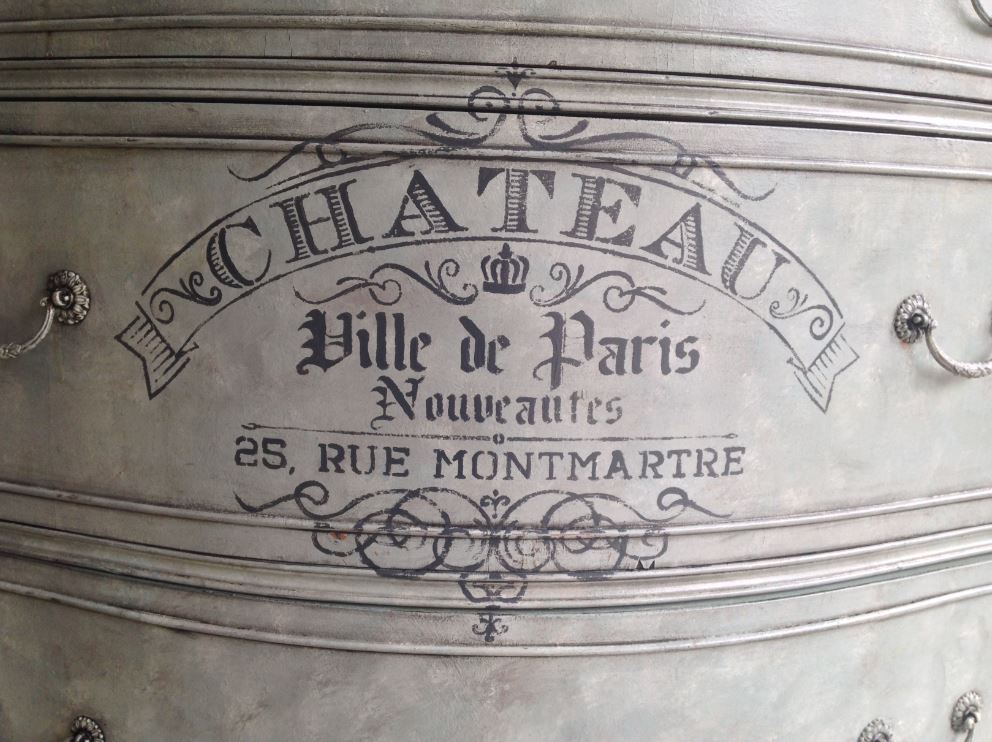
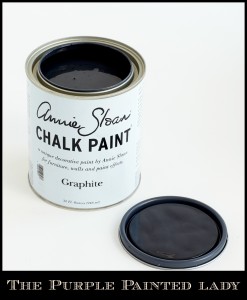
Once the shellac was dry I started by painting the body in two quick coats of Annie Sloan Coco and the top in two coats of Graphite.

The Purple Painted Lady Graphite Chalk Paint open lid Paris Grey  Sample Board

I ordered Annie Sloan Paris Grey from The Purple Painted Lady and I knew the color would compliment Coco perfectly!


Coco Sample Board - Copy


If you’re like me as soon as you get a new piece of furniture you want to paint it IMMEDIATELY and the best part about ordering from The Purple Painted Lady is her fast shipping. The paint was at my front door as soon as I was ready to paint!!

VERY HELPFUL HINT FROM THE GRATEFUL PAINTER ON HER PAINTING TECHNIQUE:

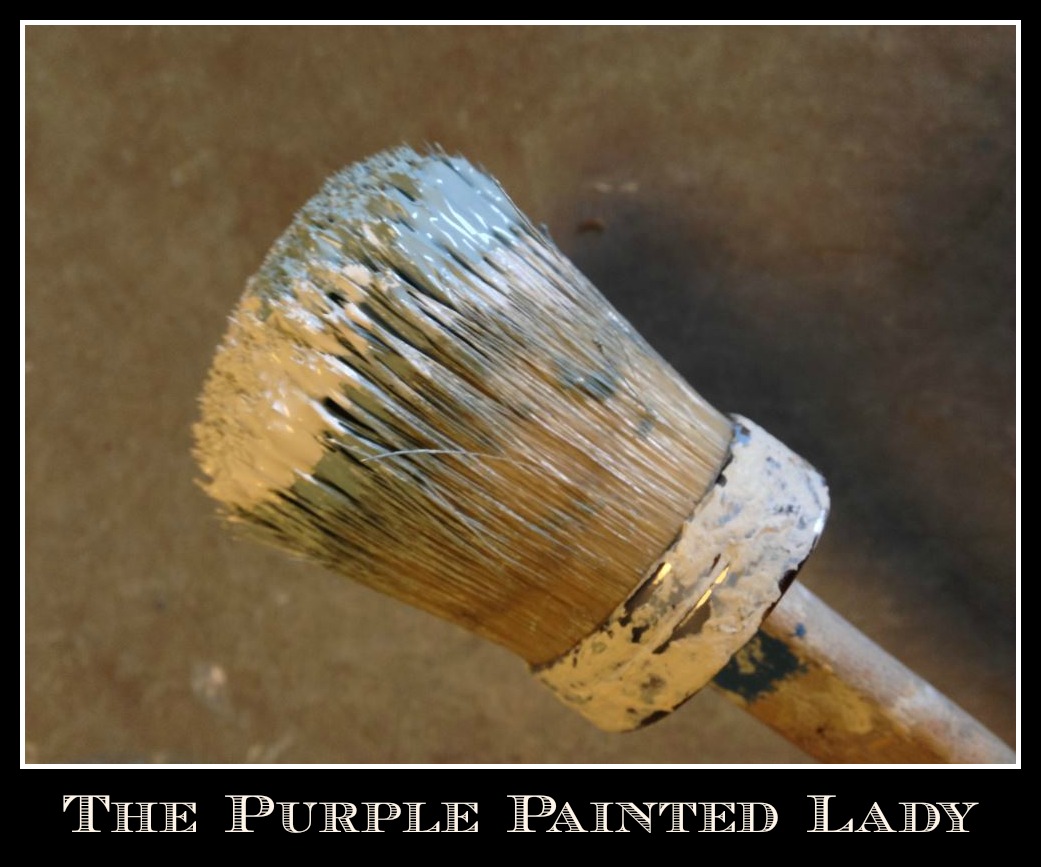
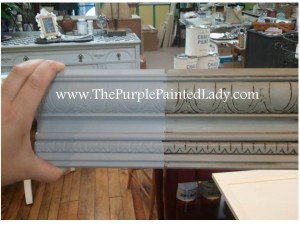
I poured a bit of Coco, Paris Grey and a mix of Graphite + Paris Grey on separate plates.

I lightly dipped each side of my brush in each color and then started painting. The technique I used was so simple!!!

I messily painted the colors on in every direction, blending them just enough that they didn’t look obvious. One coat of this technique did the trick.

DRY BRUSH:

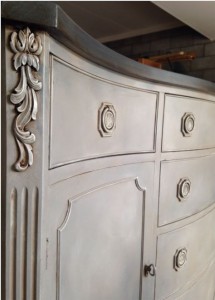
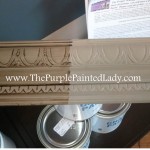
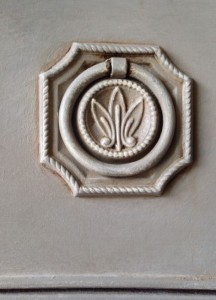
I wanted to highlight all of the pretty details on this piece so I dry brushed just a bit of Annie Sloan Old White. Barely dip the edge of the brush just on the surface on the paint and then wipe off the excess with a paper towel. You hardy want ANY paint at all on the brush! I lightly feathered the brush over the details until I was happy with the look.The Purple Painted Lady The grateful painter dry brush June Chalk Paint


APPLYING A WASH:

I decided that I wanted to add some dimension to the top of the piece as well so I mixed a wash with 50% Paris Grey and 50% water. I painted the wash over the top and let it sit for a minute or two before wiping it back. It was subtle but enough to add a bit of character.

READ MORE ABOUT CREATING & APPLYING A WASH HERE

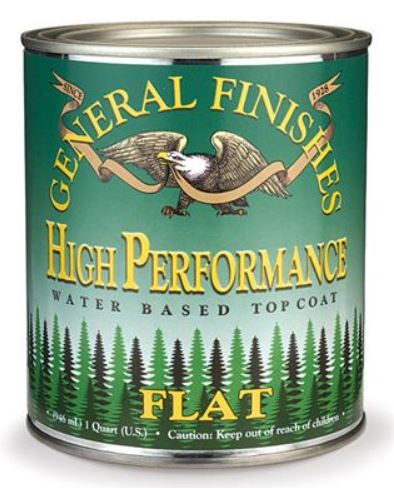
TOP COAT USED ON THIS PROJECT:

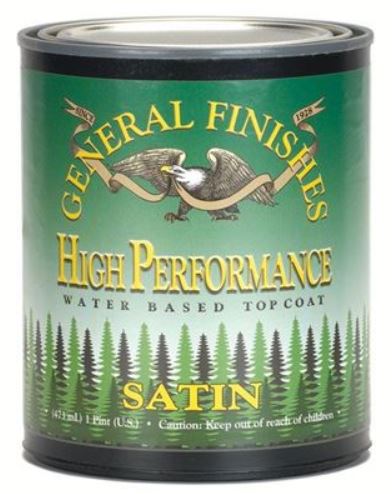
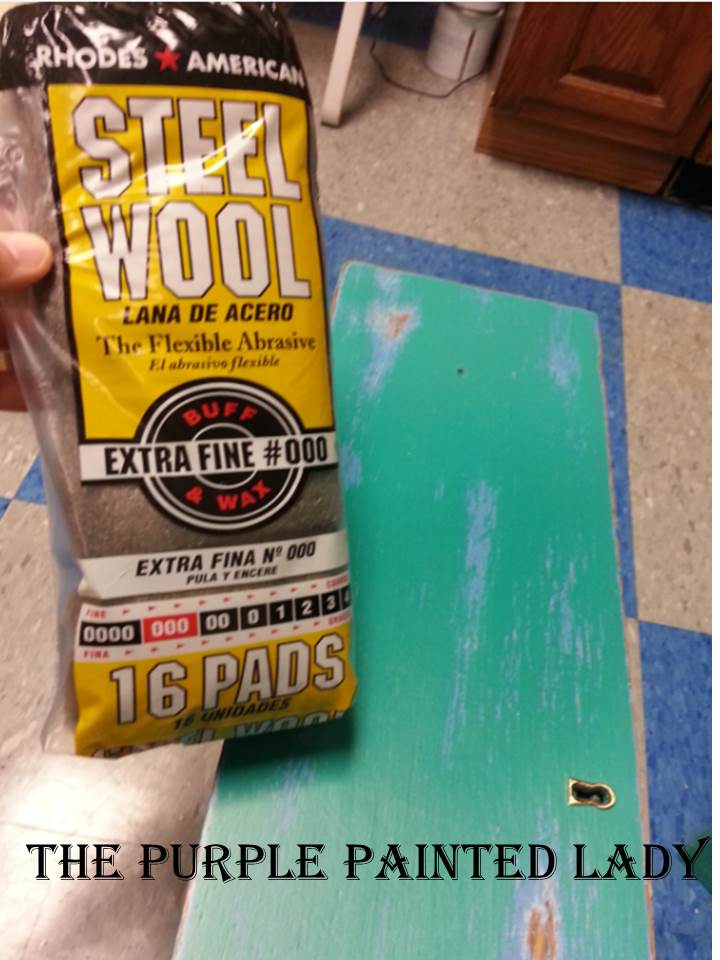
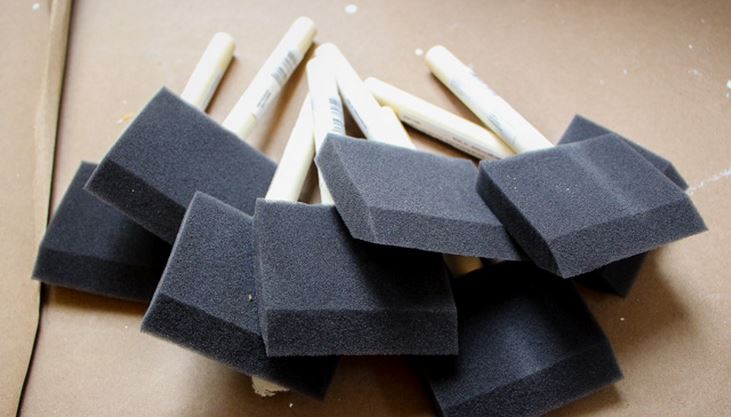
Next, I applied General Finishes High Performance Top Coat over the entire piece. General Finishes Satin The purple painted LadyI used a foam brush on the bottom half of the buffet to make sure I could get into the small grooves of the details. Its easy to see brush strokes in a sealant with any kind of sheen so I used a small foam roller for the top. I was able to achieve a smooth and seamless finish with this type of application. I applied two coats, sanding in between with steel wool.Steel wool


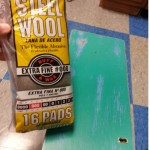
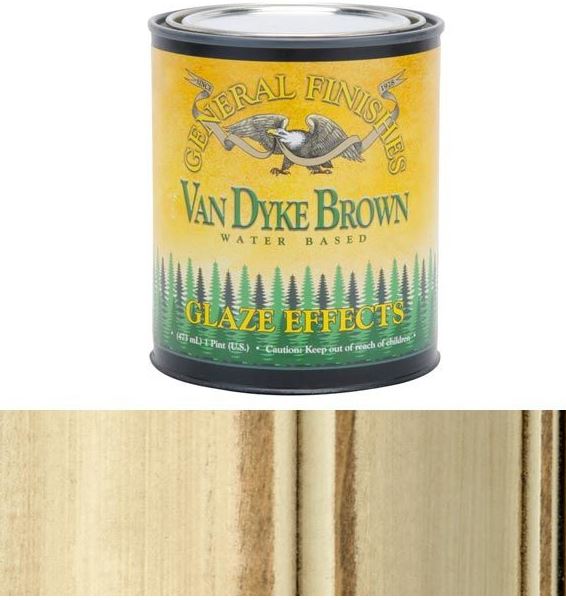
Once the top coat was dry I used General Finishes Glaze Effects in Van Dyke Brown.The Purple Painted Lady Van Dyke Brown Glaze General Finishes 
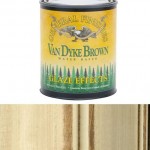
I chose brown glaze over black because I wanted to compliment/bring out more of the Coco rather than both of the grays. I applied the glaze with a foam brush just along the edges and in the details of the drawer pulls and appliqués.


Only glaze small sections at a time as it can get VERY messy! I painted it on and quickly wiped it off using an old t-shirt. This leaves the glaze only in the grooves and gives an aged look!

HELPFUL GLAZE SUGGESTION:

When using any type of glaze or wax to make a piece look antique I always use a bit over the entire piece, including the top.

The Purple Painted Lady The Grateful Painter Close up Hardware Van Dyke General Finishes Glaze June 2015

I painted on a thick coat of the glaze and let it sit for about 30 seconds before wiping it back. It left behind a very subtle look (hardly noticeable at all) but made the piece look more uniform. I let the glaze dry for about two hours before applying one final coat of General Finishes High Performance Top Coat in Satin.

The Purple Painted Lady The Grateful Painter FULL AFTER shot staged June


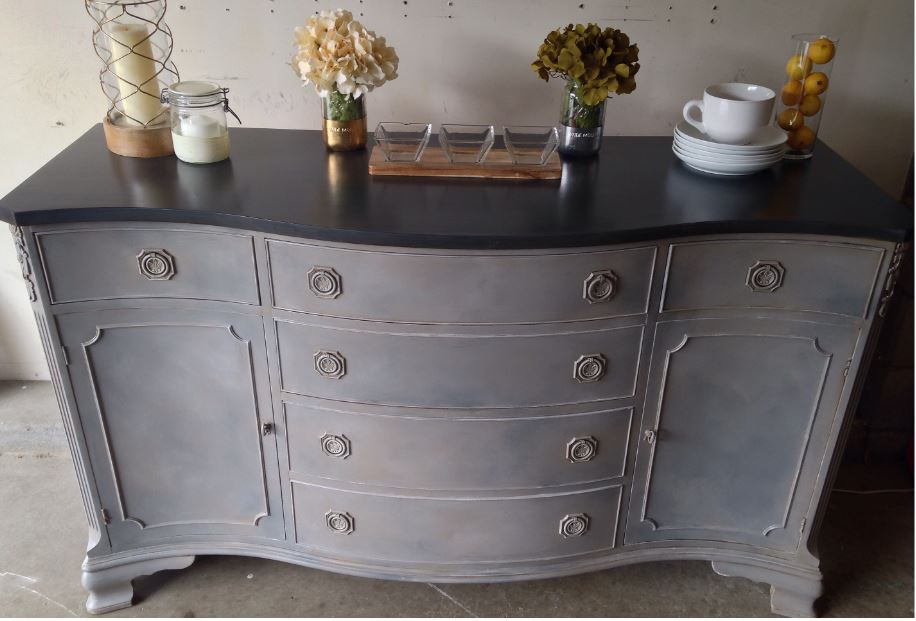
Nikki did a beautiful job on this buffet!  And you can too.


If you are interested in staying touch with The Purple Painted Lady- visit our Facebook page HERE – we would LOVE to hear from you and see your before & after photos!

BUY PRODUCT FROM THE PURPLE PAINTED LADY™:

As for buying any of the products we mentioned earlier in this post- I hope that you select The Purple Painted Lady™ to be your one stop resource!  We have two locations in western NY.  Check out our Information tab and come and meet us!  Otherwise- if you are not located near me- the following information may apply to you.  This information is directed to those who do NOT have a local stockist.  Because if you do – go and meet them, shop from them and build a relationship with them.  The guidance, information and knowledge they share with you – will be invaluable.  But, if you are in a location where there is no one selling paint products- and you must buy on-line- consider us.  With that said, visit www.anniesloan.com to find a stockist near you.
 
We are here to help you, our customers!  We want you to be successful!  And, just so you know, when you place an order with The Purple Painted Lady:
 
SOME OF THE REASONS OUR CUSTOMER SERVICE IS THE BEST:
 
*  We sell Chalk Paint® for $34.95
*  If you order before 3 pm EASTERN TIME any day Monday thru Friday – we will ship out your package that SAME day.
*  We ship orders out every since week day all over the US.
*  We offer the lowest flat rate UPS shipping cost so if you are one town away or 10 states away- the shipping cost is the same.
*  We have awesome follow up customer service, too!
 
 
And- it is my paint sales that keep me in business and allow me to be here to help you.  (my shameless but honest plug)    Here is a link to our on-line shop=>   http://shop.thepurplepaintedlady.com/
: )  And I will be here to help you as you progress through your future project!  And if I do say so myself- we offer the BEST customer service that you will ever experience!Lastly- if I was helpful to you- ….please consider leaving a positive review on my Facebook business page sharing your positive experience or thoughts about The Purple Painted Lady.  Here is a link to my Facebook page=>  http://www.facebook.com/pages/The-Purple-Painted-Lady/291882785710    This really helps me!  (wink, wink!)
XO
Trish

The Purple Painted Lady™ ~ the serial no. is 86/641,416 with the US Trademark Office

VISIT our locations too!

our MAIN STORE at 77 West Main Street in Macedon, NY 14502

OR

3200 West Ridge Road in Rochester, NY 14626 (The Shops On West Ridge)

Chalk Paint® and General Finishes Products- Stunning Piece by Nicki!

The Purlple Painted Lady loves a good “Before & After” story.
 
Here is one worth the time to check out that was done by Nicki.  Nicki has a Facebook page called The Grateful Painter.  Hop on over to her Facebook page and show her some LOVE by LIKING it-  it will be worth your time because she is very talented and puts a new spin on using Chalk Paint®.
 
The Purple Painted Lady General Finishes Glaze High Performance Chalk Paint Nicki whole dresser
 
Nicki wrote me saying one of her favorite Annie Sloan colors is Duck Egg.  And The Purple Painted Lady totally agrees because it is a universal pretty color.
 
CHALK PAINT® COLORS USED:
 
Nicki wanted to try a “faux finish” with Duck Egg– so this is what she wrote me:
 
I chose Annie Sloan Old White and French Linen to compliment it.  
 
 
Duck Egg Blue Sample Board Annie Sloan Chalk Paint  The Purple Painted Lady
French Linen with both Clear and Dark Wax Sample Board - Copy
Old White Sample Board - Copy
 
PAINT BRUSH USED AND PROCESS:
Annie Sloan’s paint brush works well for this technique because it has a bit of a “domed” flat top.
 
The Purple Painted Lady small Annie sloan Chalk Paint brush domed top
 
First, I poured a small amount of each color onto separate paper plates.  
 
(Paper plates, wet wipes, plastic spoons- have lots of these in your “painter’s tool box.”)
 
This is important because you only need a small amount of paint on your brush (and clean up is a breeze… just toss the plates in the garbage when you’re done!). 
 
I dabbed a bit of each color on my brush at the same time and kind of stippled it into the wood. Rather than brushing it on where you use the sides of the brush in a swiping motion- instead I used the top of the brush and a stabbing motion (that sounds kind of scary!). (think of stipplingor pouncing like when you are stenciling)
 
It took about two “coats” of this technique to cover the piece.  I even painted right over the drawer pulls!   
 
Once it was dry I used steel wool to slightly soften the paint.  I didn’t use sand paper because it was important for me to keep the texture created from stippling. 
 
TOPCOAT:
I sealed the piece with three coats of General Finishes High Performance Top Coat using a Foam Brush.  I like using a foam brush because there are literally NO brush stokes!!! 
 
General Finishes FLAT Top Coat The Purple Painted Lady
 
Once the top coat was dry-  I added the glaze.  I chose General Finishes Glaze Effects in Pitch Black.  (ps The Purple Painted Lady sells this)
 
Run a foam brush along the edges (only do small sections at a time.. NOTE!!! This can get messy!) and then wipe away the excess using an old t-shirt. 
 
The Purple Painted Lady Foam Brush General Finishes
 
 
This product spreads easy so a little goes a long way!  After wiping most of the extra glaze off I buffed the rest into the surface.  The small crevices created while painting grab a hold of the glaze giving it an “antique” look.  This product is quite fool proof!  It may look intimidating but if you feel like there is too much on your piece just wipe it off with a wet rag (I did this a lot with this piece!)  Make sure to put the glaze into every corner, along each line and in every little crevice!  
 
INSPIRATION:
I had seen a dresser that Tricia, The Purple Painted Lady had posted with big gorgeous lettering on it.  (HERE IT IS)
 
CoCo dresser with Dark Wax and email
 
In fact- if you want to read on how The Purple Painted Lady created the dresser immediately above- click HERE.
 
When I say it was gorgeous, i mean GORGEOUS!!  She inspired me to try a bit of stenciling.  I ordered mine on Etsy from a shop named Drexart for only $35! 
 
The Purple Painted Lady Nicki Counahan  Raw Stencil
 
Not only are her designs beautiful, she changed the wording for me and emailed me samples before sending it out! 
 
The Purple Painted Lady Nicki Counahan  2 CLOSE UP
 
Finishing the GLAZE PROCESS & STENCILING:
Let your glaze dry overnight before using your stencil.  I applied stencil adhesive that I bought from a craft store— this made it so much easier!  I taped the edges (use blue painter’s tape, NOT masking) onto the piece just to make sure it was extra secure. 
 
Next, use a flat top sponge and dap it into your paint (I used Annie Sloan Graphite).  It is important to have VERY LITTLE paint on the sponge (bleed through happens when there is too much paint!).  I lightly dabbed the sponge onto my stencil and then removed the it promptly after.  This gave me time to clean up the bit of bleed through I had while the paint was still wet.  I found these amazing little Qtips in the beauty aisle that have a pointed end and they were PERFECT for evening out the lettering.  This piece had a lot of wood detailing between the drawers so the scrolls from the stencil were definitely not perfect!  I used a tiny paint brush to fill in the details where the stencil couldn’t reach.   Once I was happy with the finished product I let the piece dry overnight and then added one last coat the General Finishes High Performance Top Coat to seal in the glaze and Chalk Paint from the stencil. 
 
LESSON LEARNED:
If I share any advice on Chalk Paint with a new painter it would be to JUST GO FOR IT!  One of the things I love most about Annie Sloan Chalk Paint is that it is so easy to wipe away or paint over.  Using simple techniques like distressing, waxing and glazing has camouflaged so many of my screw ups and made them look intentional!  Don’t be afraid to ask questions!  There are a ton of experiences painter like Tricia, The Purple Painted Lady on Facebook forums that love to help newbies!  Be confident, have fun, and enjoy what you are doing!  The most beautiful pieces I’ve seen are from people that genuinely love what they do!!
 
Here are some additional STENCIL TIPS from The Purple Painted Lady:
Get paint on the brush and then blot some off…remember we are stenciling and do not want to have that much paint on our brush that it squirts under the stencil. Then with a vertical up and down motion- I blot the stencil. When it comes to stenciling- here are some tips to help you:

Stenciling Tip 1: Use a Professional Tool
Stenciling brushes are round with short, stiff bristles. Use it in a quick up-and-down movement to dab paint onto your stencil. This helps prevent paint getting under the edges. Never apply in a circular motion. A sponge or small roller works well too, but I prefer the brush.  As Nicki stated above, Annie Sloan’s domed top brushes are ideal also.

Stenciling Tip 2: Work from The Outside In

Start panting on the edges of the stencil, working into the center, rather than from the center outwards. Again this helps prevent paint getting under the edges as you’re less likely to accidentally bump the brush against an edge.

Stenciling Tip 3: Less is More
Don’t overload a brush with paint as it will bleed under the edge of the stencil. Load the brush lightly, so that the ends of the bristles are covered evenly- blot or wipe off any excess on a piece of paper or cloth.

Stenciling Tip 4: Think Thin
You will get better results by applying two thin coats rather than one thick one. Wait for the first to dry before applying the second. Do not remove your stencil until you are absolutely sure you are done.

Stenciling Tip 5: Get Sticky
Keep a stencil in place by taping it at the top and bottom with a piece of tape. Painter’s Tape works best as it’s very easy to remove and should not pull off any paint from the surface.

Stenciling Tip 6: Go Multi-Colored
To use more than one color in a stencil, use tape to mask off areas of the stencil you don’t want in a particular color so you do not forget and get carried away with the wrong color.

Stenciling Tip 7: Practice Makes Perfect
If you’re using various stencils together, first try it out on a piece of paper. It’s far easier to find out that something isn’t working at this stage versus having to try to correct it when you’re painting on your final surface.

Stenciling Tip 8: X-rated Stencils
Old x-rays are great for cutting stencils, so if you were unfortunate and have some – put them to good use.

Stenciling Tip 9: Wash Regularly
If you’re doing a repeat design, wash your stencil regularly in warm water to keep the edges free of paint. If there’s some paint on an edge, you won’t get a crisp edge to your painted stencil. As paper stencils don’t lend themselves to washing, acetate stencils are better for repeat designs. With a paper or card stencil, wipe off the excess paint, then leave the stencil for a bit so the paint on it dries, before using it again.

Stenciling Tip 10: Store stencils Flat
A stencil, obviously, needs to be flat to be usable. To stop it from buckling, put it between two pieces of cardboard and store it somewhere flat.


The Purple Painted Lady is so proud of Nicki (The Grateful Painter) and what she accomplished!  I am also honored that she shared with me that a piece I did inspired her.
 
When her and I started to correspond- it made me think about a video I saw on how sometimes- there are things we do, say or an event we participate in- that in general – is something we process in our history and just an ordinary moment.  But, to someone else- that “moment” could have impacted them in a great way.  Hopefully- the way we impact people is always for the better.  I watched a quick video the other day about basically just this.  It was called a “Lollipop Moment.”  If you have a second and want to see it – check it out HERE.
 

BUY PRODUCT FROM THE PURPLE PAINTED LADY™:

As for buying any of the products we mentioned earlier in this post- I hope that you select The Purple Painted Lady™ to be your one stop resource!  We have two locations in western NY.  Check out our Information tab and come and meet us!  Otherwise- if you are not located near me- the following information may apply to you.  This information is directed to those who do NOT have a local stockist.  Because if you do – go and meet them, shop from them and build a relationship with them.  The guidance, information and knowledge they share with you – will be invaluable.  But, if you are in a location where there is no one selling paint products- and you must buy on-line- consider us.  With that said, visit www.anniesloan.com to find a stockist near you.
 
We are here to help you, our customers!  We want you to be successful!  And, just so you know, when you place an order with The Purple Painted Lady:
 
SOME OF THE REASONS ARE CUSTOMER SERVICE IS BEST:
 
*  If you order before 3pm EASTERN TIME anyday Monday thru Friday – we will ship out your package that same day.
*  We ship orders out every sincle week day all over the US.
*  We offer the lowest flat rate UPS shipping cost so if you are one town away or 10 states away- the shipping cost is the same.
*  We have awesome follow up customer service, too!
 
 
And- it is my paint sales that keep me in business and allow me to be here to help you.  (my shameless but honest plug)    Here is a link to our on-line shop=>   http://shop.thepurplepaintedlady.com/
: )  And I will be here to help you as you progress through your future project!  And if I do say so myself- we offer the BEST customer service that you will ever experience!Lastly- if I was helpful to you- ….please consider leaving a positive review on my Facebook business page sharing your positive experience or thoughts about The Purple Painted Lady.  Here is a link to my Facebook page=>  http://www.facebook.com/pages/The-Purple-Painted-Lady/291882785710    This really helps me!  (wink, wink!)Thanks so much to Nicki and you for taking the time to visit our page!
XO
Trish


Cleaning Furniture & Cabinets Before Painting

I think we all scavenge Craigslist for incredible finds and sometimes we find the most gorgeous piece- minus all the crud covering it. Or- it is just a piece that needs to be cleaned prior to painting. And I always recommend cleaning down cabinetry in the kitchen, bath, or laundry room prior to painting. No matter the painting occasion, this is what I do at The Purple Painted Lady:

First clean with Mineral Spirits…THEN…wipe it down with a rag that is moistened with clean fresh water!

Using old towels or t-shirts cut up- I apply a little odorless mineral spirits on it and then wipe down the piece.

The rag should be slightly damp, but not dripping! I like to use “real” Mineral Spirits..meaning not the “green” Mineral Spirits that have that milky white appearance. I personally feel it does not work as well as the original Mineral Spirits.

Take your rag and place it on the opening of the Mineral Spirits. Flip the container a couple of times in different areas of the rag. (Think like how you would put nail polish remover onto a cotton swab or ball)

With a tiny bit of Mineral Spirits on your rag, rub the piece in the direction of the grain of the wood. The mineral spirits on the rag will remove grease or dirt. Again, I always do this prior to painting a cabinet job. In the bath- I wipe off residual toothpaste and in kitchens- the cabinets near the dog’s food dish or garbage can are the dirtiest. Such as life though- and we all live in our homes versus using them as a show room.

After wiping down your piece with Mineral Spirits, give it a bit of time to allow the Mineral Spirits to totally evaporate prior to painting. (If you are doing a few pieces- by the time you finish cleaning the last piece- the first will be ready.)

THEN- finish with a clean water rinse!  

The washing with Mineral Spirits will remove any residual oil or grease from the wood if there is any. Mineral spirits will evaporate from the wood completely without leaving any residue. This is the purpose in waiting some time – up to a day after cleaning with mineral spirits… for the mineral spirits to evaporate.

Some people recommend using TSP to clean your furniture- and that is fine too. I personally- have had many customers have issues with this method since they do not thoroughly rinse the furniture or cabinets with water or denatured alcohol after using TSP. I get emails asking, “what did I do wrong? The paint is peeling.” 9 times out of 10- it is because of this!

So I prefer to just use odorless Mineral Spirits. With that said- DO NOT USE THE “Environmentally Green” brand of Mineral Spirits!

Mineral Spirits are a staple in my painting closet and I always have it on hand. Also- if you make a glaze out of your wax using Mineral Spirits- I recommend staying away from the “Green” Mineral Spirits – which has a milky white look to it.

TSP was commonly used prior to the 1970’s to clean walls prior to painting them. The reason for cleaning with TSP was because it etched the gloss of oil based paint, making it rougher so that the next coat of paint would stick better. If you have an oil based paint on your wood, then I’d clean them with TSP if you intend to repaint that wood. But, there is no point whatever in cleaning bare wood with TSP, or latex painted wood with TSP.

If you do use TSP, then I would also clean the residual TSP off the piece of furniture with a clear water wash or denatured alcohol.

Another option:

Use Denatured alcohol. Create a ratio of 60/40 = alcohol to water. Then as stated above, moisten a rag (not soak it.) Wipe down the piece of furniture or cabinets, and then let dry.

OR

Personally- I stay true to using Mineral Spirits again. It is ideal to clean a surface free of any waxy or oily/greasing substances. But Chalk Paint® in general has great bonding capabilities.

But if you cannot purchase Mineral Spirits where you live, or have personal reasons not to use it~ here are some additional options:

Cleaning with one of the following (they are all biodegradable and grease cutters) … Motsenbocher’s TSP Substitute, Dirtex, or Krud Kutter.

THE MOST IMPORTANT THING TO KNOW = is that it is extremely important to rinse away any cleaning material to neutralize the Ph after you have cleaned the furniture. That is because you do not want any residual cleaning product left behind. You also want to furniture to be dry when you start to paint.

Hope this little post was interesting and helpful!