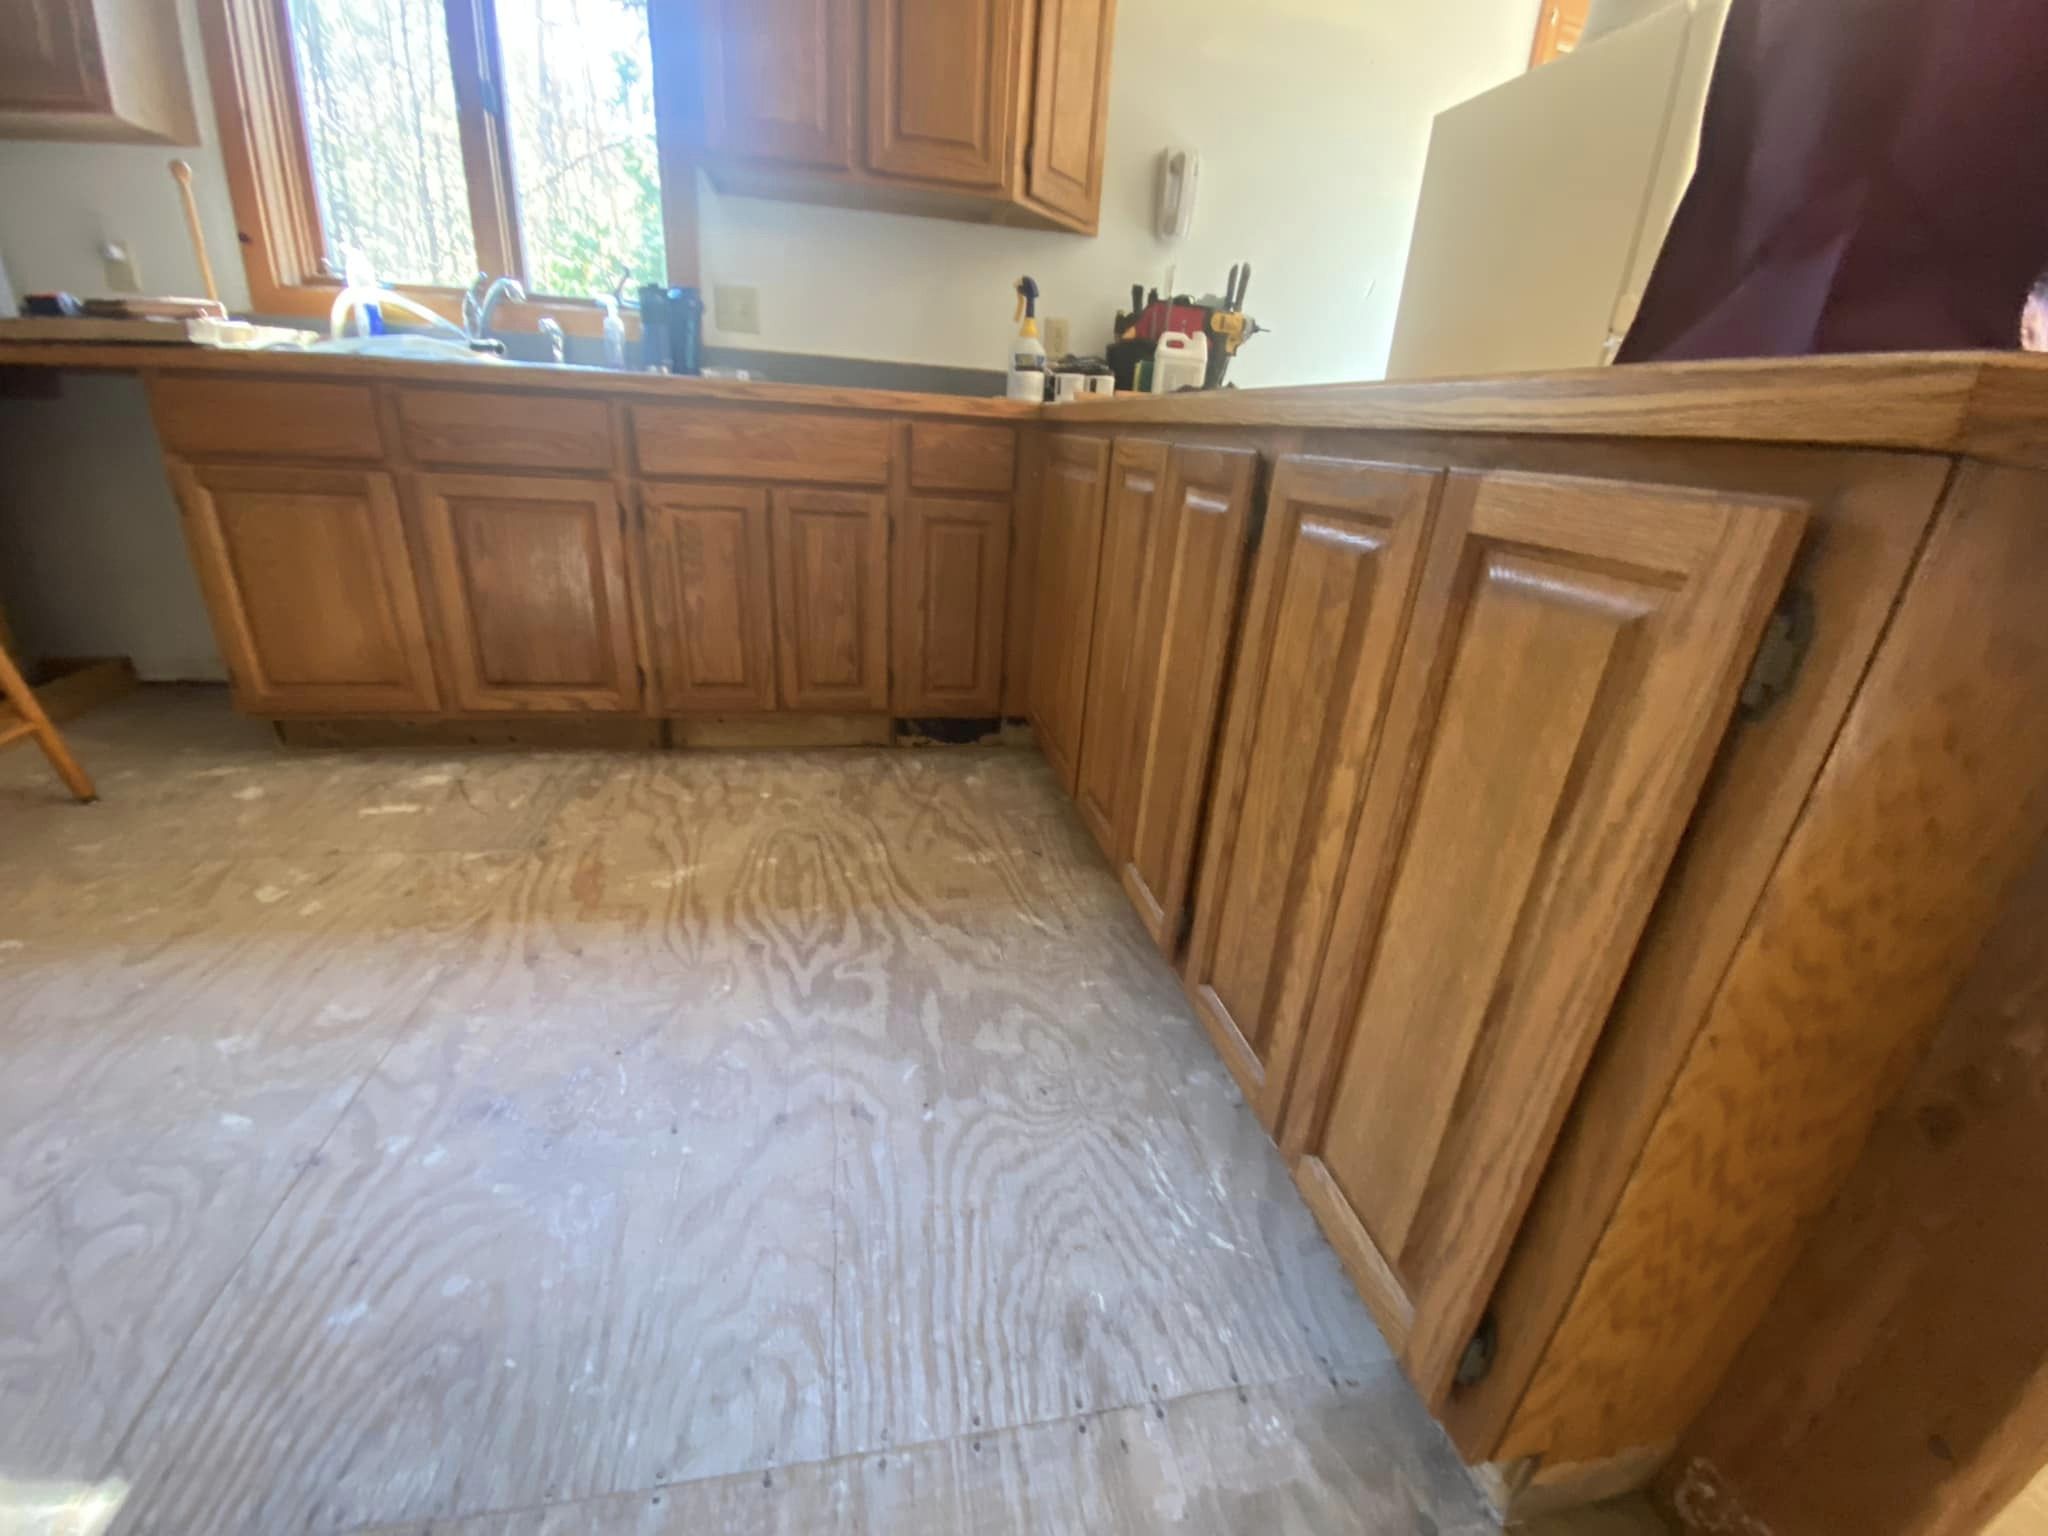
So you want to use Chalk Paint® by Annie Sloan your kitchen cabinets. 1,000’s of other homeowners have already done this using Annie’s paint. But you may be wondering where do you begin. Let us help you!
HOW MUCH PAINT WILL YOU NEED?
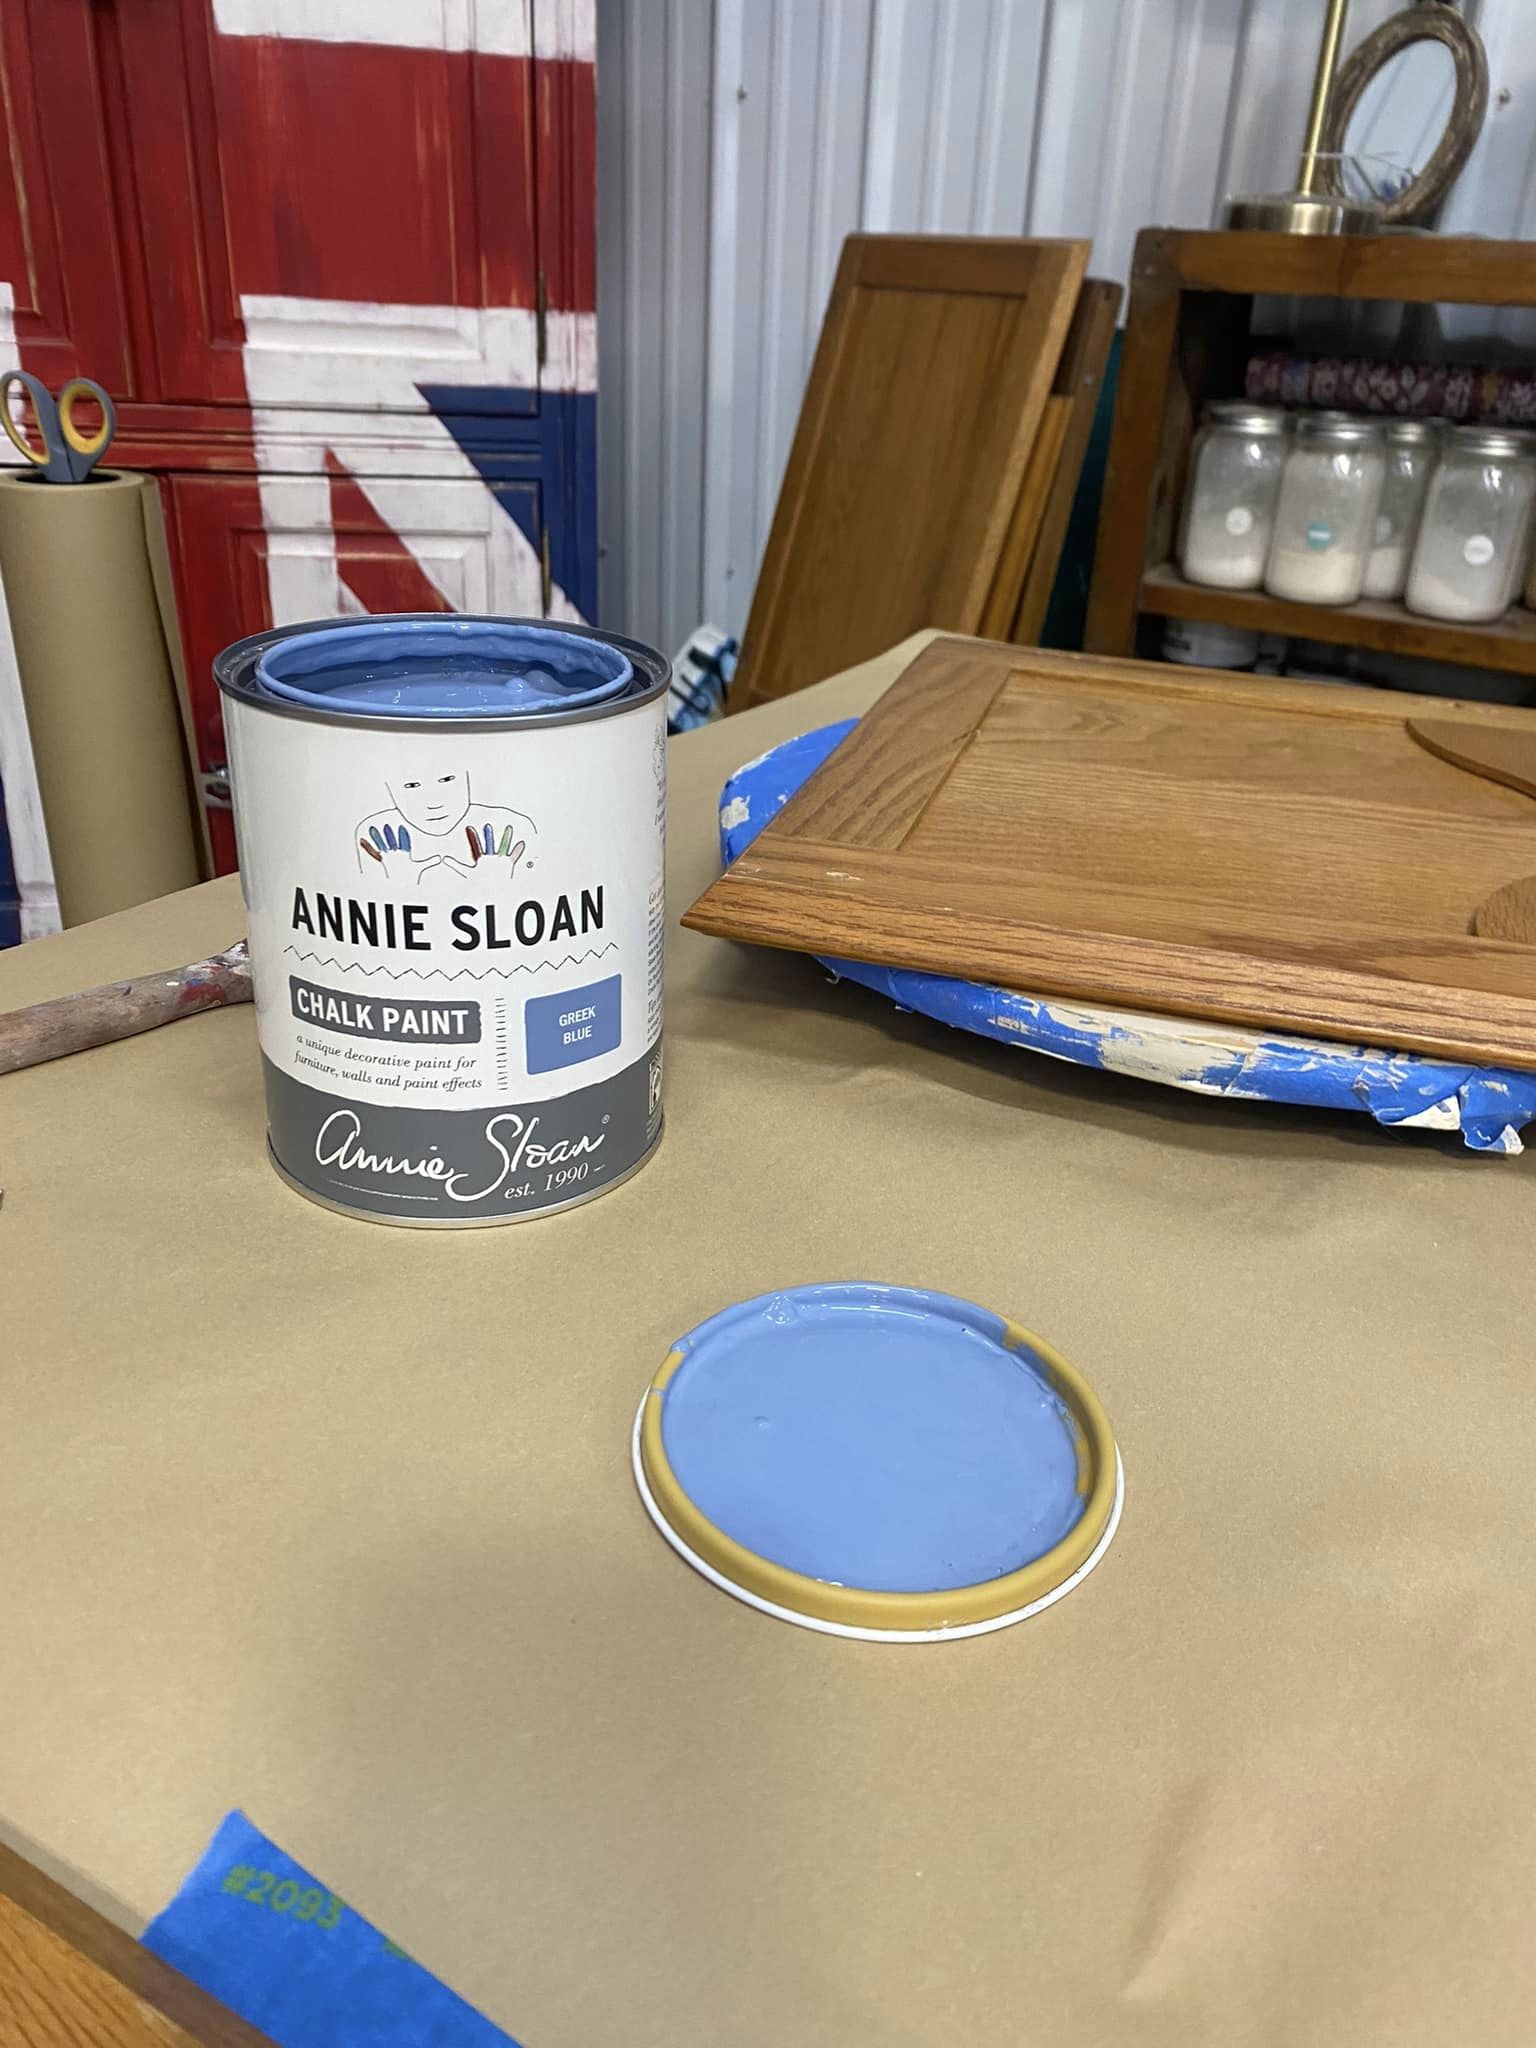
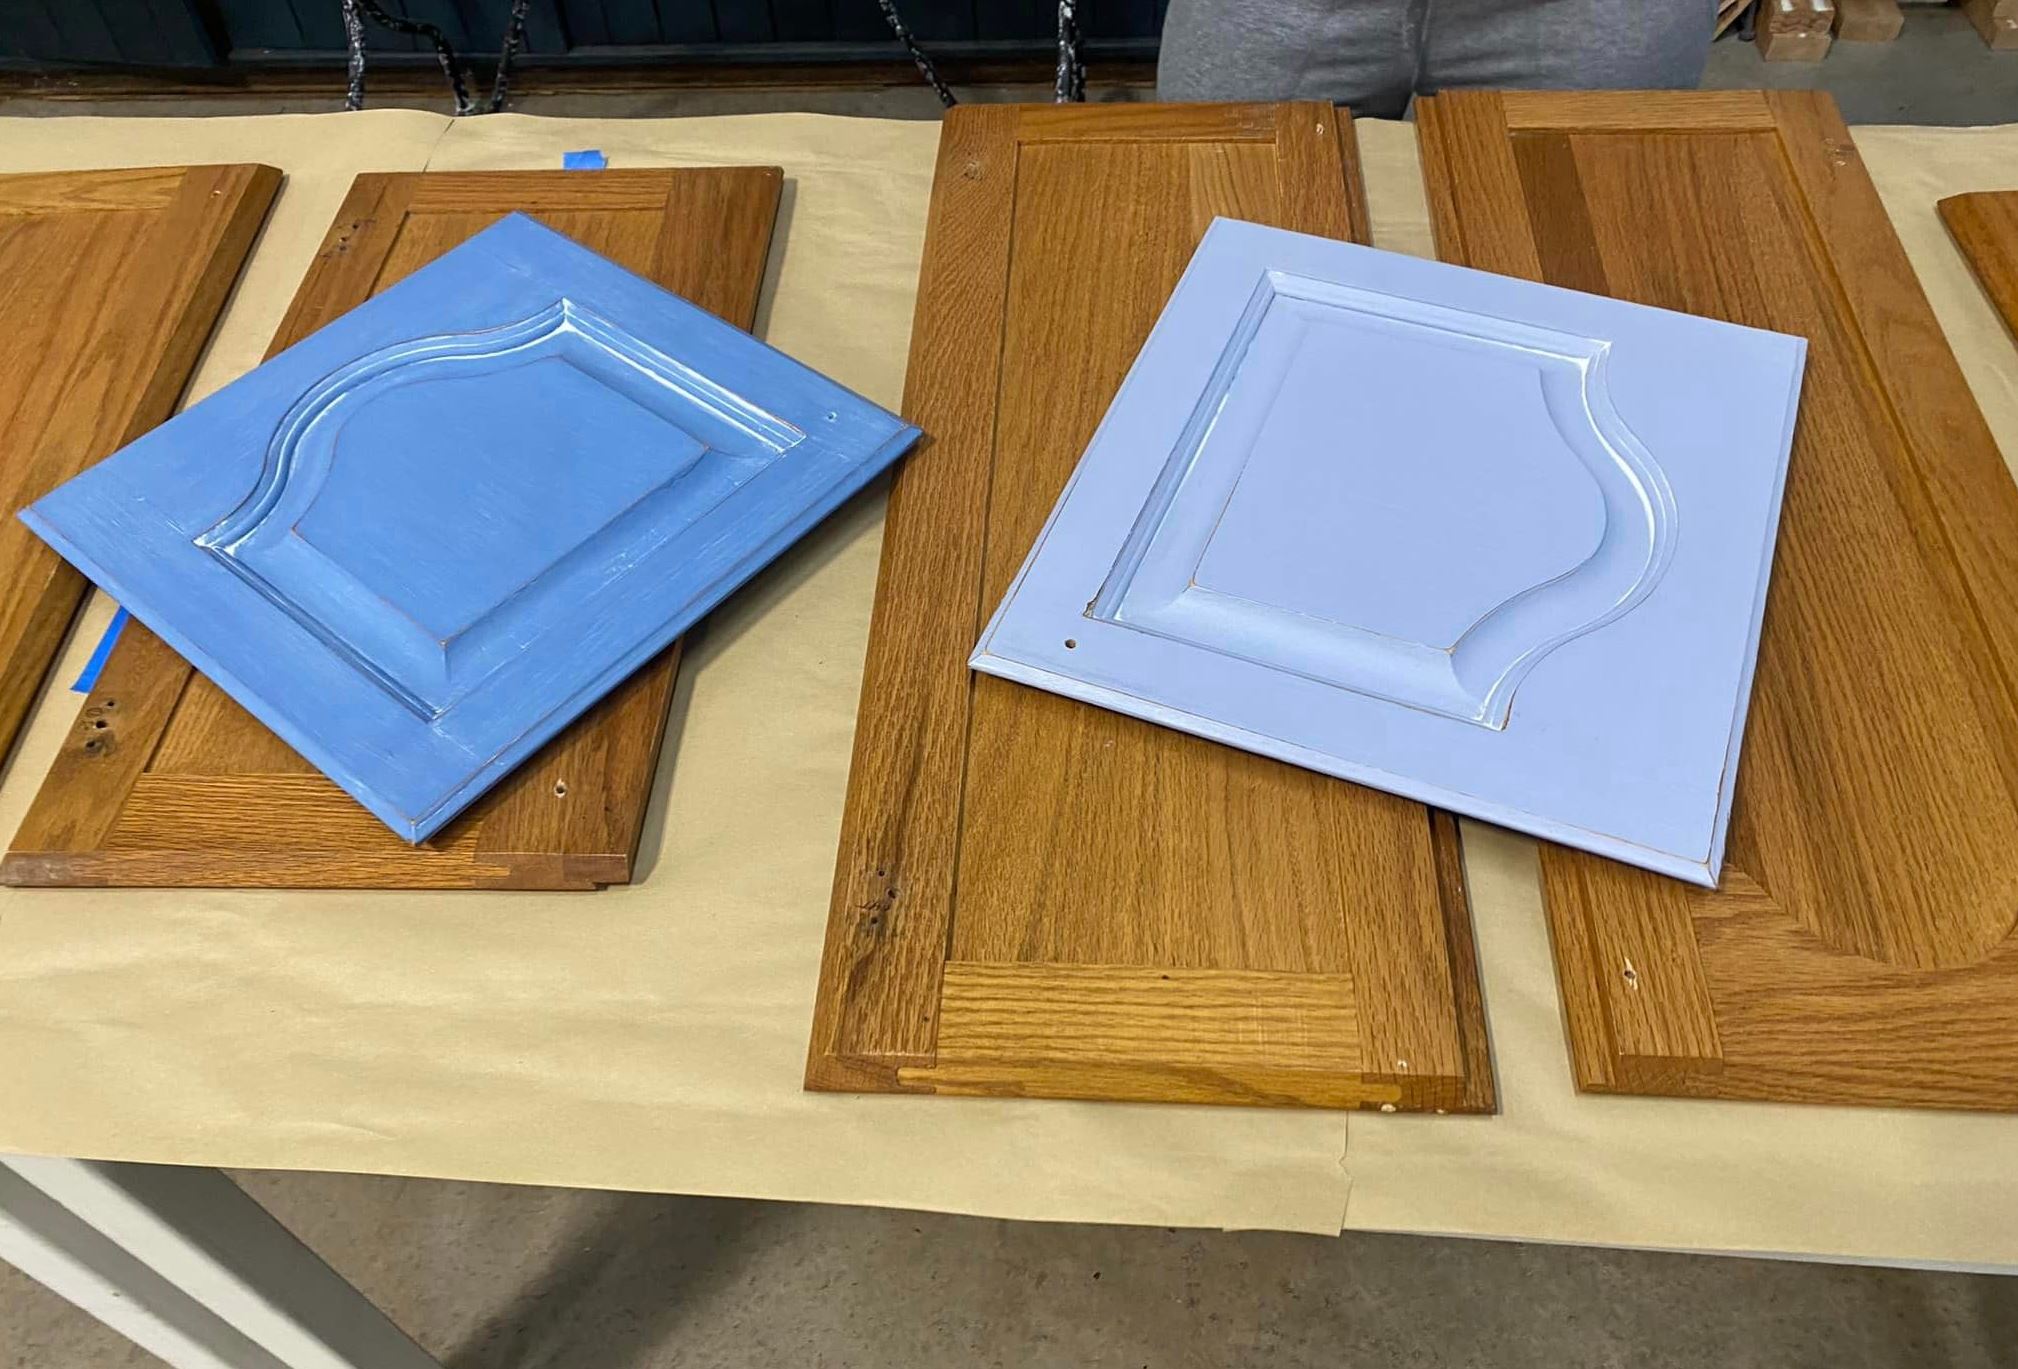
The largest container Annie Sloan Chalk Paint is packaged in is a litre – which is 33.8 ounces of paint. The paint tins state that Chalk Paint® will cover 140 sq ft. That is for one coat of paint. At The Purple Painted Lady- we will say to be safe, use a number more like 120 sq ft per can. Depending on the color of paint you chose- like a “white” you will need to apply three or four coats total. You will typically need two coats for other colors that have more pigment – like Annie’s color called Greek Blue (shown in some of the photos below) or Duck Egg or Chateau Grey. “White’s” always take more paint to get solid coverage. Another variable to consider is what the surface is that you are painting. If it is a very dark wood, you may need an additional coat of paint.
CALCULATING CABINET SQUARE FOOTAGE:
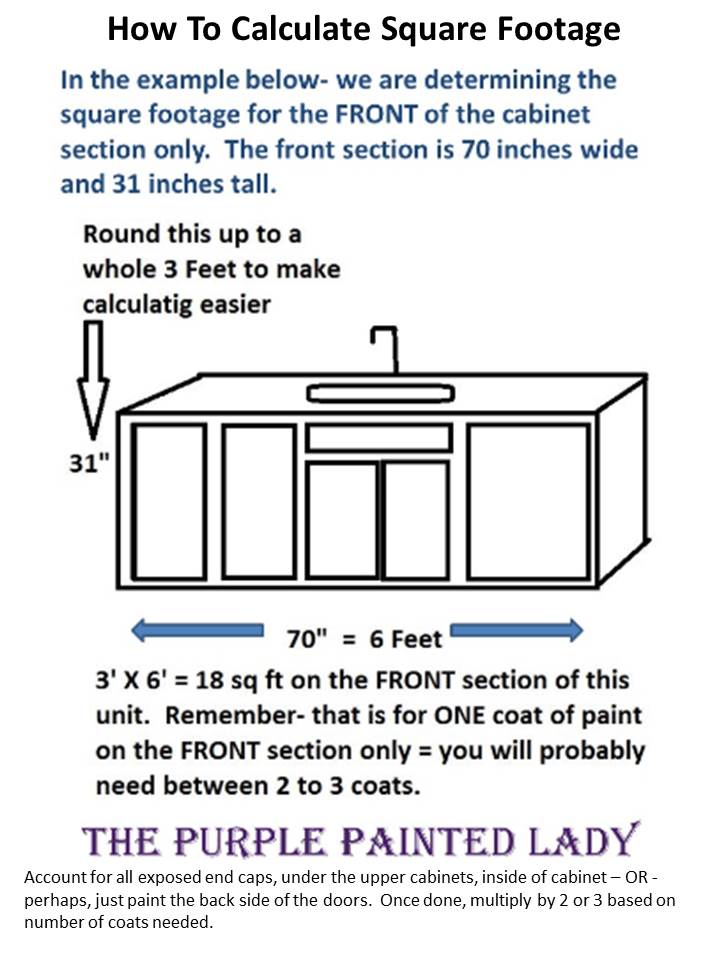
To determine how much paint you need, you will want to calculate your square footage . Chalk Paint® has great adherence ability and you will be surprised how far the paint goes.

Here are some things to keep in mind though:
Are you painting the back of the cabinet doors? I definitely recommend doing this so when you open your cabinet it looks cohesive. If you leave them unpainted, it will be a constant reminder of how they use to look.
Make sure to account for the end caps or the side sections of your built in cabinet.
What color are you choosing? Lighter colored paint will always require more coats of paint compared to other colors
HOW TO CALCULATE YOUR SQUARE FOOTAGE:
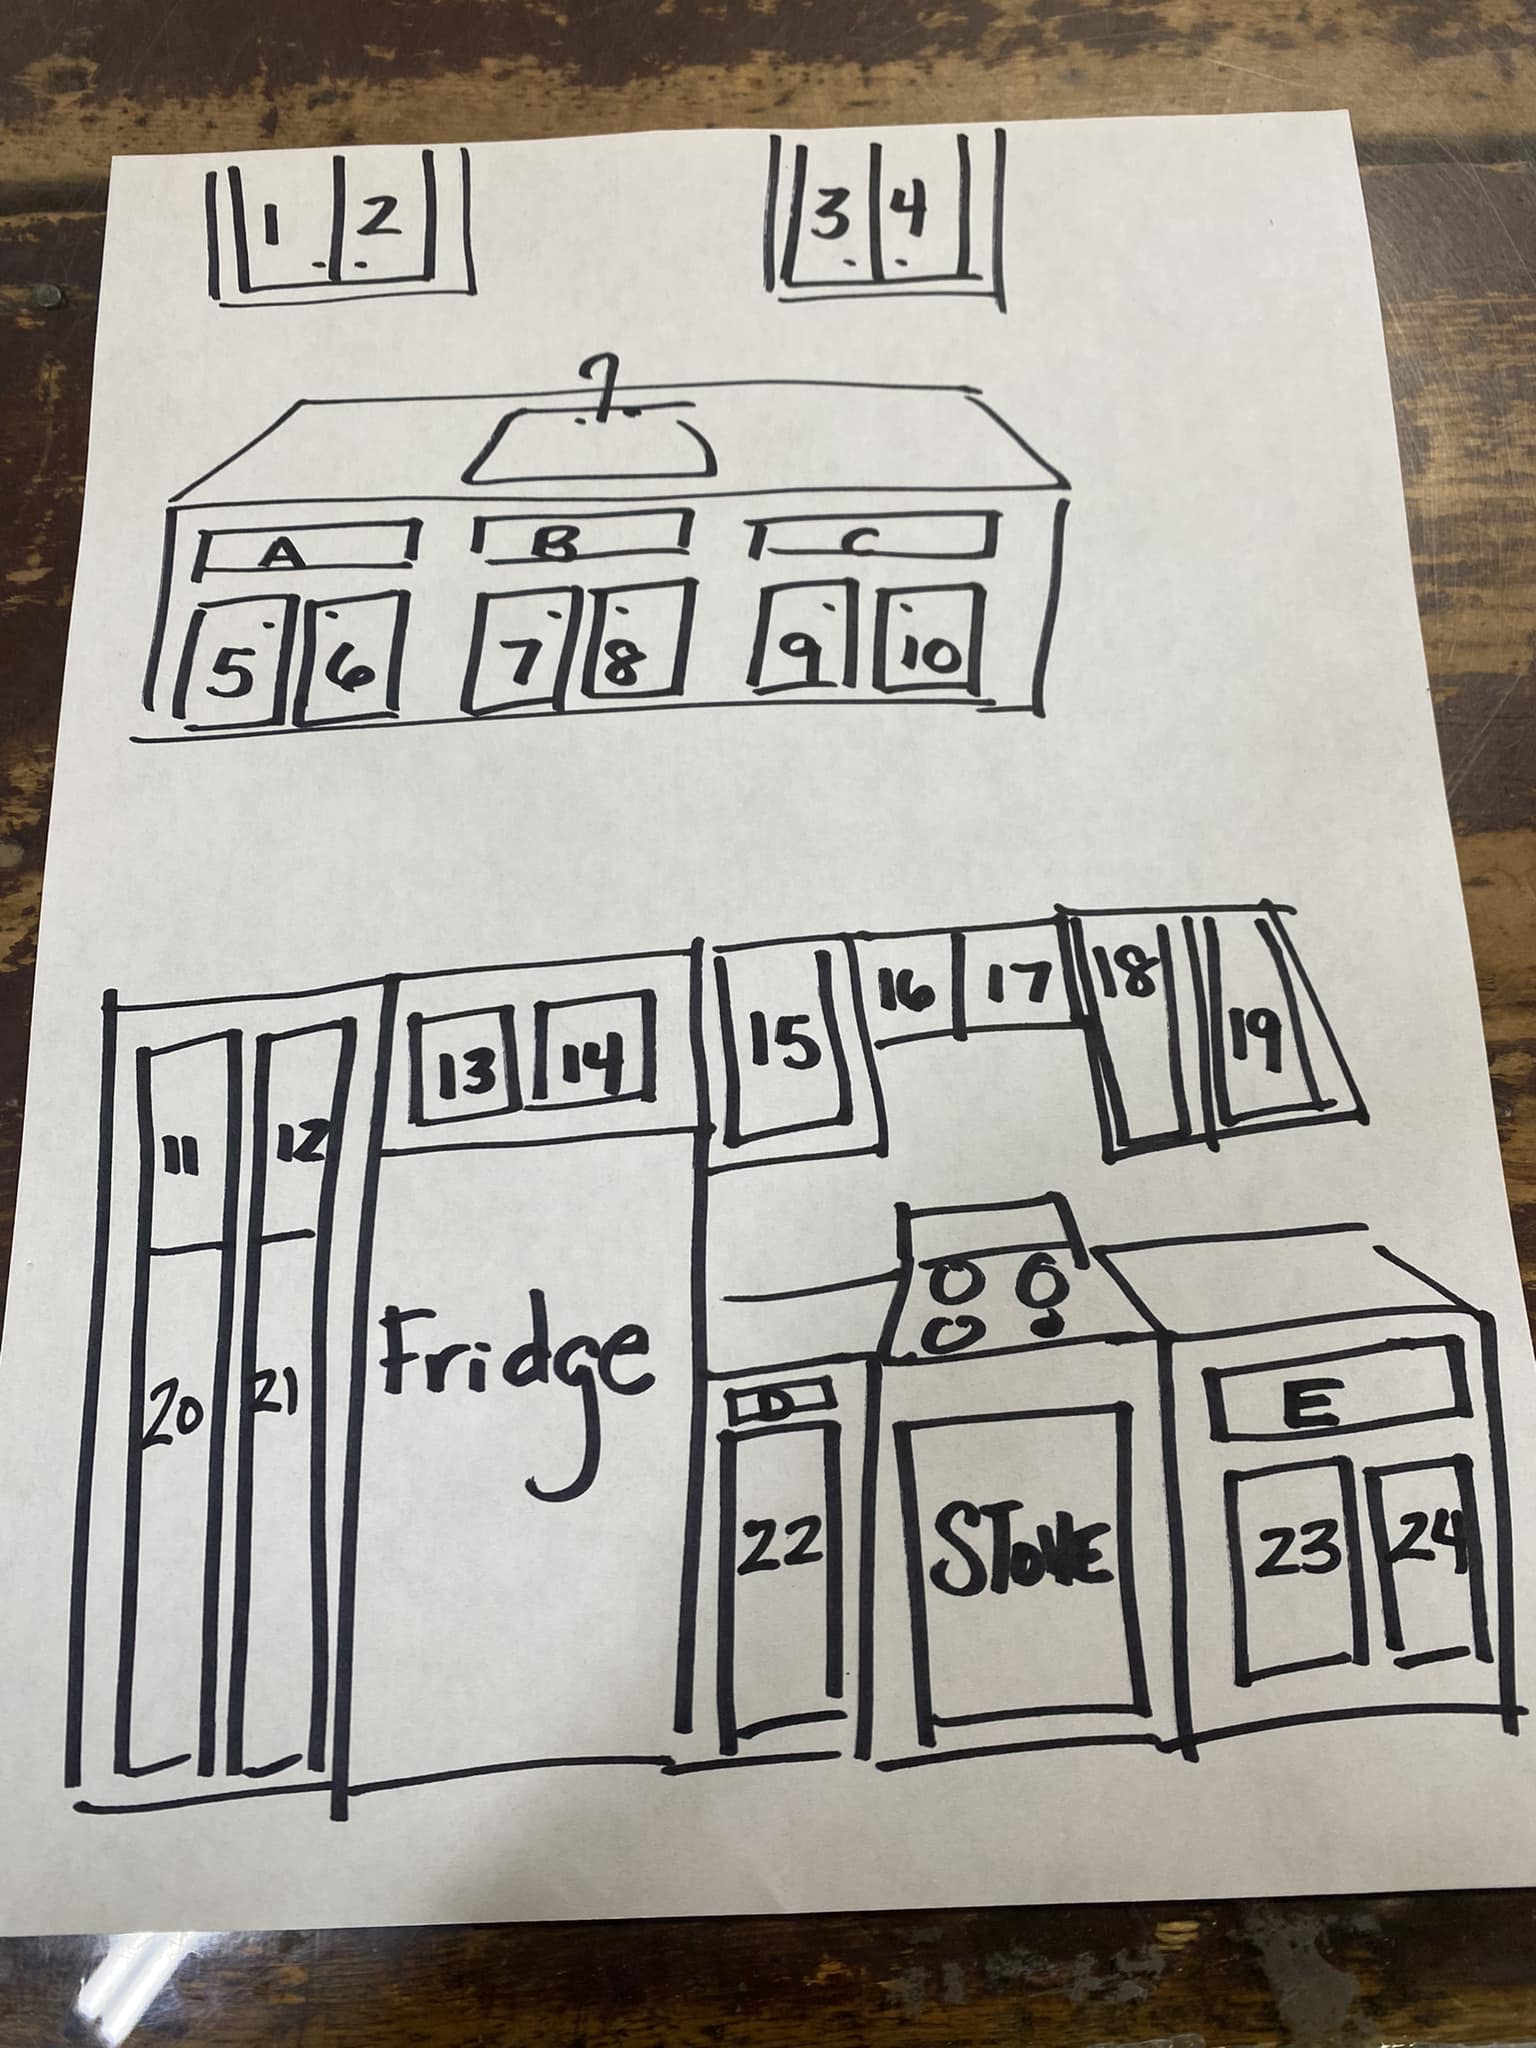
Personally, I like to draw out sections of the kitchen I am going to paint and break up the layout into vignettes. For example, I will draw a rectangle for the cabinets under the kitchen sink. See my drawing below.
CHOOSING YOUR CABINET COLOR?
If you come to The Purple Painted Lady and book your kitchen- we always do a sample door to bring to your home so you can live with it for a few days. Colors can be impacted by the amount of natural light or lack of natural light in your own home. Also, the color you see at our shop under our very bright lights – which I am pretty certain – you do not have at home. All of this may cause paint color to look differently. So, depending on the type of light you have in your own home – you will want to live with a color through all portions of a day and see how the color plays with your counter color, floor and wall color. Having a sample completed and being able to live with it for a few days going through morning, noon and night in your home is so important. If ordering paint on-line, I would definitely suggest ordering a painted color chart so you can see the color in your home.
Besides paint- you will want to consider purchasing:
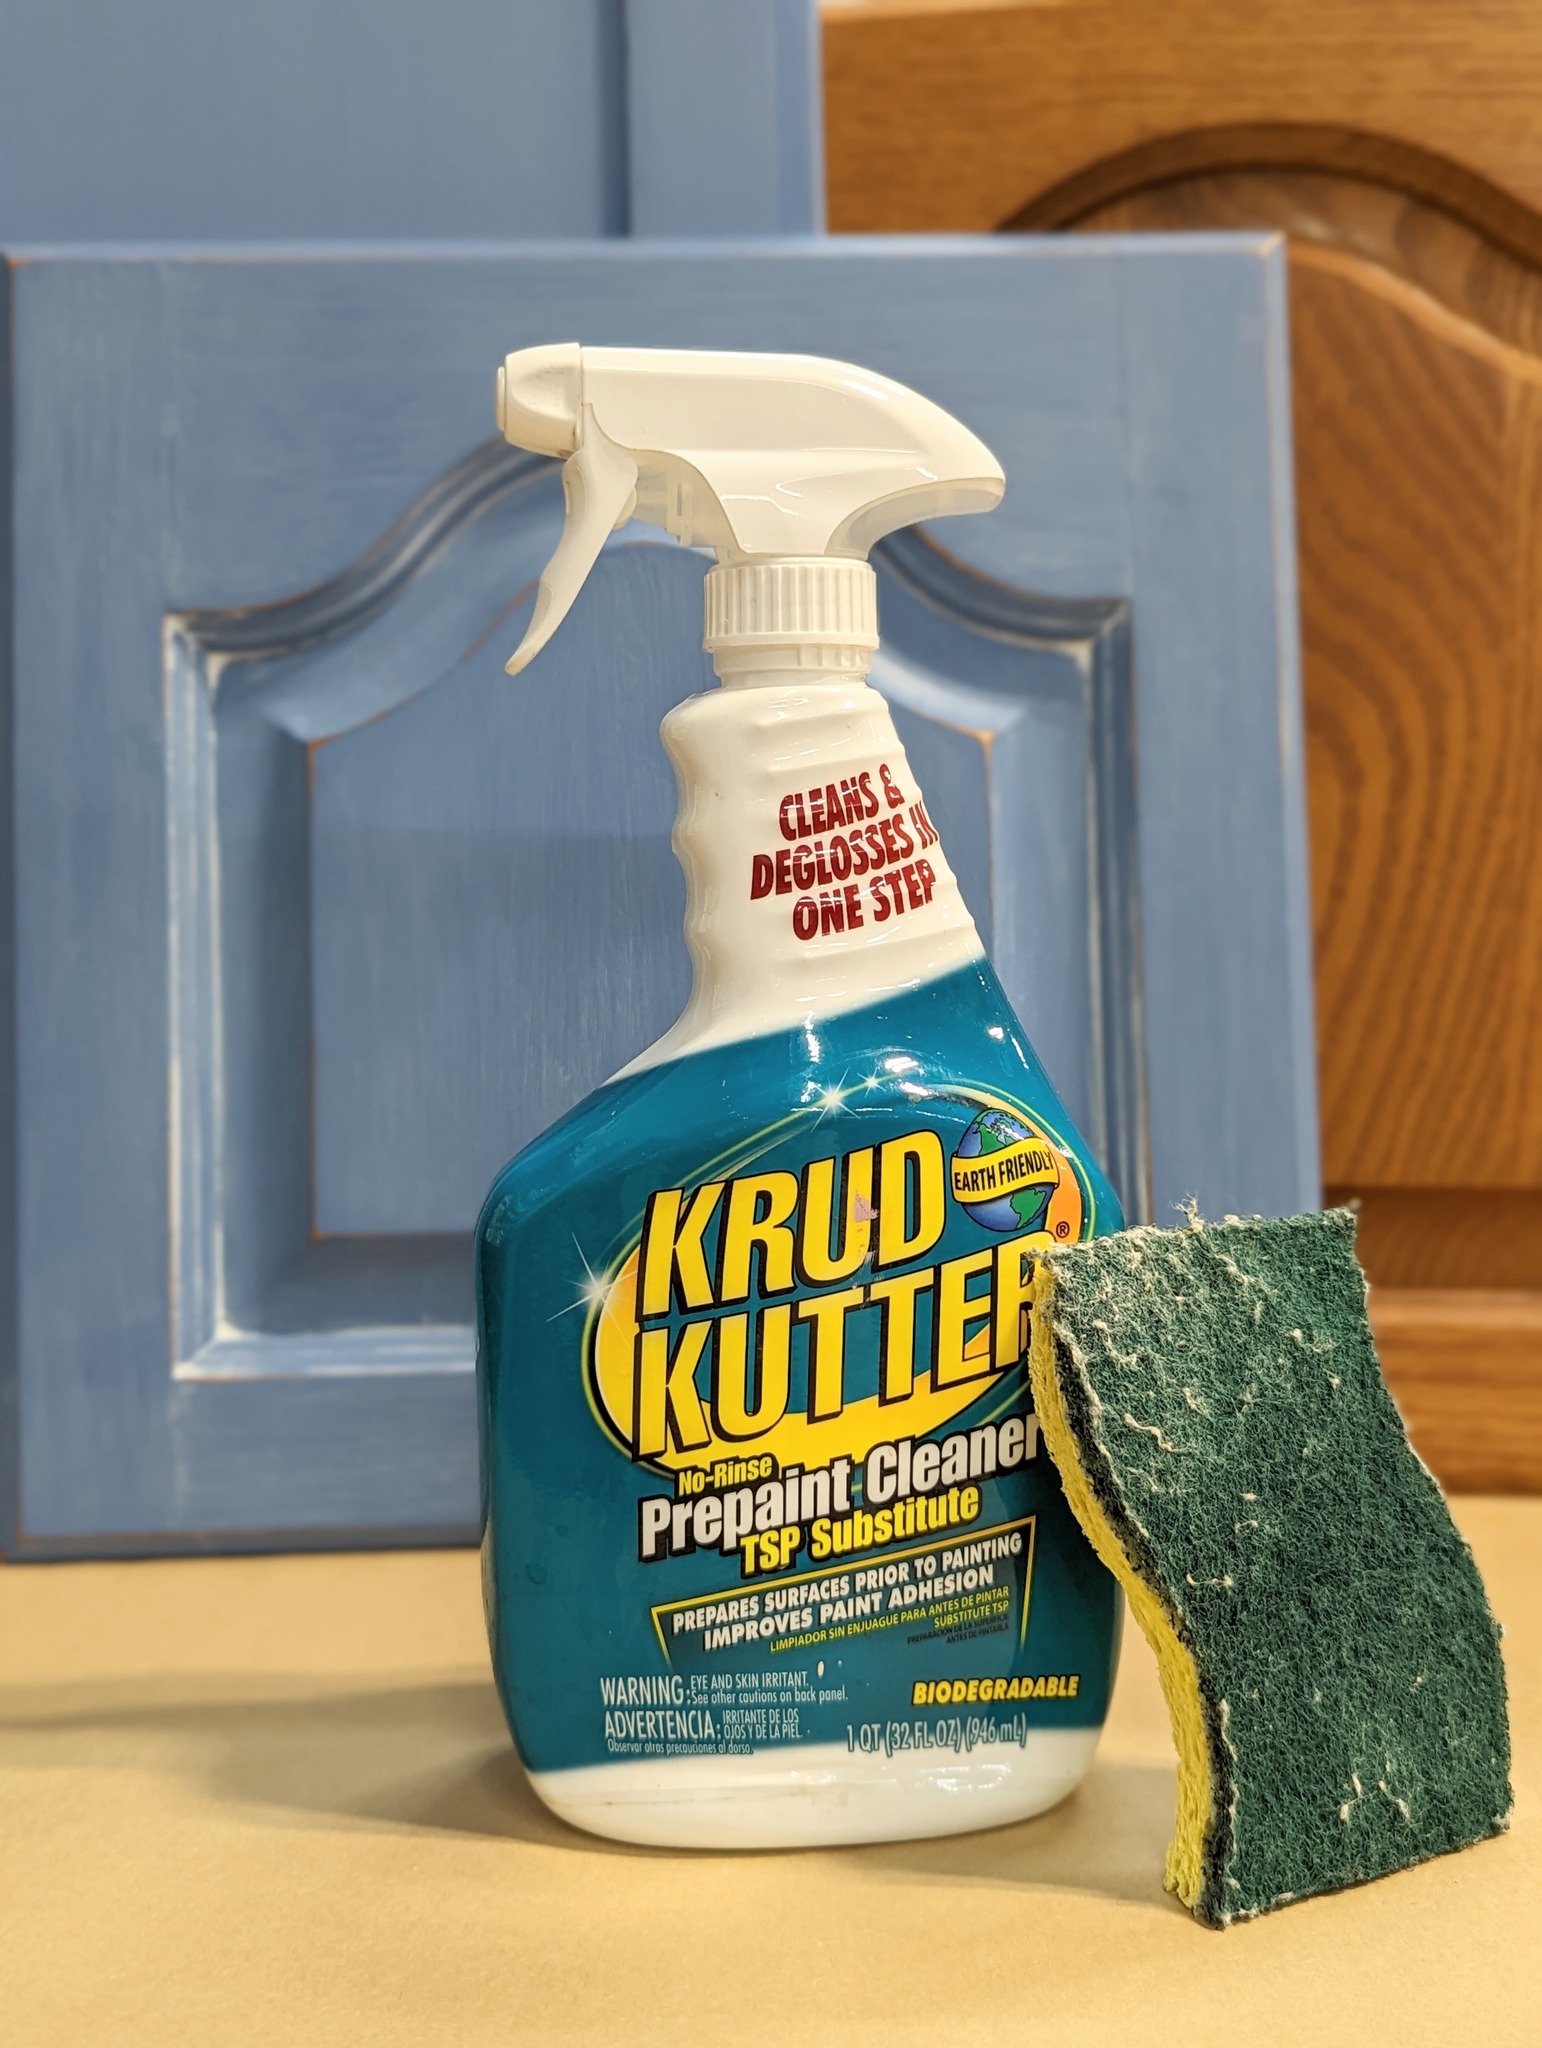
PREP before painting: Use Krud Kutter – that is what we recommend and use to clean customer cabinets prior to painting.
HELPFUL TIPS WHEN IT COMES TO PAINTING CABINETS1. Personally, I prefer painting cabinets while they lay flat versus hung in place. To make the re-install smooth, take some paper and a pencil, pen, or heck, even a Crayola Crayon will do. (LOL) You will sketch out your kitchen cabinets. I like to draw out appliances because it makes it easy to identify what section in your kitchen this applies to. Use this template and number each door on the paper and then take a piece of painter’s tape and place the coinciding number on the physical door. Then, while working on the cabinet doors, move the painter’s tape to the opposite side of the door as you paint or wax. If you need to add a fresh piece of painter’s tape – do it. I promise when you go to rehang your beautiful painted doors back up, you will thank me because it will make the process so much easier! See my example of a numbered layout below.
PICK YOUR PAINT BRUSH:
At The Purple Painted Lady, we recommend using Annie Sloan’s ur favorite brush – which is the Annie’s 1 1/4″ Flat Small Brush. I know you may think this is a small brush- but we have painted a lot of cabinets….like a lot and the bigger the brush does not mean a better finish or a faster process. It just means you have more paint to manage and apply and quite frankly, most of us cannot manage that much paint.
If you want a little more texture, or get more paint applied to the surface faster- try Annie’s SMALL dome top brush.
USE A LAZY SUSAN TO SPIN YOUR CABINETS AROUND WHILE PAINTING
To begin painting your doors, it is helpful to place the cabinet door on top of a Lazy Susan. This will allow you to spin the doors around without having to physically move your body around a work surface area. It makes applying paint to all of the sides so much easier since most of the cabinet edge is exposed. You can also place some wooden spaces underneath door on the Lazy Susan to elevate the cabinet up from sitting flat on a surface – which will give you a clean edge. Remember- uniform and reasonably thin even coats are ideal for a smoother finish.
PAINT AROUND SEAMS WITH A LIGHT HAND
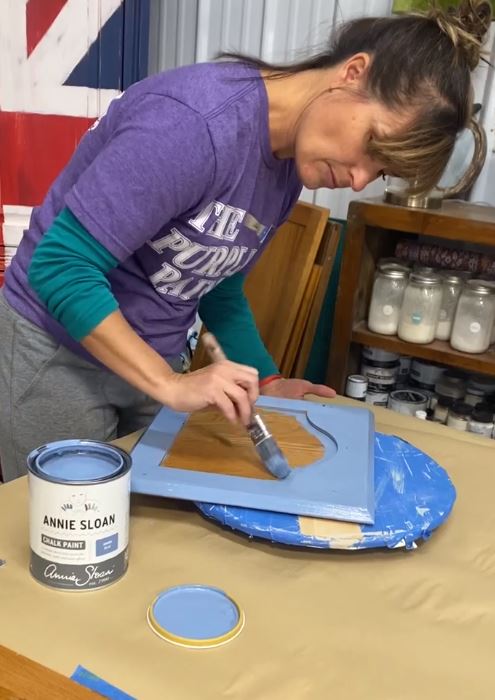
Another important tip is when painting the fronts of the cabinet doors that have either a raised panel or recessed panel on the front, try to dry brush that area where the rails and stiles sit on the front plate. Here in the north east, where it is dry and very cold in the winter and humid and hot in the summer, would like to expand and contract. We do not want to have a heavy application in these joint areas because it’ll just cause the paint to crack eventually. See image below.

PICK YOUR TOP COAT:
Not all top coats are made equally or will perform the same. Be careful if painting your cabinets with a light colored paint…especially white and you choose to go vogue using some poly top coat you pick up at a hardware store. Many will eventually yellow – even when they say they won’t. I recommend strongly- using one of the top coats I have listed below.
Annie Sloan’s Clear Wax was formulated to work perfectly with Annie’s Chalk Paint®. You will need to apply a few coats. It is quick and relatively easy. The first coat may not look great, but the second coat will bring it all together. You do not need to wax every few months or year- so disregard that if you have read that somewhere online. I strongly recommend to purchase Annie’s Small Wax Brush if doing your cabinets and a roll of Scott Shop Towels
Annie Sloan’s Lacquer. Annie’s Lacquer comes in both a Matte and a Gloss. Do not use Matte Lacquer directly over dark colored Chalk Paint® because the flattening agents can create a white hazy effect. Make sure to read our post on best practices of Annie’s Lacquer HERE. It is important because Lacquer does not behave like paint.
Painting with “White” colored paints? Like Old White, Pure, Original? Top coats that yellow are a serious issue. Wax will never yellow. But another option is Artisan Enhancements Clear Finish. This will have a satin to shiney sheen and keep in mind, the more applications you apply, the shiner it will become. Make sure to purchase their varnish brush to apply it with.