You painted and waxed a piece and now you have changed your mind and want to paint another Chalk Paint® color on it. How long should you wait before doing so? Can you do it the same day?
YES!!! – you can use apply Chalk Paint® by Annie Sloan over Annie’s wax. Yes- you can paint over wax the same day you applied the wax…BUT – the wax must feel dry to the touch and NOT tacky. Annie also recommends doing only three applications of anything in one day. So, if you painted two coats of paint and applied one coat of wax TODAY- then you must wait till tomorrow.
This situation happens to people and know that it is not a problem to paint using Chalk Paint® over previously painted and waxed pieces. Annie created her products to work harmoniously together. However- the most important thing is that the wax is dry and feels “cured.”
HOW THICK you applied your wax is a factor here. I say that because I have felt pieces others have done and the surface actually feels really waxy to the touch.
In general – after we remove the residual wax when applyig it – the surface of the furniture should feel a little cool and maybe the slightest bit moist….but it should allow you to slide the top of your hand across it like it is ice skating. There should not be any drag. If that is the case- you can paint over it with Chalk Paint®. (but not other paint)
IF you do not have any drag when you glide your hand over the surface, YES- you can paint Chalk Paint® right over the wax!
With that said- yes, in general…you should be able to paint over a waxed piece right away. Could be even the same day. Or- even that same hour! Some painting techniques actually require that when building up layers.
However, if you have applied layers of wax and want to paint right away….I would suggest to take some odorless mineral spirits (not the Environmentally Green that has a milky white appearance) on a rag and wipe the wax off. Your rag should NOT be dripping wet. I like to use the analogy of when using nail polish remover. You know how you flip it over a couple of times on to a tissue or cotton ball….basically ….do the same thing with the odorless Mineral Spirits. Now…..with the amount of pressure that you apply body lotion….wipe the lightly moistened rag across the surface from edge to edge. The point is to remove a good portion of the wax. You do not have to remove all of it and you do NOT need to aggressively scrub. You are not trying to remove the paint!
Once done- take a different rag moistened with fresh water (NOT dripping) – and wipe the whole surface again. Basically- you are wiping any residual odorless Mineral Spirits off.
Once done doing this- take a step back and let the surface sit for a good 15 to 20 minutes to dry on its own. Then, you can repaint.
By using Mineral spirits and lots of rags- you can remove all the wax. Like we said- Dampen a rag with the spirits, wipe, replace the rag with a fresh one when it becomes clogged with wax, and keep wiping until the rag comes away clean. Be sure to neutralize the solvent by washing with soap and warm water (or white vinegar and water) afterwards.
IF YOU HAVE APPLIED TOO MUCH WAX AND JUST WANT TO REMOVE SOME OF IT…… use Odorless MINERAL SPIRITS:
A quick suggestion if wanting to paint over a waxed surface and you are concerned about the amount of wax. Take some mineral spirits on a rag and wipe the wax off. You should always be able to slide the TOP of your hand across your piece after applying and removing the wax. Use the top of your hand though since it should be clean of wax- versus the palm of your hand or your finger tips – which may have some wax on it from applying it.
IF you applied too much wax – use a little odorless mineral spirits on a rag. I mean a little- it should be slightly damp- NOT dripping wet. Be careful because you do not want this on your dripping on your brand new wood floor too! So- place a drop cloth down if necessary.
Using your rag that is moist with Mineral Spirits- wipe your cabinets in the same direction you painted them from edge to edge. Move across the cabinet and do not aggressively focus on one spot. THE POINT here is to lift some of the wax- NOT all of it.
If you do take too much off- you can practice applying Clear Wax properly and add an additional fresh coat. LOL!
I know this can difficult if you are not a patient person, like me. But you want the base to be solid so the soft wax needs curing time to become hard. (And if you apply your wax super thick- where your pieces feel waxy or your hand cannot “glide” across the surface once you are done applying and removing the wax- the the cure time will take longer.)
****If you follow the waxing instructions that The Purple Painted Lady includes with all sales of wax – the wax will be dry and smooth immediately after removal.
IF YOU ARE INPATIENT AND WANT TO PAINT OVER IT ASAP and the wax is fresh or tacky, then…:
You will want to use a little mineral spirits on a rag. Your rag should be slightly damp- NOT dripping wet. Be careful if doing this inside your home because you do not want odorless Mineral Spirits dripping on your brand new wood floor. (well, you might not have a brand new floor, but you understand what I mean, right?)
So- place a drop cloth down if necessary. Using your rag that is moist with odorless mineral spirits- wipe your piece in the same direction you painted it from edge to edge. Move across the cabinet, dresser, etc and do not aggressively focus on one spot. This process will take about 5 or 10 minutes to do your whole piece. You will need to have a few rags for this. The result you will be left with …..is that your Chalk Paint® will feel like it did prior to waxing. Sort of a flat, matte surface. Use your hand and glide it over the surface. By the feel of it- you should have a good idea- if you removed it all or at least most of it (which is ok too!)
Once done with removing the wax …….¸¸.•*¨¨*• …go ahead and paint with EITHER Chalk Paint® or any other paint product you choose.
DON’T TOUCH UP PAINT AFTER YOU HAVE APPLIED WAX:
Remember also- if you realize you missed a spot while painting after you have finished waxing, if you attempt to “spot fix” this missing paint – in certain light you will see the “correction.” I once did this on top of a dresser. I painted it in Coco and then waxed…like I always do. But then- I saw a spot that needed a “touch up” of paint. So, I did the little touch up after I had finished waxing. The little “touch up’s” I did were so visible- I had to repaint the whole top.
I use the analogy- that a touch up looks like to me- taking photographs and multiple panes of window glass. Imagine a coffee table that has 5 panes of glass on top of it. And you place one photo in each pane in a different area. Then- once done you look down at the glass table top. You know how – visually your eye will pick up on the different depths of those photos? Doing a touch up after waxing, and then re-waxing creates that SAME EFFECT!
A friend of mine named Peggy Elwood asked another question related to fresh wax – “How long do you wait after waxing before selling a piece?”
My response was that on custom jobs I do- I will often wait a couple days before delivering it and furniture is always accompanied with a “Care Tag” explaining the cure time and how to take care of the painted piece going forward. No more Pledge or Endust allowed in the house! LOL! Customers can use their painted piece – but need to be more careful during that first month. I recommend that anything that has substantial weight to it- as in more than 5 pounds, should wait till after the “rule of thumb” 30 day cure time is over. (I personally find in upstate NY that my wax is quite hard sooner than that.) Also, lamps that have metal pointed feet as a base, can possibly leave an indention in the wax- so just be cautious. This can really depend on where in the country you live and the temperatures you are experiencing. A dry climate will allow the wax to cure faster- where a wet climate will cause the paint to take longer to dry and the wax longer to cure.
I have other helpful information located on my Facebook page HERE in case you would like to check them out. Please feel free to “PIN” my photo to your Chalk Paint® Pinterest board.
If you are interested in staying touch with The Purple Painted Lady- visit our Facebook page HERE – we would LOVE to hear from you and see your before & after photos!
BUY PRODUCT FROM THE PURPLE PAINTED LADY™:
XO
The Purple Painted Lady™ ~ the serial no. is 86/641,416 with the US Trademark Office
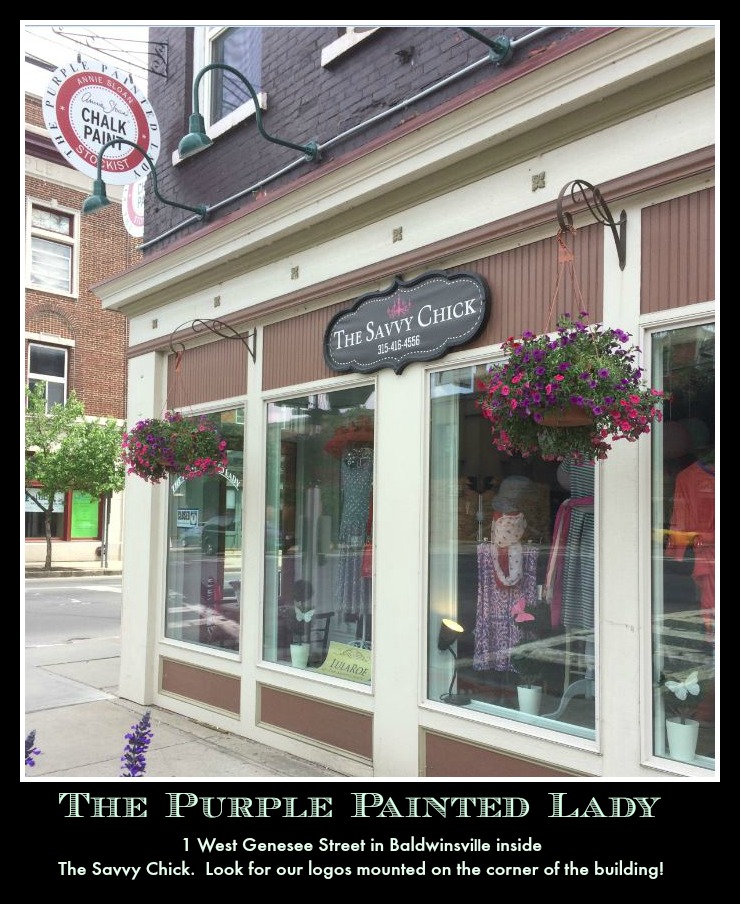
VISIT our locations too!
our MAIN STORE at 77 West Main Street in Macedon, NY 14502

OR
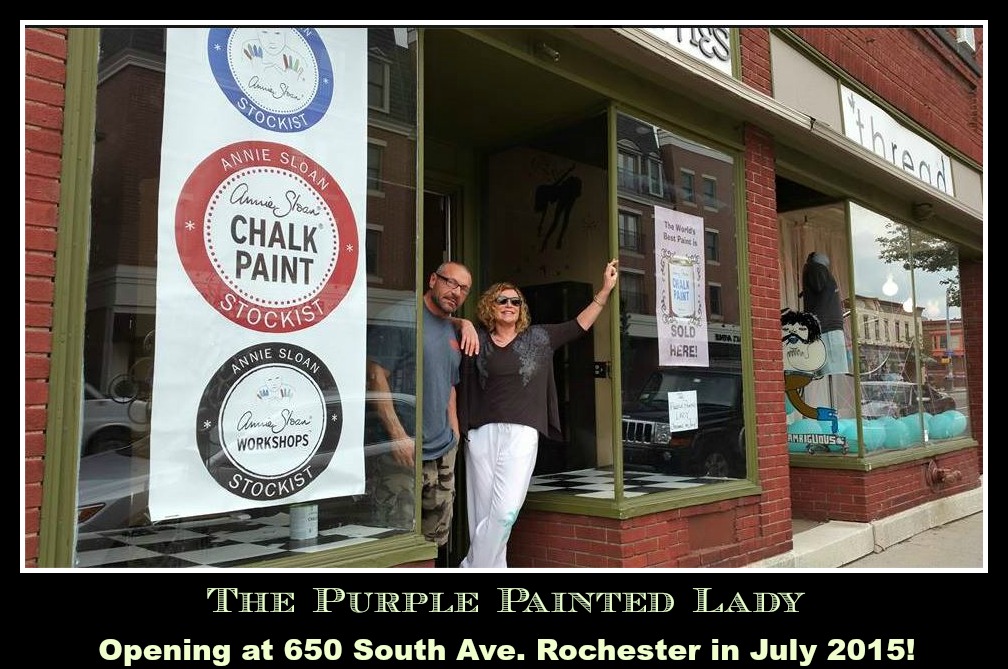
STARTING JULY, 2015 ~ 650 South Ave. in Rochester, NY 14620
OR
3200 West Ridge Road in Rochester, NY 14626 (The Shops On West Ridge)
OR
Our Syracuse, NY location at 1 West Genesee Street in Baldwinsville, NY 13027