A blotchy appearance can come from either a poor painting job, waxing in sections and not blending the areas in the final phase, or sometimes – over wiping wax off and causing some areas to seem buffed and other areas not. If after waxing your painted surface there are darker versus lighter areas or it looks blotchy, apply another coat of clear wax. It is probably because the wax was not properly absorbed into the porous Chalk Paint®. How do you know if that is the problem? Simple. Take your pointer finger and get enough wax on it like you are putting Chapstick on your lips. Then, rub that finger over a lighter colored blotchy area of your paint. Using your finger, rub it in the size of a half dollar and then fill in the circle with the wax. Wipe off the excess was using a lint free rag. Now….. look and tell me. Is where you just applied the wax more uniform and darker? If yes……I am confident to say that if you reapply an additional coat of clear wax – paying more attention to not miss a spot and having uniformed pressure, that the end result will look much better.
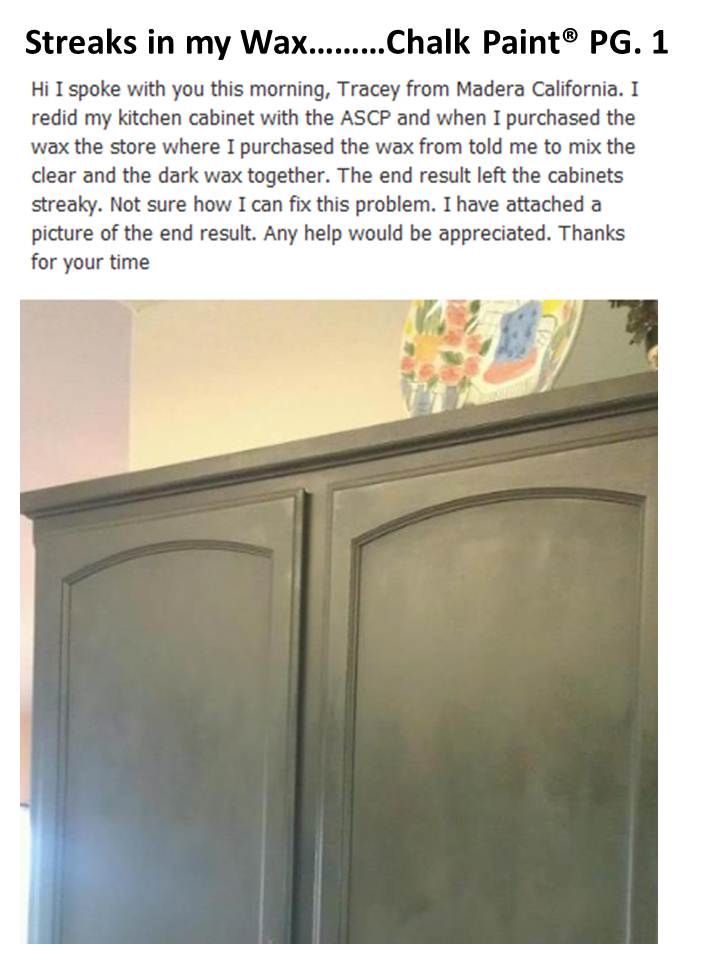
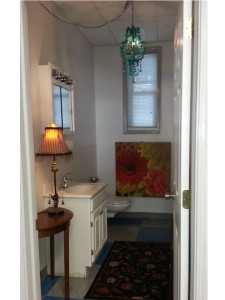
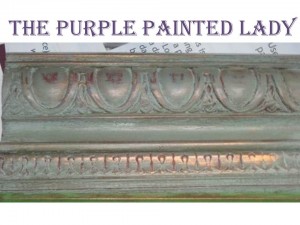
I received an email from a customer who painted the piece shown in the photo below and that is how this post began.
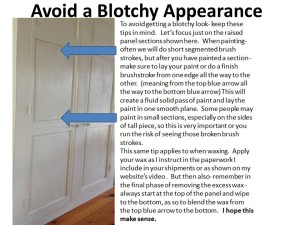
I feel that her project looks good, but she was disappointed in that she felt it looked blotchy. So, here are some tips and suggestions that if applied – will benefit everyone when approaching your project to avoid getting a blotchy look.
Let’s focus just on the raised panel sections shown here. 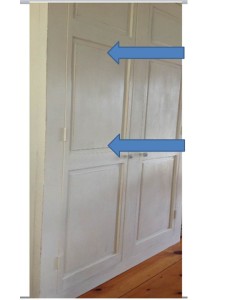 When we begin painting a piece – often we will do short segmented brush strokes, but after you have painted a section – make sure to lay your paint or do a finish brushstroke from one edge all the way to the other. (meaning from the top blue arrow all the way to the bottom blue arrow) This will create a fluid solid pass of paint and lay the paint in one smooth plane. Some people may paint in small sections, especially on the sides of tall piece, so this is very important or you run the risk of seeing those broken brush strokes. To watch a video of me painting- demonstrating what I mean by “Laying The Paint” click HERE.
This same tip applies to when waxing. Apply your clear wax as I instruct in the paperwork I include in your shipments or as shown on my website’s video HERE. But then also- remember in the final phase of removing the excess wax – always start at the top of the panel and wipe to the bottom, as so to blend the wax from the top blue arrow to the bottom. Again, if you watch my video on how to apply wax- you will notice that the last couple times I wipe the drawer I am doing the demo on, instead of wiping in a circular motion- I wipe the wax in a straight line from one edge to the other of the drawer. I hope this make sense.
This tip is especially important when working with darker colored Chalk Paint®.
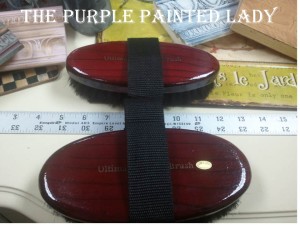
Just like black cars show off dings, dents or scratches more versus a white car- when working with Graphite, Napoleonic Blue or Emperor’s Silk, make sure to wipe off wax and buff in an even smooth and fluid approach- incorporating a section from one edge all the way to the other edge- if wanting more of a clean finish. The Buffing Brush that I sell at my shop and on-line – is very helpful with darker colors. Click on the photo below if interested in purchasing an Ultimate Buffing Brush or to read more about why they are super helpful in general, but especially when working with darker Chalk Paint® colors.
Besides the above- what also causes a blotchy appearance is when you are applying your first coat of soft wax. It is important to apply clear wax in thin and uniformed coats. When I say thin- I mean – not sparse- but rather a reasonable amount as so you are not wasting the wax since you then, after applying it- wipe the excess off. Something important that happens during your application of wax- is that the wax intensifies the paint as it is absorbed. You will literally see a deepening in the color of the Chalk Paint®. (the darker the color of paint, the easier it is to see) As you apply the wax- make sure the intensity is uniformed and happens to 100% of your painted area. Not just in some spots. You cannot always easily “correct” this after the wax has dried if you do have sections that the paint is lighter. Please apply the wax and as shown in my video- by gently pushing the wax into the paint. (please make sure to watch my video since reading instructions is very different then seeing someone actually do it.)
Please click here to watch my video!
We have two different size Wax BUFFING Brushes at our shop that are used to create a uniformed sheen on your painted pieces after you have applied wax and removed the residual and the wax has dried. Buffing brushes are not for applying wax!
So, after you have applied your wax and removed the residual and the wax has dried so it is no longer tacky….the final part of your project may be to buff the surface to achieve your desired sheen. The more you buff- the higher the sheen. Also- experiment with buffing strokes. During the final buffing phase- buff from one side, all the way to the opposite side (end to end.)
Wax Buffing Brushes are perfect for that! And the result is much more uniform than using a rag with your hand – which sometimes shows where your fingertips were applying the most pressure. (this can happen more commonly when using dark Chalk Paint® colors)
The Wax BUFFING Brushes are great for flat surfaces, chair and table legs. They are made of a soft, high-quality natural bristle that will not scratch finished surfaces. The brush is a comfortable size to hold, and being that it is an oval shape- it fits nicely and comfortably in the palm of your hand without straining your muscles in your thumb. There is also a strap across the top to slide your hand under.
We have buffing brushes in two sizes:
1. At $25.95 we have the 6.75 inches long X 2.75 inches wide in the center. The height when sitting flat is about 1.75 inches. Click HERE to purchase.
2. At $30.95 we have the 8.5 inches long X 2.75 inches wide in the center. The height when sitting flat is about 1.75 inches. Click HERE to purchase.


And remember- just because you use a Buffing Brush does NOT mean you have to have super shiny pieces! You control the shine by how long you buff the piece. However, if you want a super shiny piece…after initially buffing with your brush. Take a nylon pantyhose- slide your buffing brush in to the foot of it – and buff again. The nylon causes a little more friction- and makes the final finish even shinier.
Everyone who uses this buffing brush during our workshops- always leaves with one.
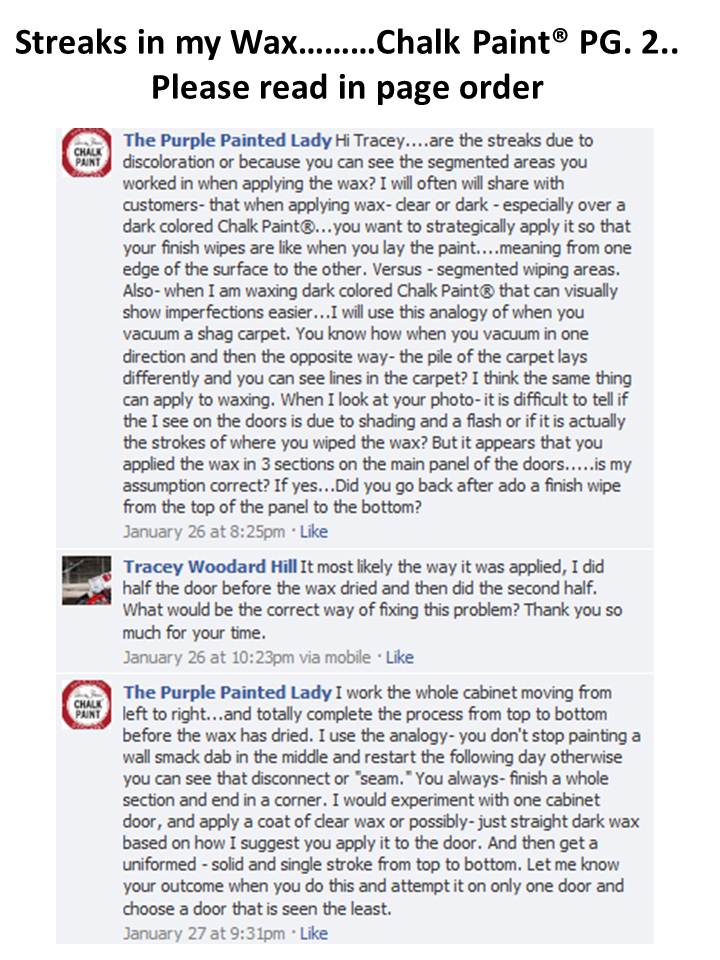
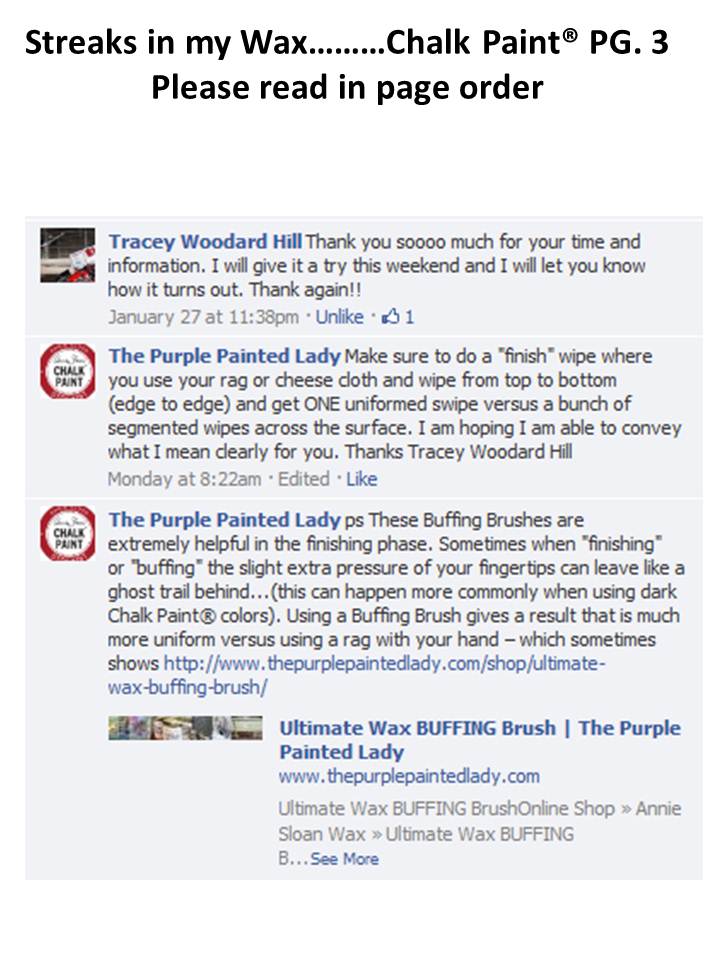
I received a question via Facebook from a customer who experienced streaking – I thought I would share my responses to her here – in hopes it may help some of you also: