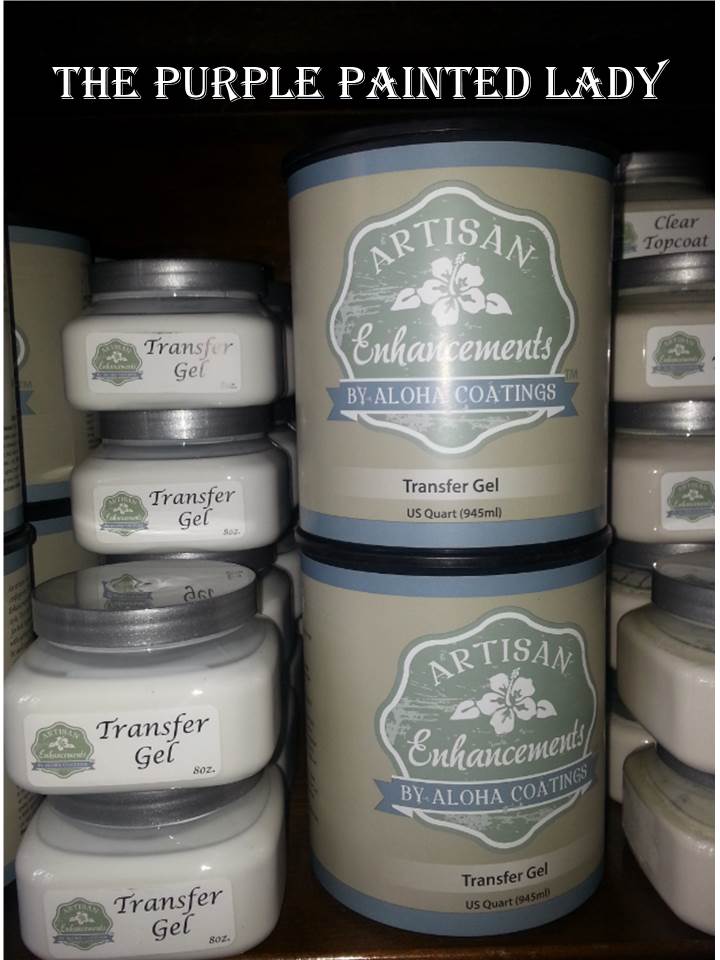
Using Artisan Enhancment’s Transfer Gel- A “How To” for Full Proof Success!
One of our wonderful Barn Sale Junk Jubilee artisans makes these decorative terra cotta pots that sell out in our shop all the time! Amy, who owns a business called, “Rachel’s Garden” – which is sentimentally named after her daughter.
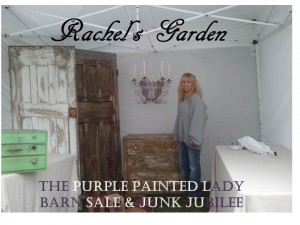
Amy recently wrote up a little post to help all of you re-create what she does using Trasfer Gel.
How to transfer an image using Artisan Enhancements Transfer Gel
You will need:
– The manufacturer STRONGLY recommends a LASER PRINTER. Also- thicker paper (26 – 28 lb) tend to be easier to handle and produce the best results. (make sue to print in reverse if there are words)
– Scissors
– Smooth surface to transfer to
– Paint brush
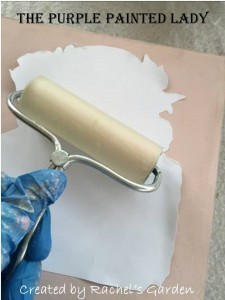
– Brayer (optional)
– Water (spray bottle works best)

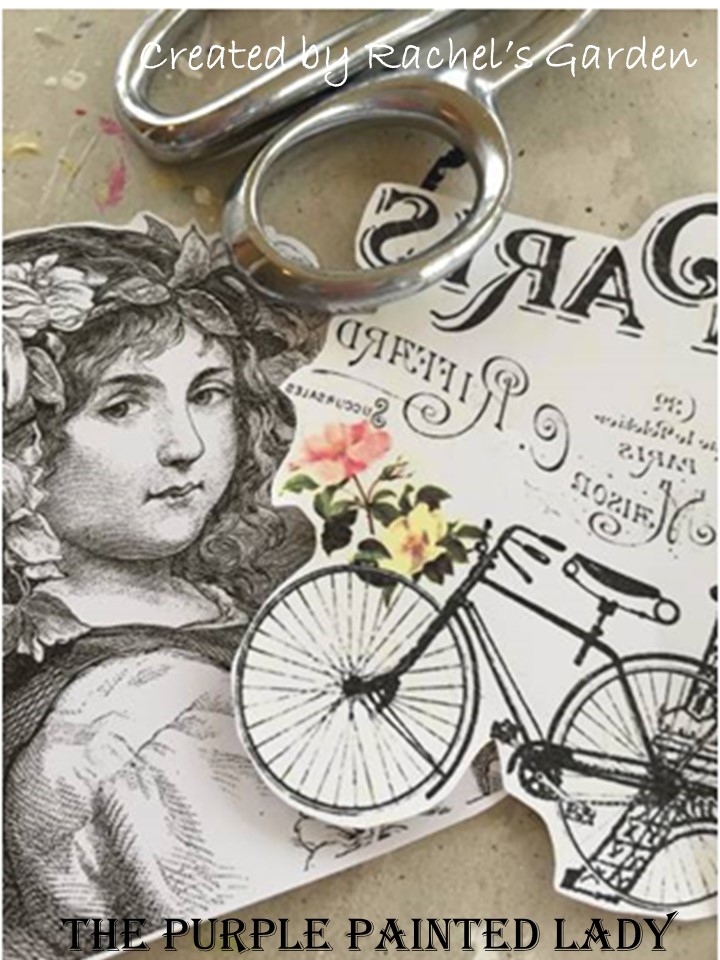
1. Cut out graphic leaving about 1/8″ around edges. This helps to ensure edges of graphics adhere well to surface (and prevent that dreaded “Halo” effect some people get.).
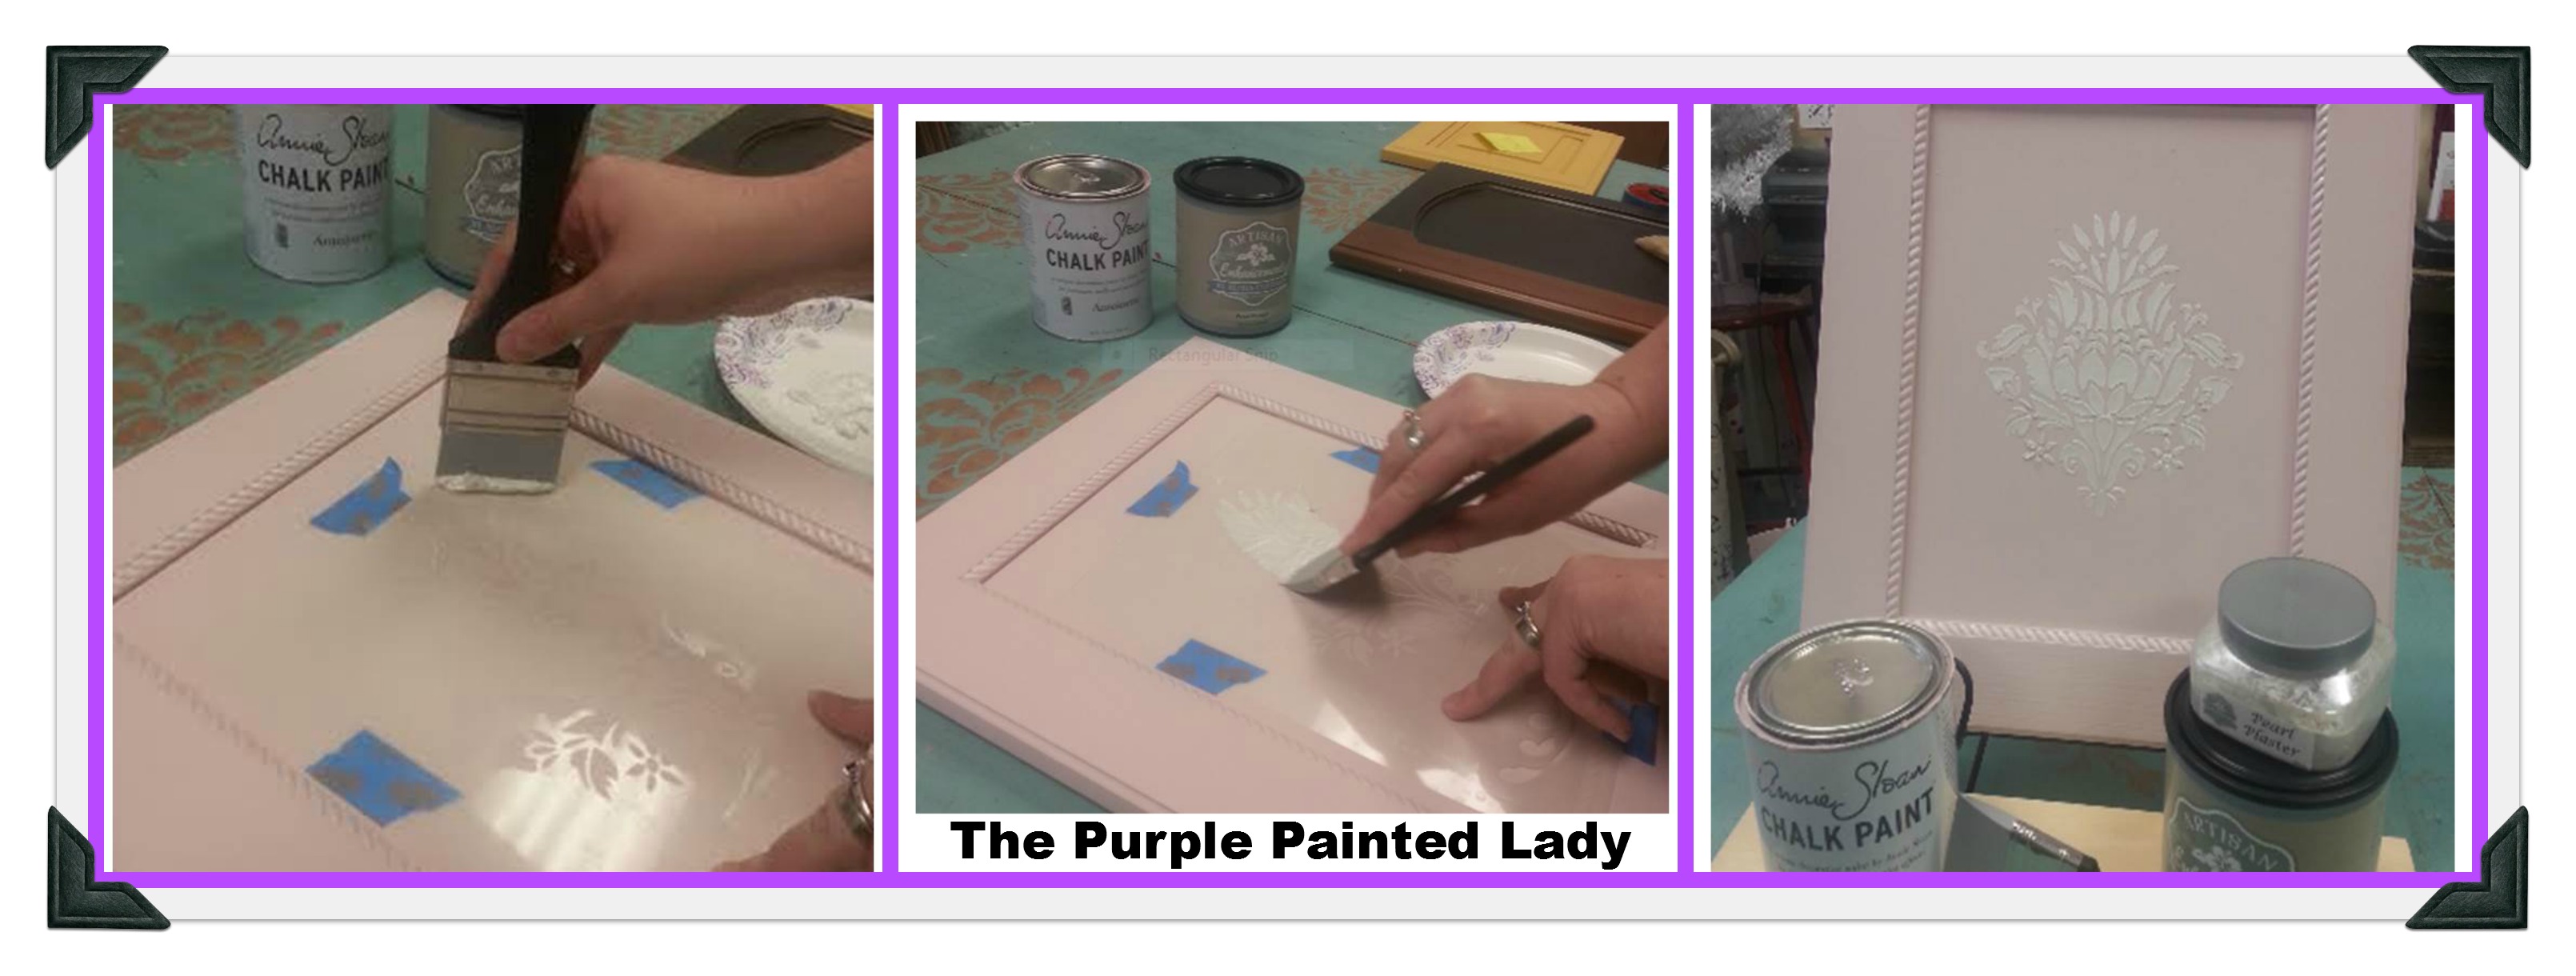
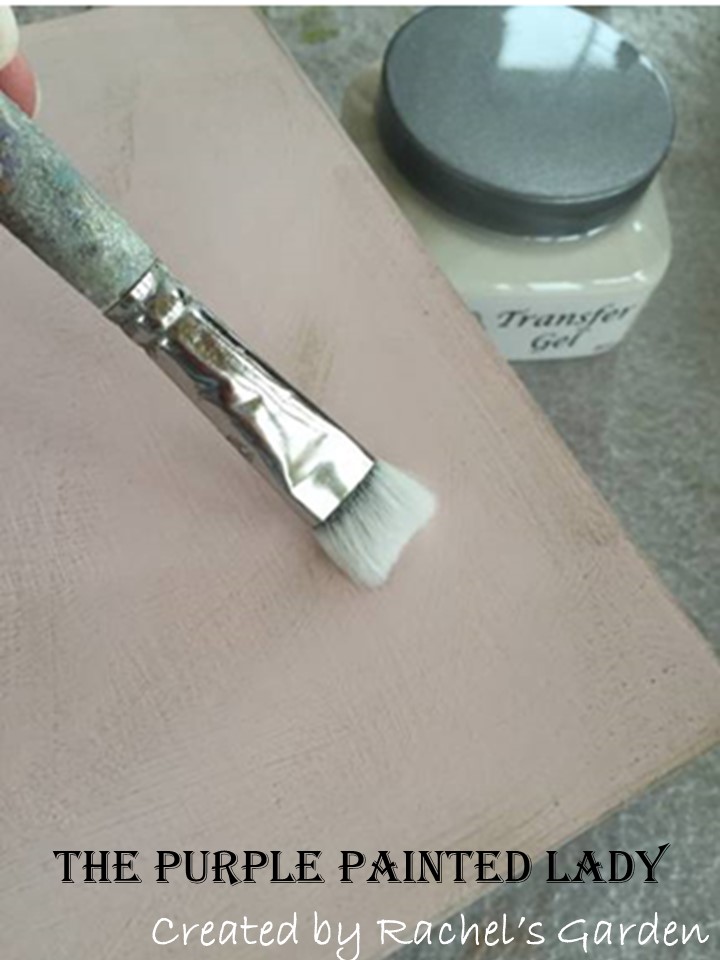
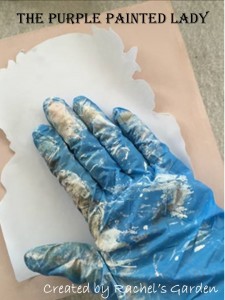
2. Apply a thin coat of Transfer Gel to surface transferring to.
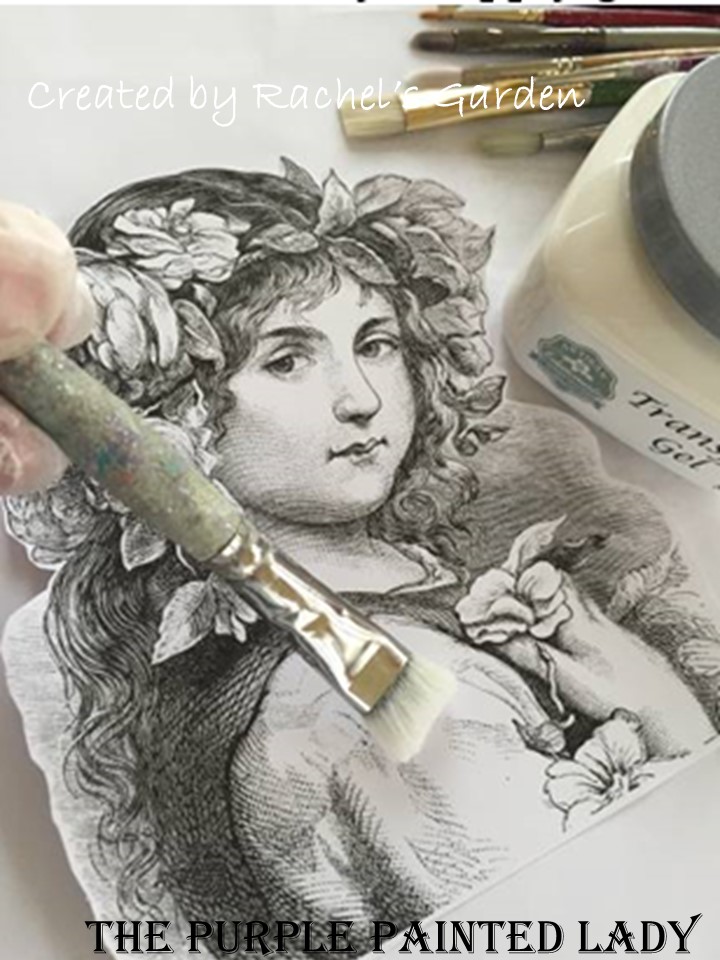
3. Apply a generous coat of Transfer Gel to printed side of image. Tip: Be sure to lay image on a flat solid surface when applying gel. I like to put a piece of scrap paper under image to protect my work surface. Also, try to apply gel in one direction – Do not go over image repeatedly or ink may smear.
4. Adhere image to surface. Smooth and work out any air bubbles or wrinkles. You can use a brayer to do this. In addition, I go over the surface several times with my hand and fingertips applying pressure to ensure good contact. Be sure to go over all the edges applying pressure as well.
5. Let dry for several hours. I prefer to leave it overnight.
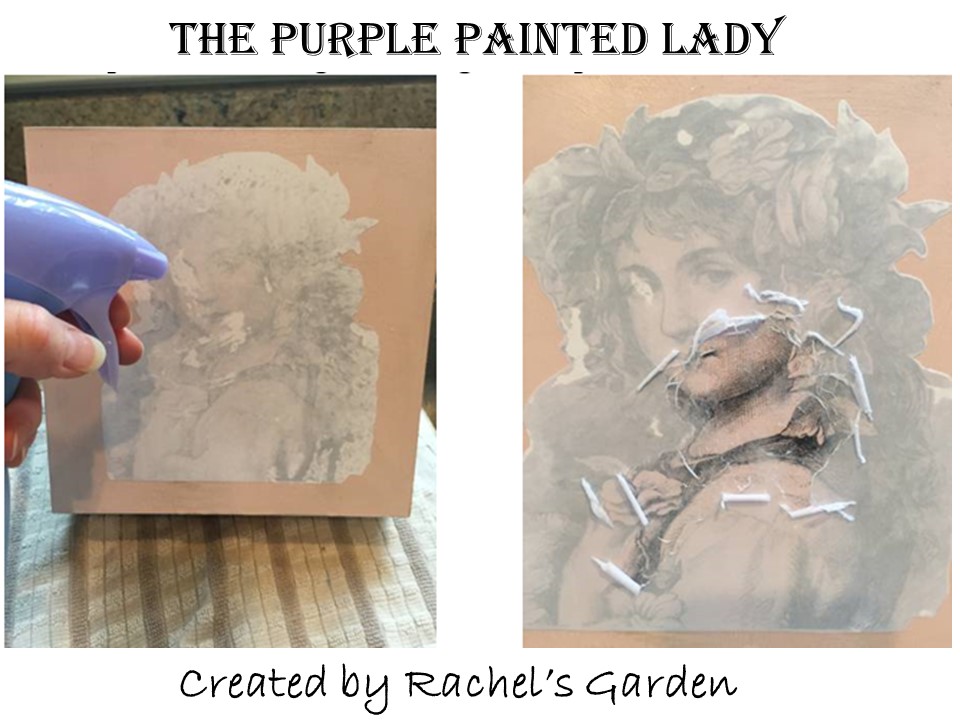
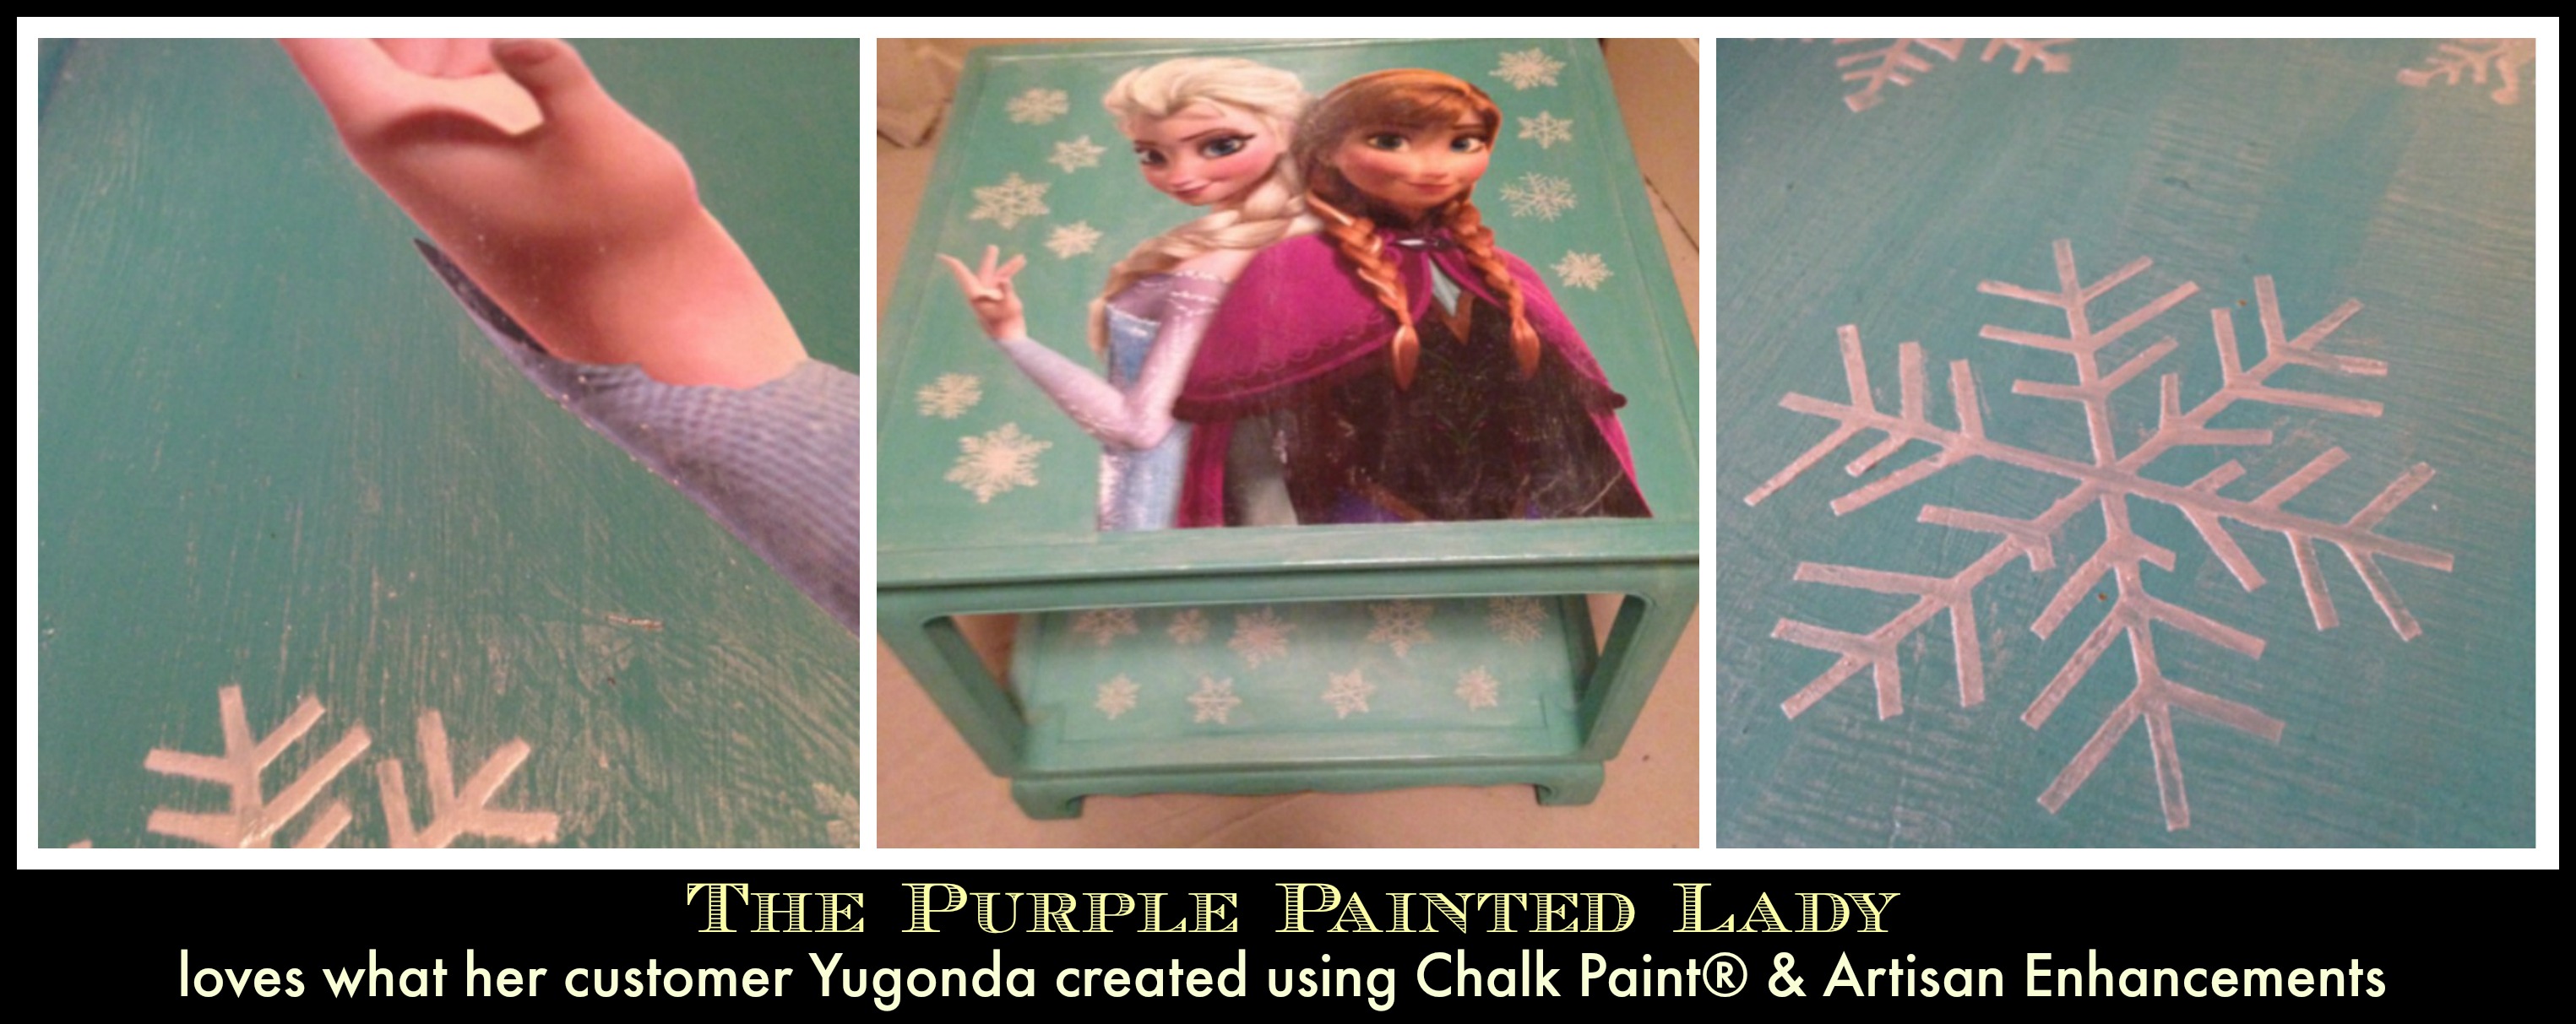
6. Thoroughly wet paper with spray bottle. Pat to soak through paper. Using one finger, begin to rub to loosen paper. Top layer will roll/peel off easily.
REMOVAL TIP:
I have found it best to work from the center out. This helps to ensure edges of image don’t peel.
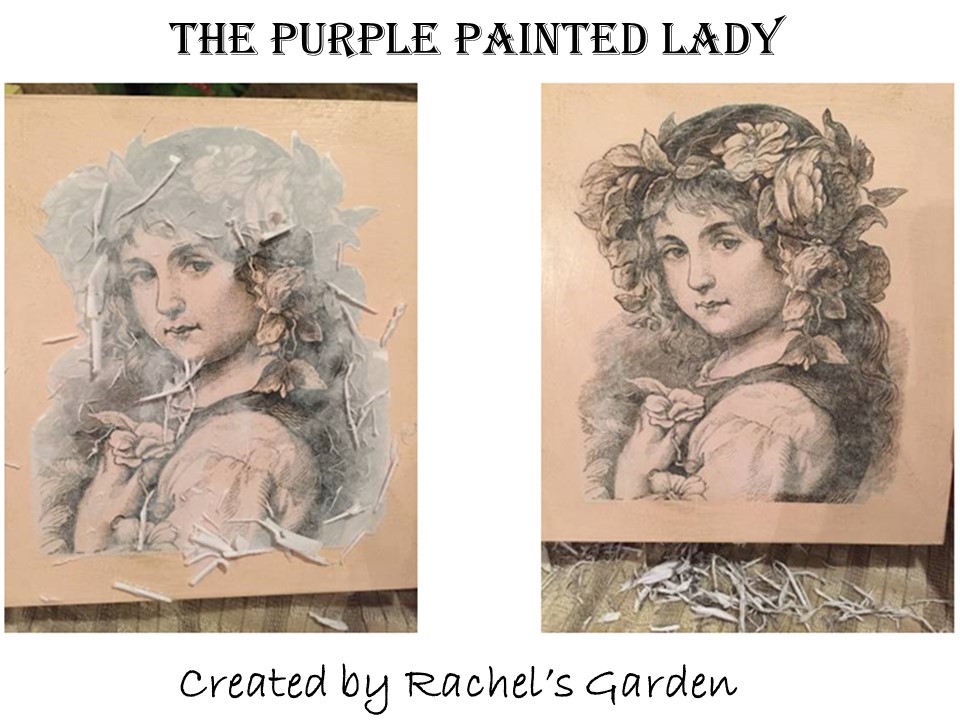
Continue to work a small area at a time by rubbing back and forth lightly with fingertip. It’s not necessary to rewet surface at this point. It works best when just damp.. even close to dry. When most of the paper is off, I soak one or two more times and rub again very lightly to get last bits of paper off.
And…that’s it!
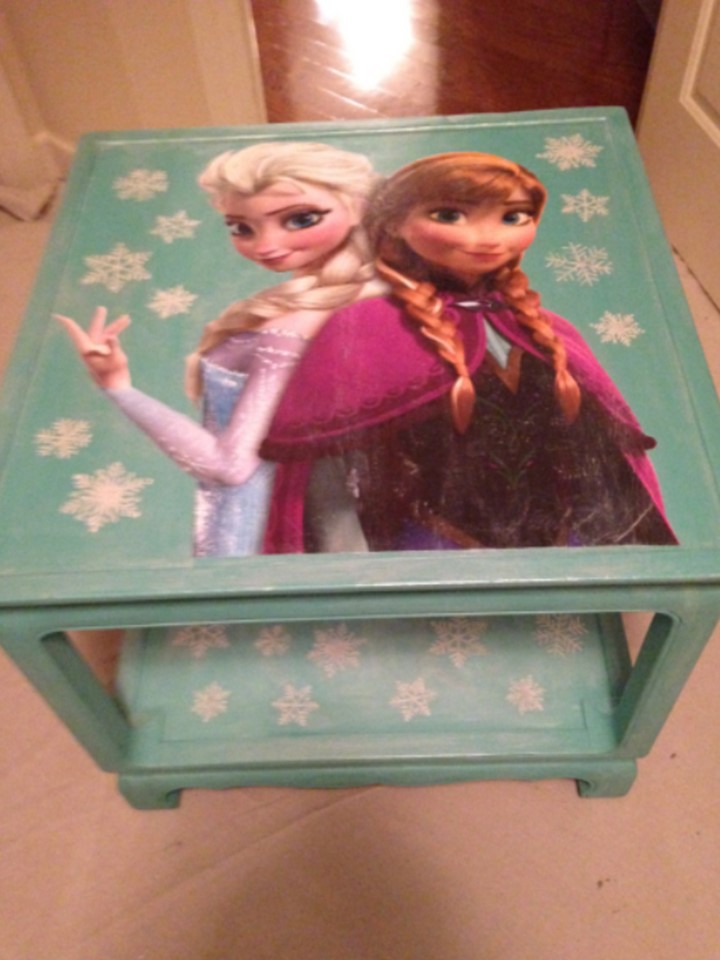
Here are a couple finished projects by Amy Weiner from Rachel’s Garden – Handmade.
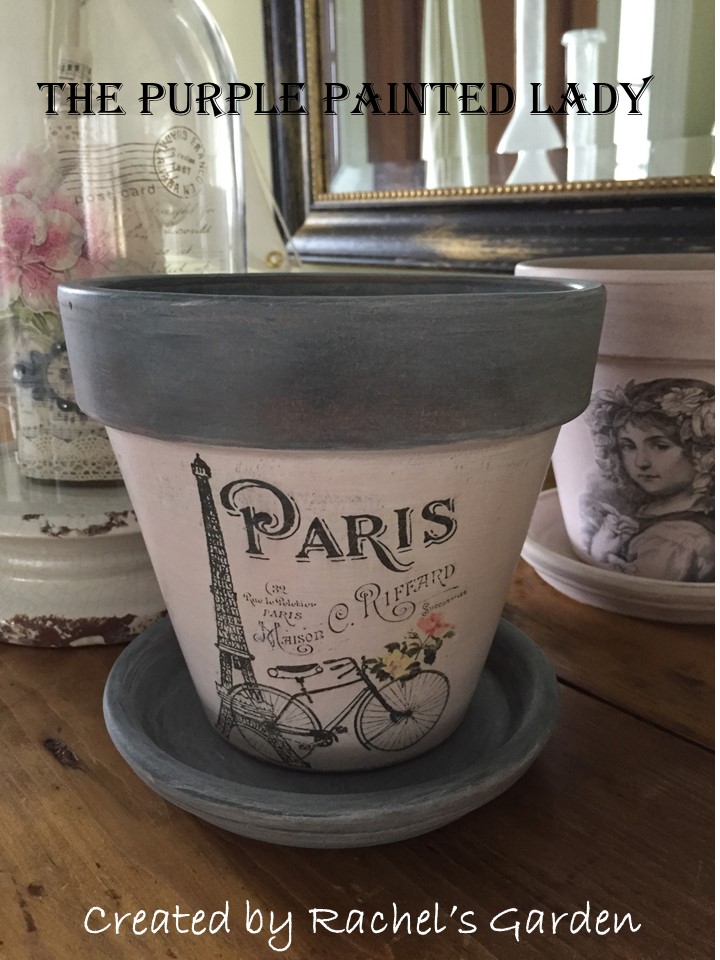

XO