Want your pieces painted with Chalk Paint® and CLEAR Waxed to feel smooth as glass?
Try our Steel Wool Grade 000 (link to our on-line store is noted below.) Pads are packaged and sold in poly sleeves, each sleeve contains 16 pads. Cost is $5.95 for the whole sleeve. This is a great deal and these will last you a long time.

DIRECTIONS:
1. After you have applied your clear wax and removed the residual from your whole piece- go back and use one steel wool Grade 000 pad.
2. I recommend using the steel wool once you have finished waxing the whole piece- because if you are applying the wax correctly- your piece should be totally dry.
3. Now take one steel wool pad and gently wipe your piece in the same direction as the grain of your brush strokes – from edge to edge. Do this just for a few swipes and then stop and feel. I like to glide the top of my hand over it to gauge how smooth it now is. Do you like the touch of it?
Just an FYI – one steel wool pad will easily do a whole dresser. But save the pad and use it for your next project that is of the same Chalk Paint® color.
This grade of steel wool will polish your clear wax and you will be in awe of the finish your painted and clear waxed piece now has.
BE AWARE!:
* First time using? Do this in an area on the piece that is less conspicuous, compared to the top of your piece or front dresser drawer. (just like as I recommend trying Dark Wax the first time- experiment on a little cheap item first or paint the back of the piece and wax it- so you can practice techniques there.)
* Have you noticed in all my instructions, I keep stating CLEAR wax? That is because if you try this on Dark Wax and it has not cured- depending on the amount applied- you can start to lift some of the dark wax. Again- practice or start on the back first.
* Don’t scrub in a circular motion. I like to wipe the steel wool pads in the direction (or the grain) of my brush strokes.
* Using the steel wool pads will create a little sheen in the wax. So, if you are looking to keep a flat, matte finish, you have been forewarned. : )
Rhodes American Steel Wool is the choice of professionals and do-it-yourselfers for wood finishing projects, as well as for cleaning, polishing and refinishing. There are 16 pads per poly sleeve. Cost is $5.95 for the whole sleeve.
* High Quality Steel Wool
* Great Tool for Surface Preparation
In the picture showcasing the steel wool above … you see a drawer that I painted.
I first painted the dresser with Louis Blue, then Greek Blue, finished with a coat of Florence Chalk Paint® decorative paint by Annie Sloan. One coat of each color.
Then I next used sandpaper (I think some 180 grit) and sanded back the edges and corners to give it a worn, aged effect. Some pieces evolve, so I then waxed the dresser thinking I was done – BUT I WASN’T. I realized I wanted some of the base wood to show through. Since I already had 3 solid coats of Chalk Paint® and had waxed the dresser a few days ago, I took a pad of sandpaper with an aggressive grit of only 80 and sanded the flat surface aggressively in the areas to reveal more of the colors beneath and the wood base. In the areas I wanted the wood of the piece to show- so you and where I used the aggressive grit sandpaper- you can see how I revealed that.
Lastly, I applied my clear wax exactly as I demo in my VIDEO HERE. Once I had the clear wax completed- (which means it does not feel tacky and my fingers can glide across the surface) – I then lightly polished the drawer with some of the Grade 000 steel wool.
You will immediately feel a difference. The wax finish will be like glass!
 Place the dirty towels in a plastic bucket (the kind you would use to wash your car) and fill it with really hot – hot water and dish soap. (use a dish soap that contains a degreaser like Dawn Platinum.) Then swirl them around using a wooden stick. Make sure there enough hot water that it covers the towels totally and they have room to agitate.
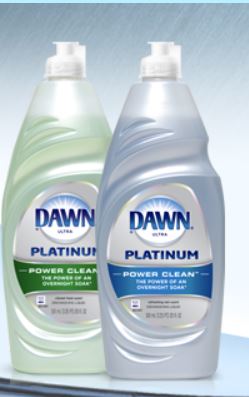
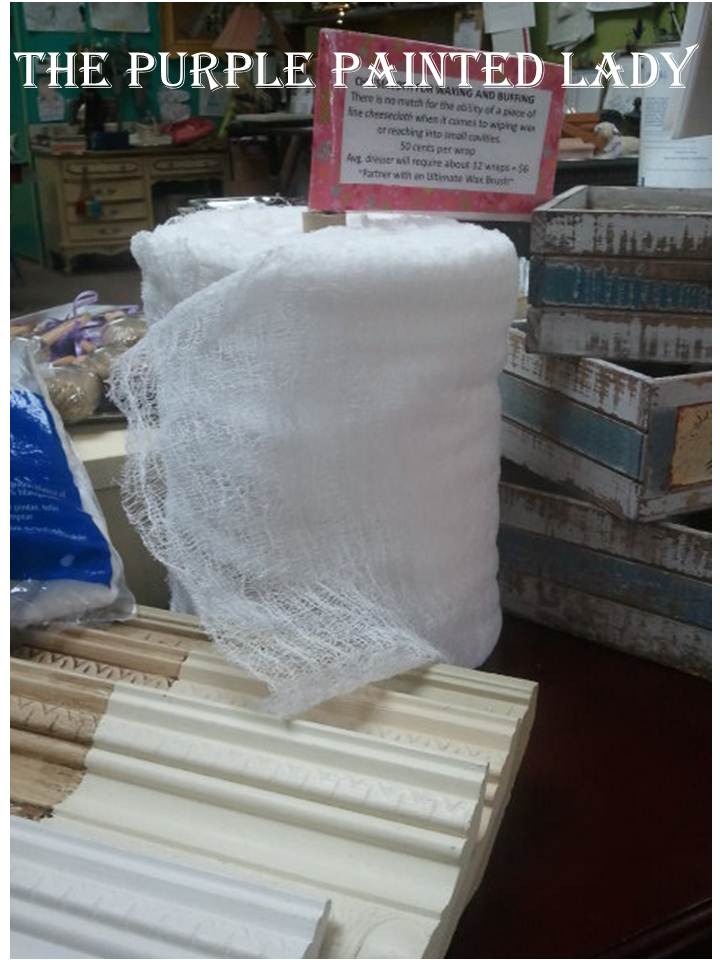
 Click HERE to access the Better Than Cheesecloth available on our website to buy.