Wax On…Wax Off. (Feeling like the Karate Kid!)

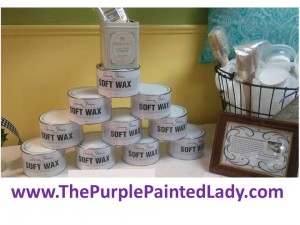
I receive questions about the proper process to apply Annie’s Clear Wax over Annie Sloan Chalk Paint™. I hope this analogy helps in your understanding of how thin to apply it.

When you wash your hair and put conditioner on it- what do you do next?
You wash it all off. And why is that?

Because your hair absorbs only what it needs. If you leave extra conditioner on your hair thinking it is going to make your hair better, what does it actually do?

It gives you a lousy hair day. This same concept applies to the wax. Annie Sloan Chalk Paint™ will absorb the wax that it needs. All excess beyond that- will just sit on your piece and make it feel tacky, gunny, or even sticky.

Now- some of you may be thinking- how do I know if I have too much wax?

A. When you apply the wax- if you can run your finger across it and see a mark or a ridge left behind- YOU HAVE TOO MUCH WAX on it! : )
B. Your project was a small side table or short shelf unit and you used a half tin of wax. guess what…YOU HAVE TOO MUCH WAX on it!

Keep in mind- even if you applied too much wax it is not horrible if you like the look of your piece! So, do not worry about it! And move on to your next project- be more aware or present when you apply the wax.

But again -you know you have too much wax or your wax is uneven when you see streaking in the wax. But all is not lost if this is your situation! And again- we want you to LOVE your piece and want to prevent you from using too much wax because it causes more work for you and wastes your product.

So… to remove excess dried wax:
1. Take a clean lint free rag (an old undershirt works great)
2. Grab your low odor mineral spirits (I have found that the “GREEN” mineral spirits do not work well for this application) and put your cloth on the mouth of the container and get 2 dabs of it on the rag. DO NOT SATURATE the rag with mineral- we do NOT want a wet rag dripping mineral spirits.
3. “Wipe” the excess wax off your piece. Do not scrub- and do not work in a small circular motion- you want to remove the wax evenly. So wipe from side to side.

Another option- in case someone has a smaller piece and does not want to bother with the mineral spirits- is to:

1. Let your wax totally dry
2. Sand lightly if surface seems uneven
3. Blow or wipe off dust
4. Re-paint with Annie Sloan Chalk Paint™ right over what you have done! No stripping or priming necessary!

But- let’s try to avoid this! I don’t want you to waste your time or product.
If you are local to me- I would invite you into my shop for a free quick demo on waxing! : )

How To Make A Dry Erase Board – How Cool Is This?

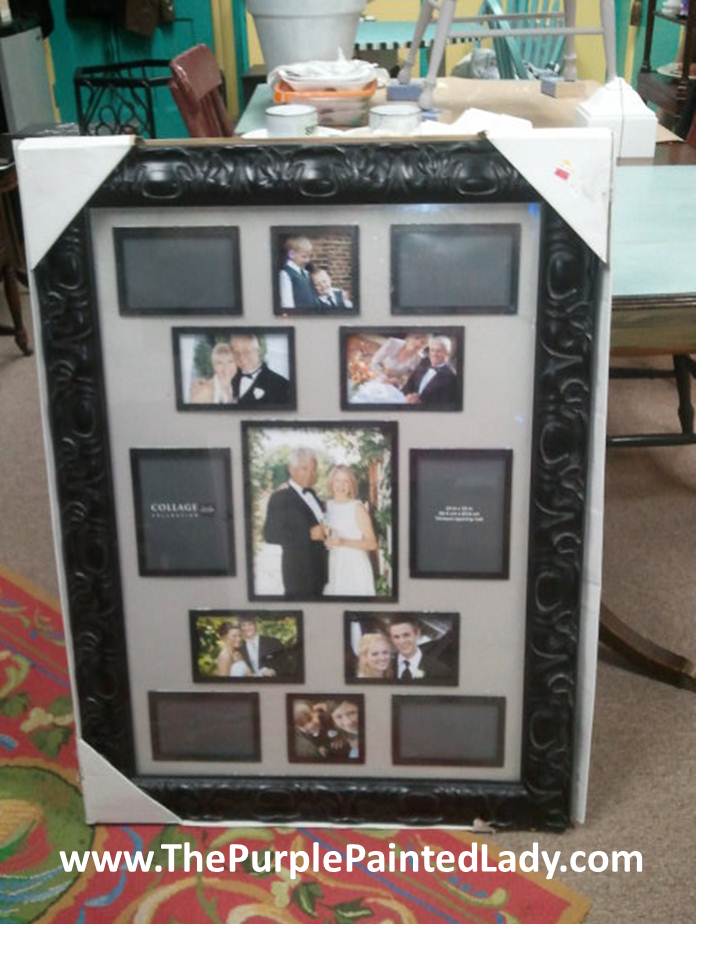
So – every once in a while we all get lucky. I was at Micheal’s Crafts and walked by a display in the front of the store and didn’t believe my eyes! Here was this mammoth funky frame photo collage marked down from $149.99 to ….(drum roll please!)……..$2.00! Yep! That is correct! It was marked down $147.99. Now that gives us all perspective on mark up, right? Well, sort of. Obviously they just wanted to get rid of them. And look how big it is!

Anyway, I loved it. And lucky me…there were TWO! So, I grabbed them both. I have had them sitting in the back corner of of my shop for almost 6 months with a plan to make them into a dry erase board for my store. And well, today…was finally the day!

So, here we go- on this very simple journey to transform a picture frame into something both esthetically cool and functional! Here are the steps of what I did to make my own dry erase board.:

1. I laid it flat on the grown, face side down and removed the back.

2. Removed the cardboard and paper insert.

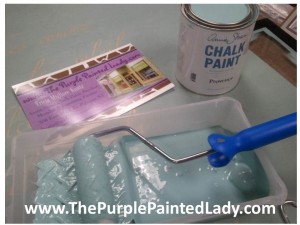
3. Using my Annie Sloan™ Decorative Paint Products- I grabbed one of my favorite colors- Provence!

Now- anyone can create a white background for a dry erase board- but I wanted something with a bit more fun! So, Provence with it’s gorgeous blue-green hue I knew would be perfect. And since this paint has incredible adhesion qualities- I just applied it directly to the glass.

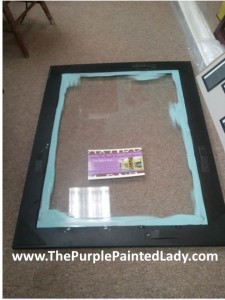
4. I painted around the perimeter with a small brush.

5. Then using a sponge roller (the kind usually labeled for cabinets)- I covered the entire glass surface with Annie Sloan Chalk Paint™. Keep in mind- I am painting the side of the glass that will face inward once the frame is reassembled. NOT the side that I can touch once assembled. (So unpainted side of glass is on the outside)

5. Let the Annie Sloan Chalk Paint™ dry and reassemble the frame back together.

6. Use a Sharpie and ~ voila! You are all set to have some fun & write away!

Stay tuned to later today when I “unveil” my new glorious dry erase board! (meaning – I will just add a photo of it assembled later today.)

As for cleaning the glass after using a Sharpie, a little hand sanitizer, glass cleaner or Clorox or baby wipes will do just fine (whatever you have available to wipe the sharpie off.) You can use expo markers instead of a Sharpie but the expo brand seems to smudge easier. So, just a note to self in case the board will be located in an area you can brush up against- like in a hallway you carry your groceries or laundry through.

What is awesome about this approach to making your own dry erase board is the flexibility to customize to your needs! You can get frames that are small OR super big based whatever size space you would like to fill. Versus being stuck with what only the store has in stock. AND- the frame can be super cool! Get a decorative carved frame and paint the frame too! I love the fancy frames!

Great HELPFUL HINT.. Shop Salvation Army, Goodwill, or VOA’s for art work in frames with a glass top plate. Pick up pieces for cheap and convert to this idea!

* Makes a GREAT end of year Teacher’s gift!!!
* Leave one in the garage for a quick communication board for yours kids or hubby to communicate with each other.
* Hosting a shower or a wedding? What a fun way to greet your guests! : )

Keep in mind – The Purple Painted Lady sells “sample pots” of Annie Sloan Chalk Paint™ – and these would be perfect to create a bunch dry erase boards! And with 29 colors- you can custom color coordinate to match any decor or accommodate someones favorite color (just don’t use Graphite!) LOL!
And I have to end with something inspirational and a reminder to you all!

“Speak up. What’s obvious to you might be simply genius to others.” ~ Michelle Rose Jorgensen

Hope you enjoyed this post!
Thanks for reading!