Hey neighbors!
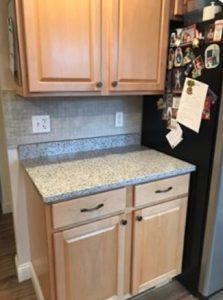
If every time you walk into your kitchen you get the feeling that:
* It is too dark and it is like a cave.
* You really, really dislike the dated cabinets.
* You dread hosting an event at your “home” since you are embarrassed of the way it looks.
* That the thought of the expense to change your cabinets is just not a possibility.
* You like the cabinets, just not the color or wood stain.
If you can relate to any of the above- then The Purple Painted Lady can help you! As we showed on Wednesday, February 18, 2015 with Hannah Welker on Good Day Rochester, DIY Wednesday on WHAM ABC 13 News, Rochester, NY. Hannah came to our Macedon store location starting at 7am and aired live as we transformed some cabinet doors.

We were talking DIY affordable, professional cabinet projects! This applied to more than just kitchens too! Think ugly powder room, bathroom or even dated laundry room cabinets.
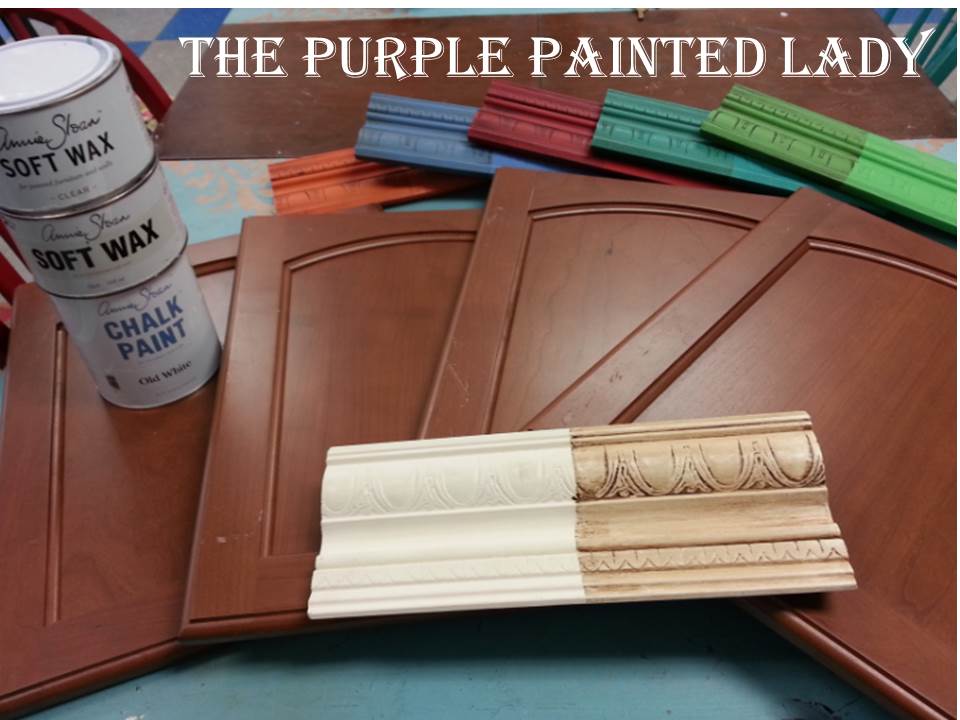
We shared information on how to use a specialty paint that requires no stripping, sanding or priming. The product is called Chalk Paint® decorative paint by Annie Sloan and it recently celebrated its 25th year anniversary!
If interested in painting your cabinets but are afraid to- please don’t be. All of us at The Purple Painted Lady are here to help you through your project.
And if you purchase your paint in our store or ONLINE HERE – we are always just a phone call to help you! 585.750.6056
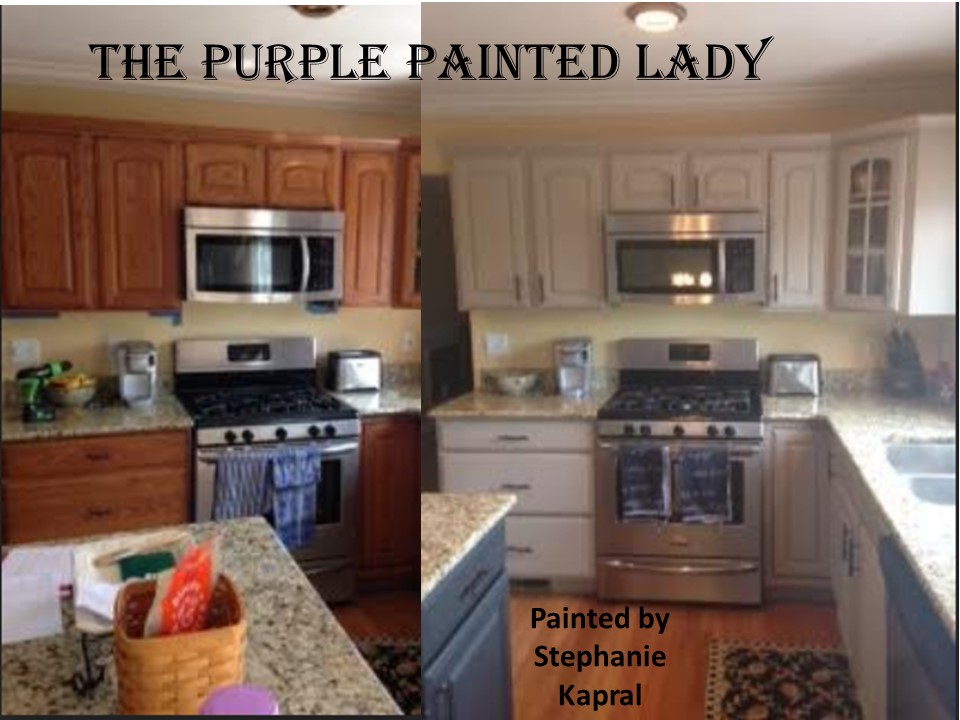
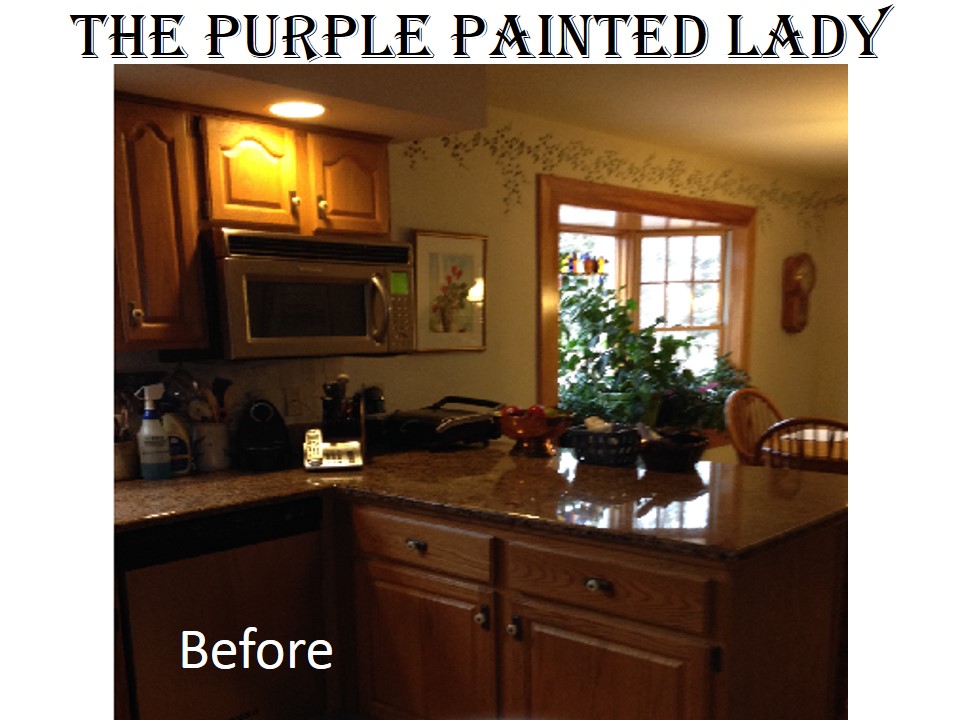
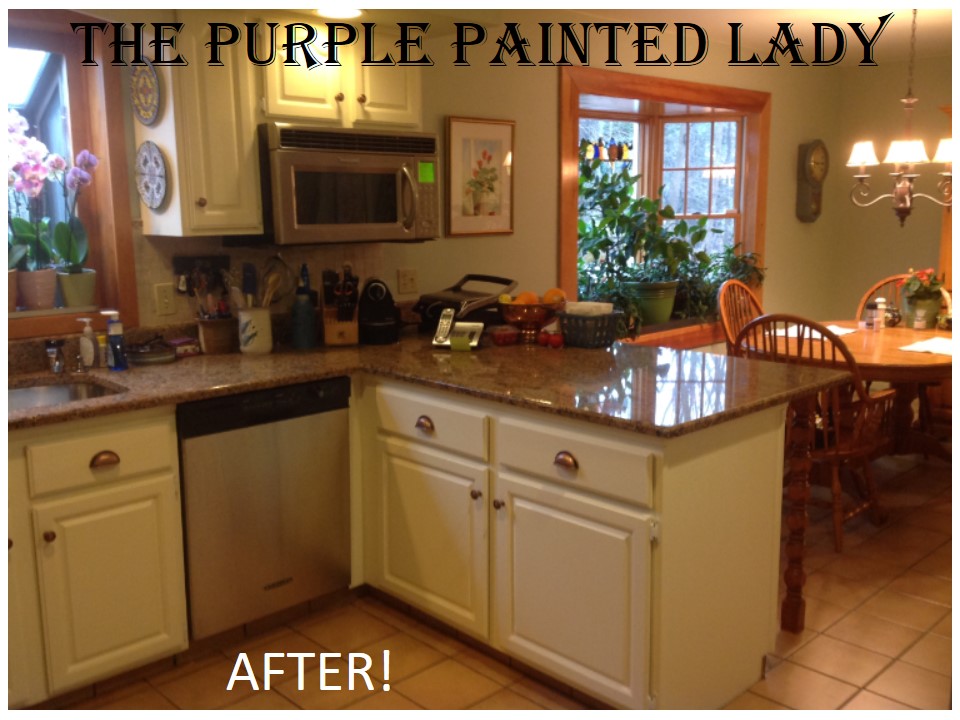
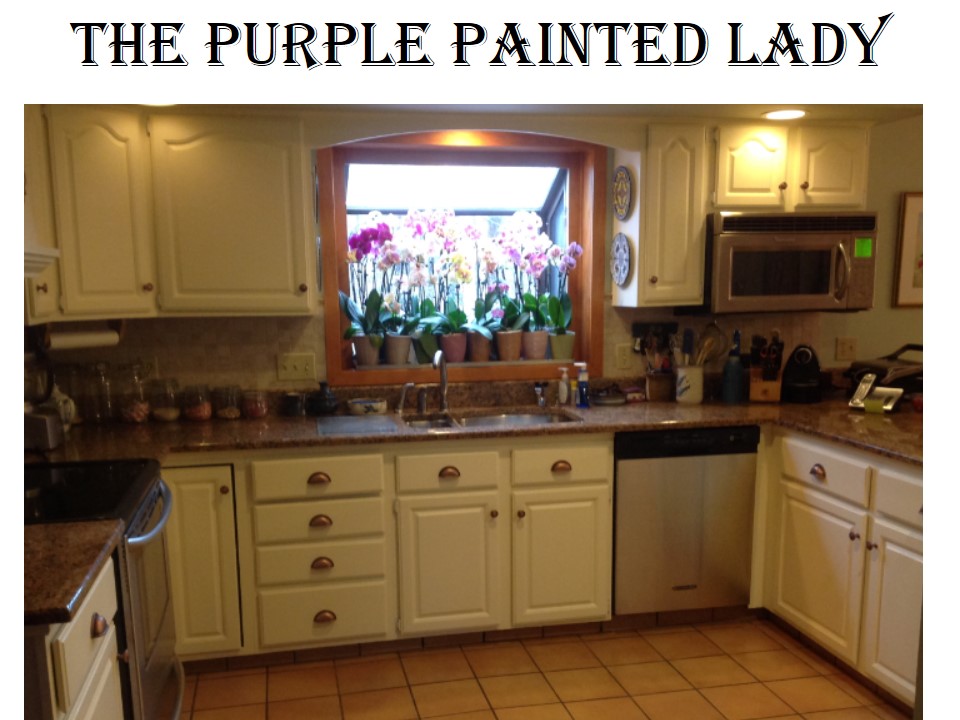
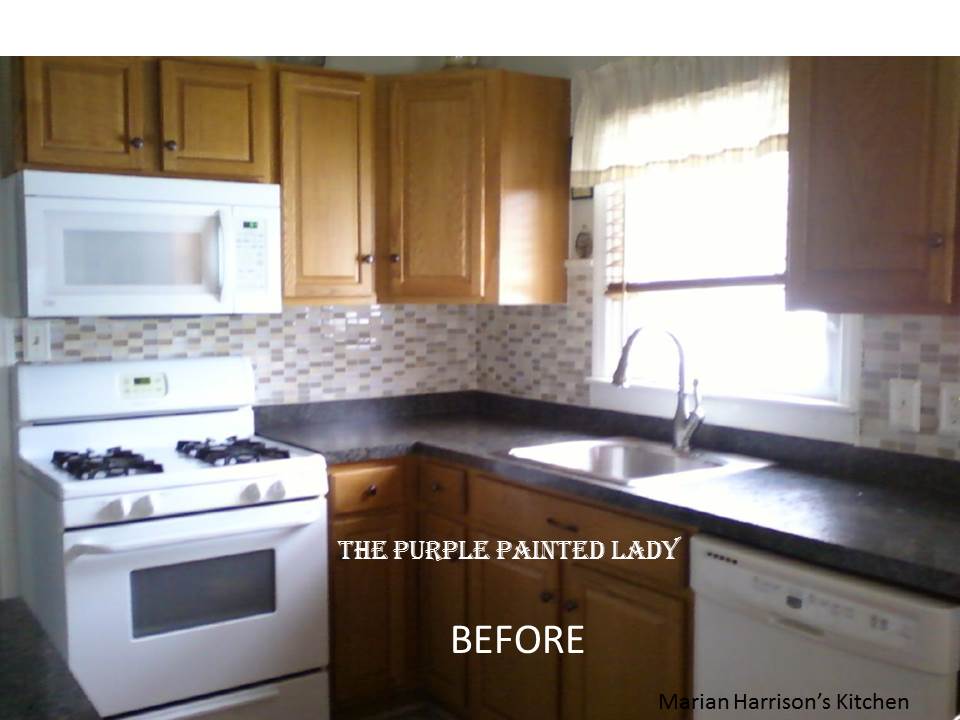
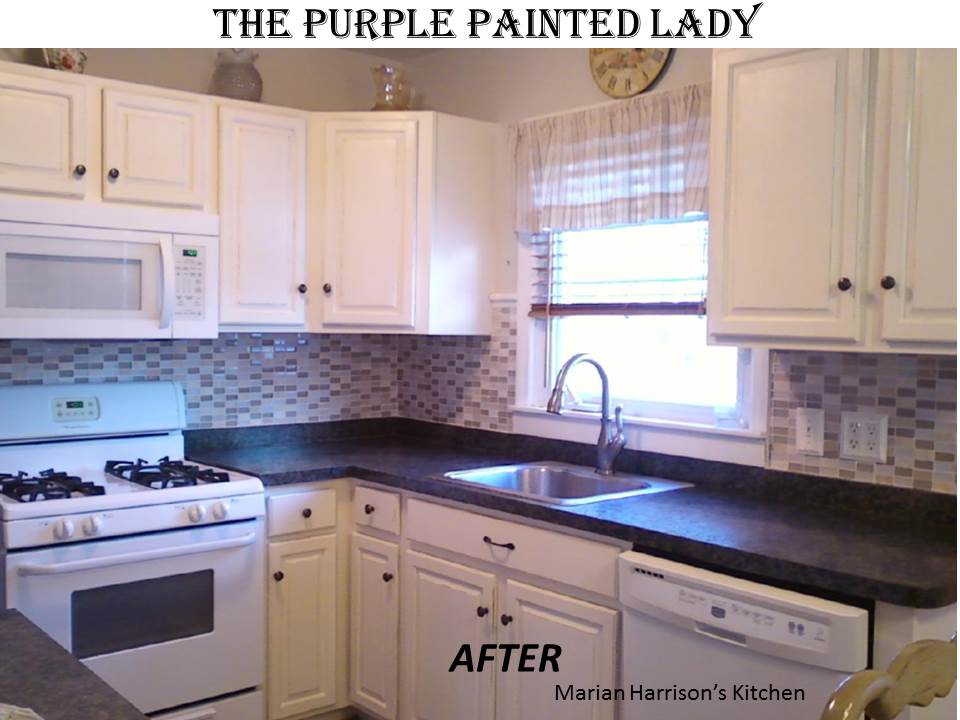
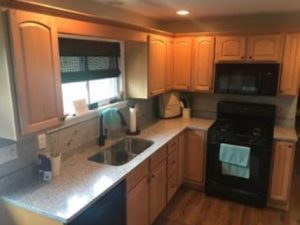
Check out the amazing transformation that my customer Marian Harrison completed in her kitchen. Between the two Before & After photos, nothing changed, other than the cabinets were painted and waxed.
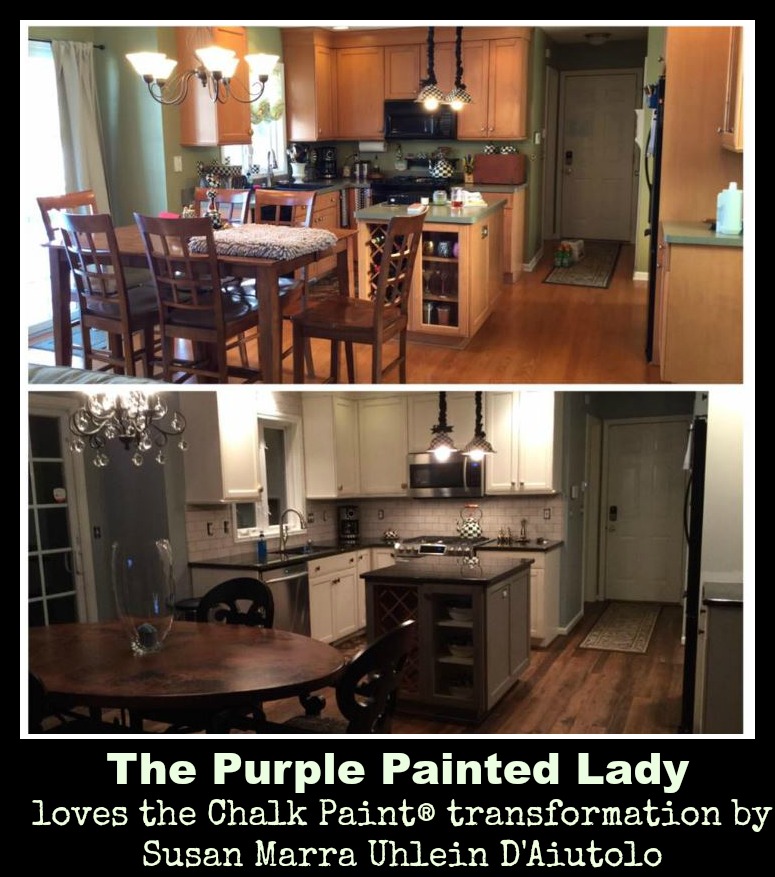
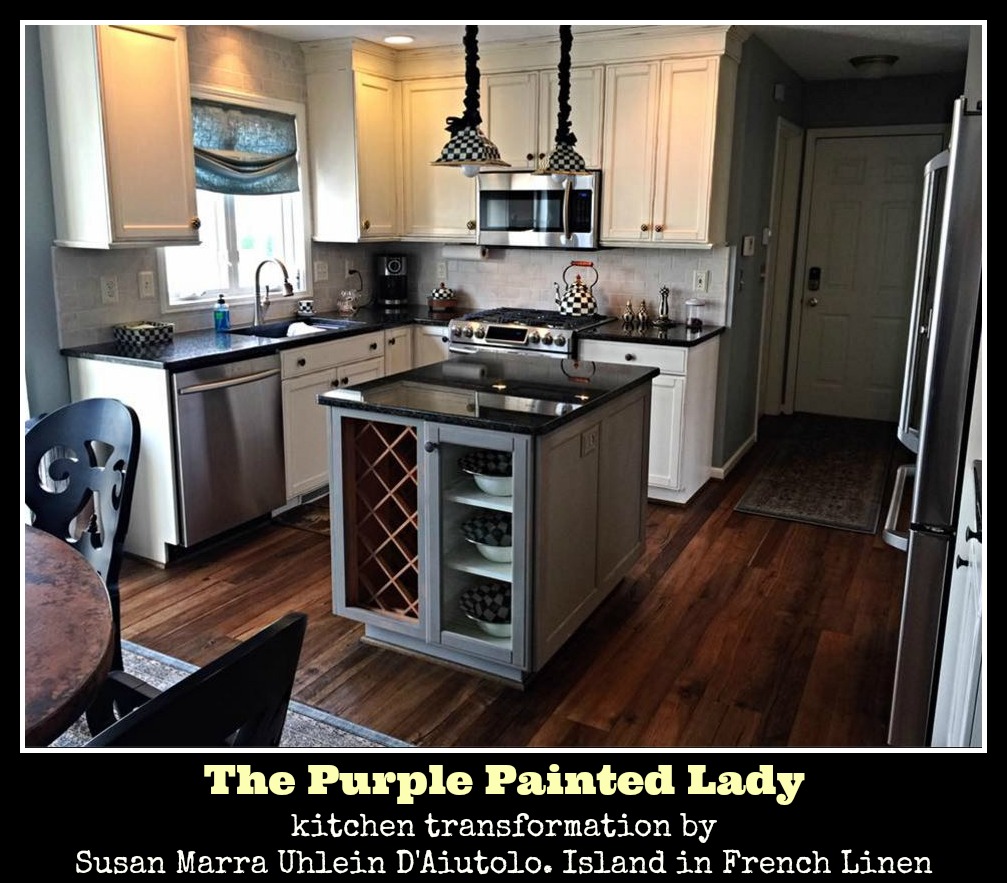
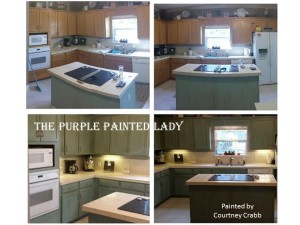
Loves the transformation below that Susan Marra Uhlein D’Aiutolo completed with Chalk Paint® to her kitchen. Absolutely stunning! I love the two tone and having the island different!
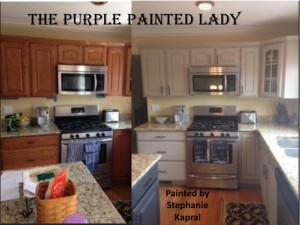
Look at this amazing kitchen transformation below by our customer Maureen Gaffney LaFontaine! She wrote into us and said, “Thank you, Purple Painted Lady for helping me with advice and my purchase!” 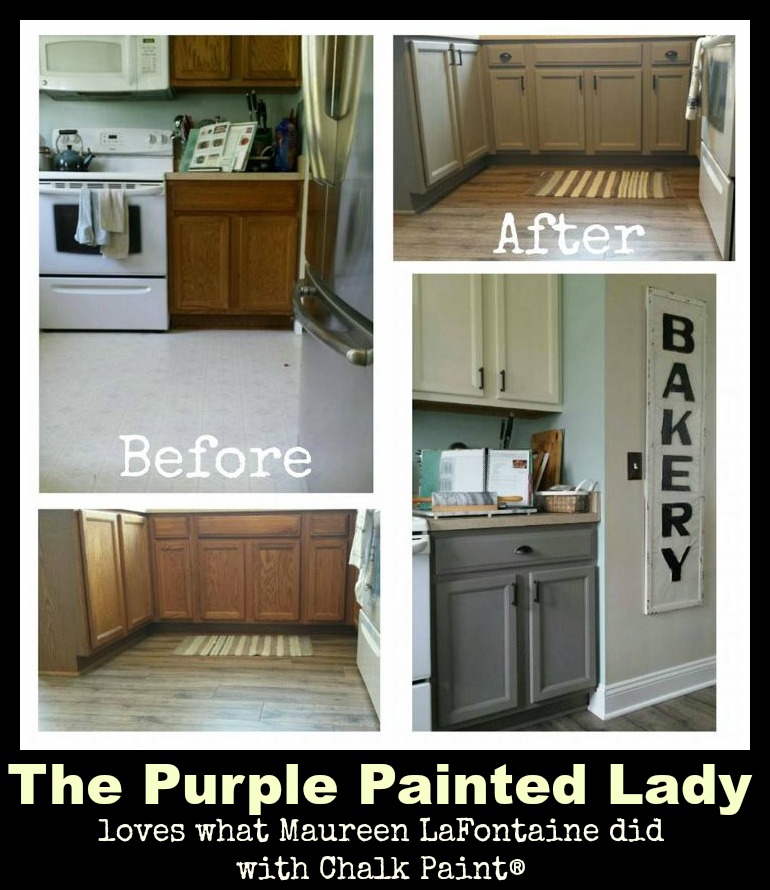
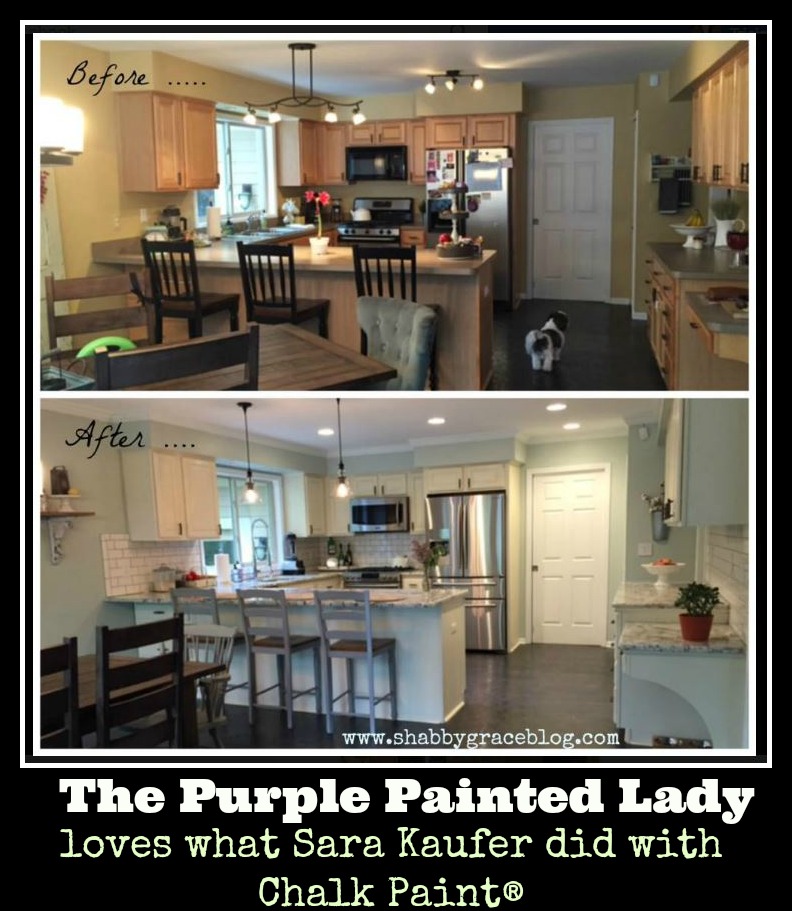
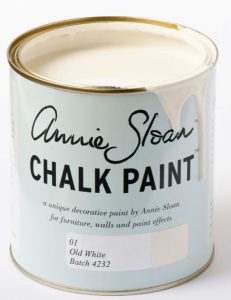
Sara Kaufer of transformed her kitchen below using Old White Chalk Paint®. All I can say is WOW! Check out her blog HERE!
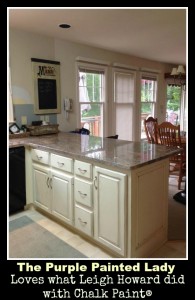
Leigh Howard wrote in to us and said, “I am 69 years old and two years ago I painted my first Annie Sloan project, my kitchen cabinets. It was so easy and everyone loved them so much that now I paint everything I can get my hands on. If I could figure out how to use Facebook I would post the before’s but these cabinets were 1993 high-gloss oak. They are now distressed old white over country gray with emperors silk trim and dark wax.”
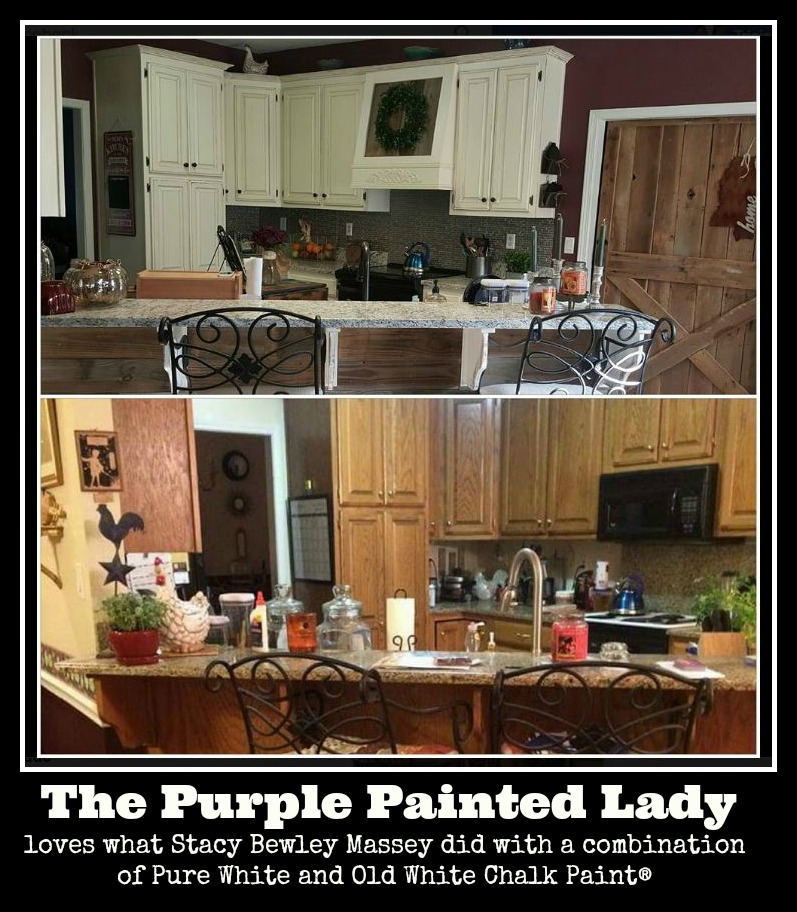
Another great transformation by Stacy Bewley Massey using a combination of Pure White and Old White Chalk Paint®. She did an amazing job!
And that old bathroom vanity? Freshen it up!
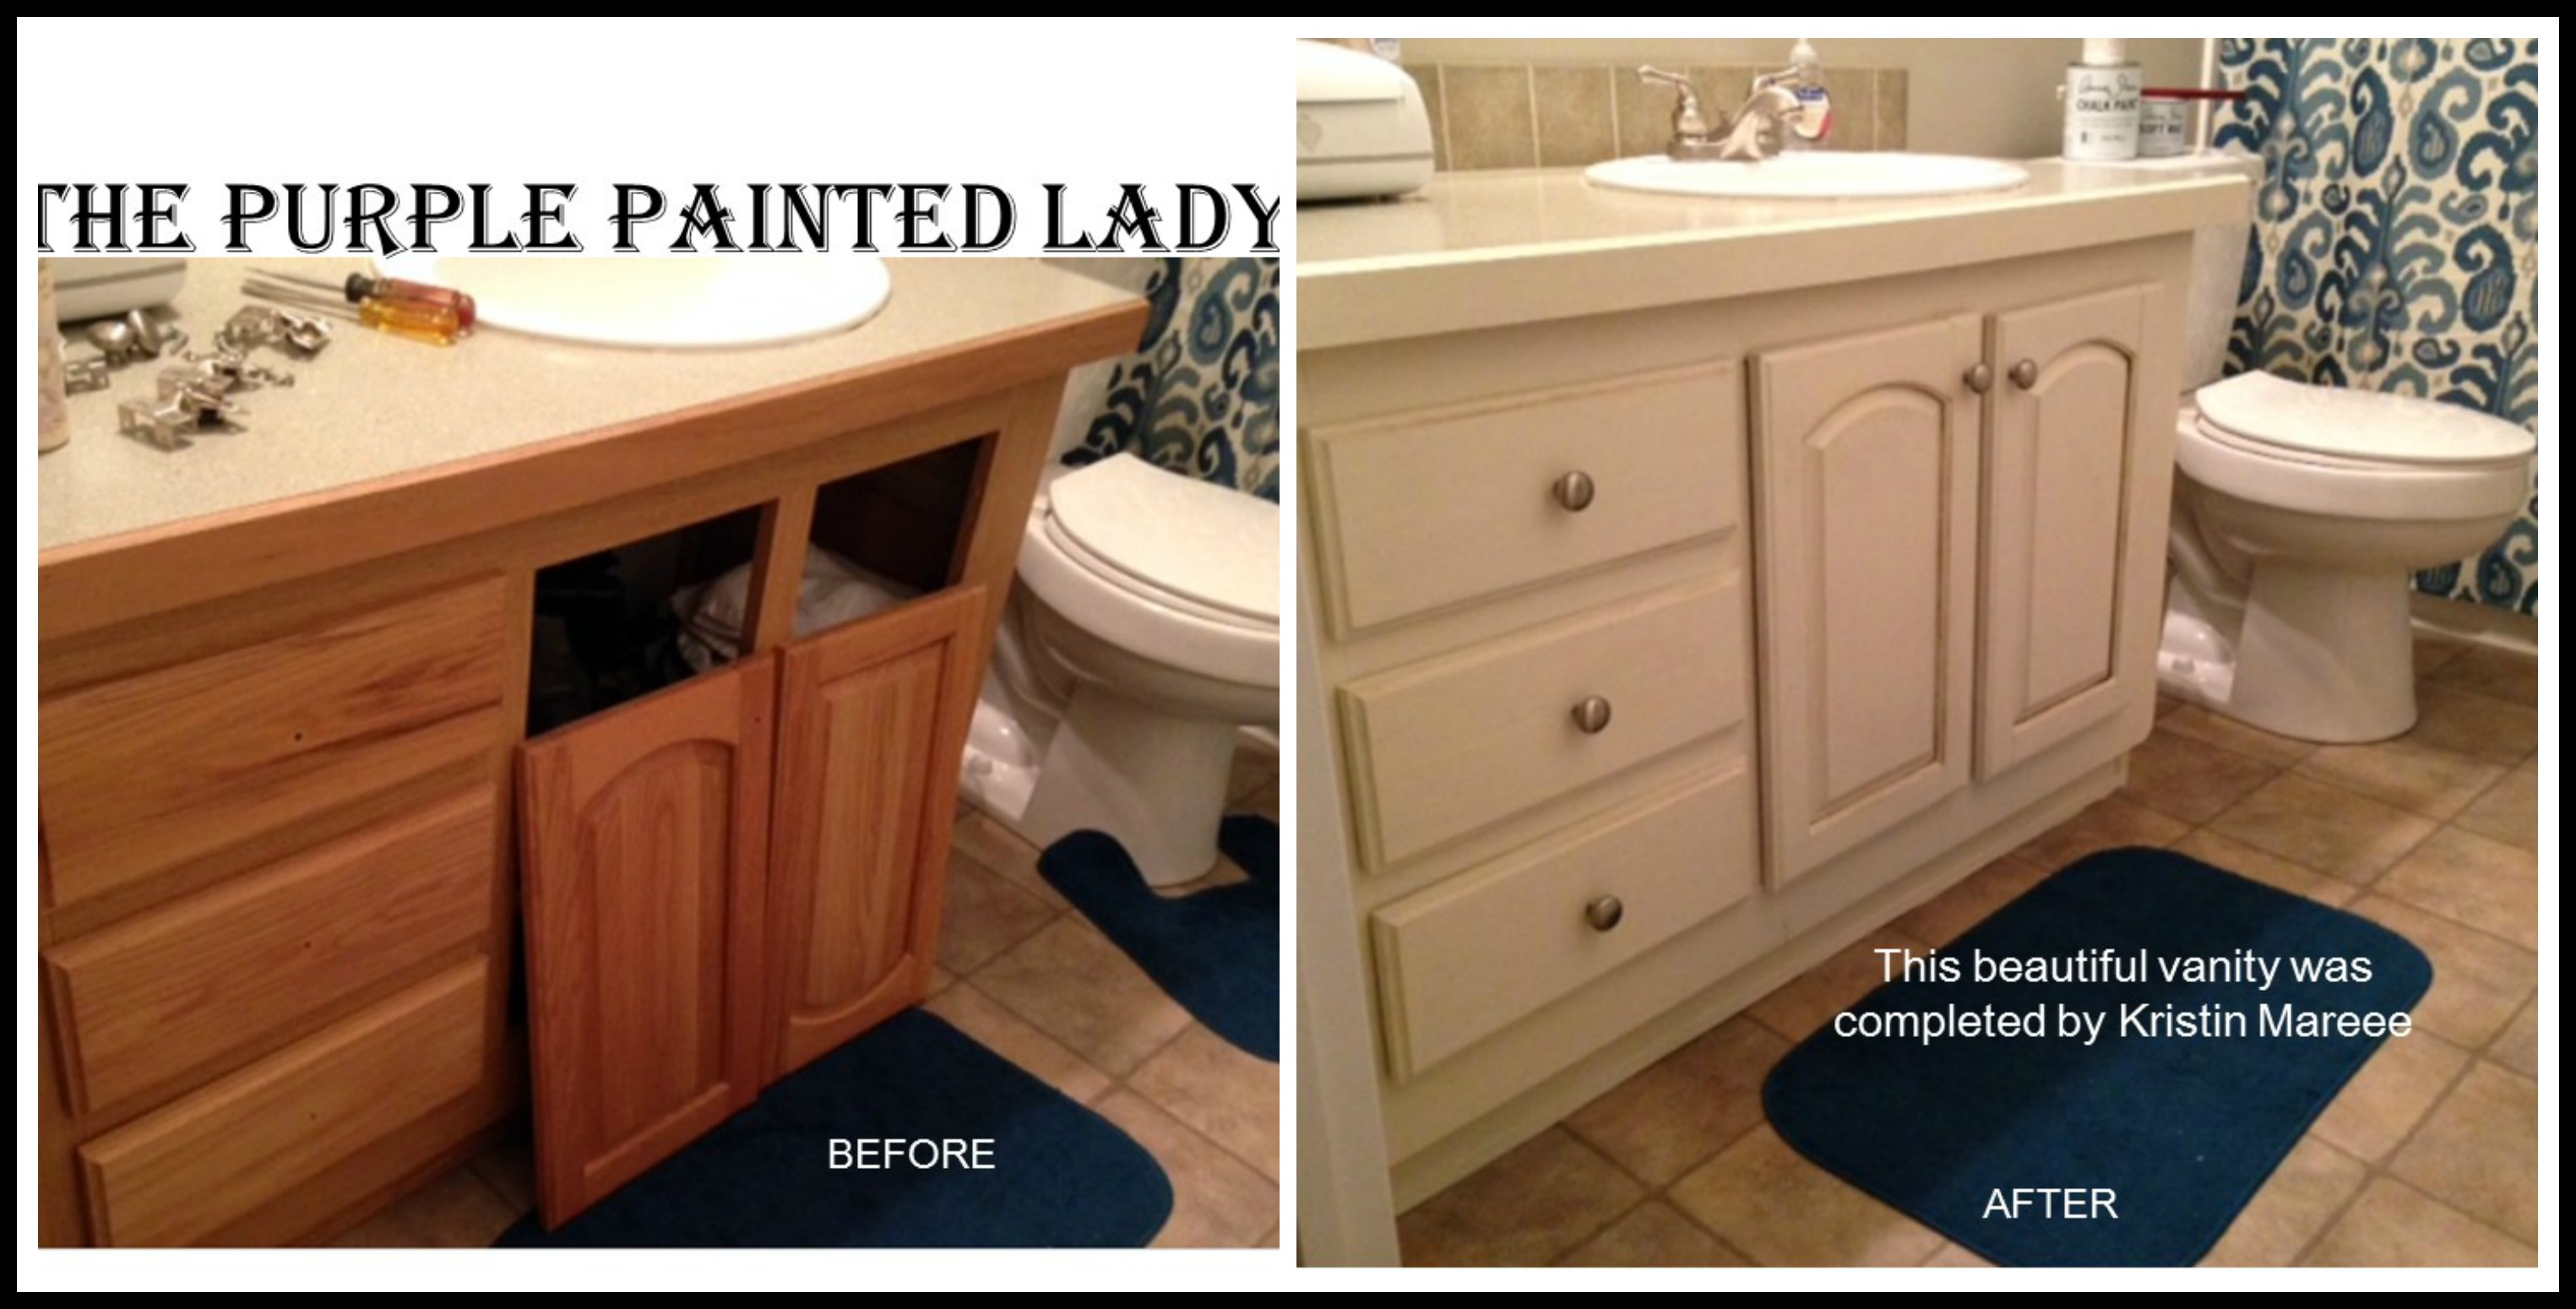
Amazing transformation, yes? I think so!
Many customers want to paint their kitchens but have questions, such as:
* What prep is there when painting a kitchen?
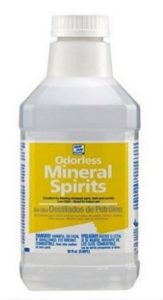
ANSWER: Before painting, it is necessary to clean your cabinets. When you cook, fry, broil or boil whatever you are making, even with a fan- steam goes into the air. It eventually settles on your cabinets. If you have children or a dog, who knows what else might be stuck to them. Get some Odorless Mineral Spirits and wipe down the cabinets using a rag or even a ScotchBrite Scrubbie. Note that the image of the Mineral Spirits shows different packaging that is available. The key thing here is to purchase the regular Odorless Mineral Spirits. NOT the environmentally green Mineral Spirits which is shown in the white packaging in the right of the photo. 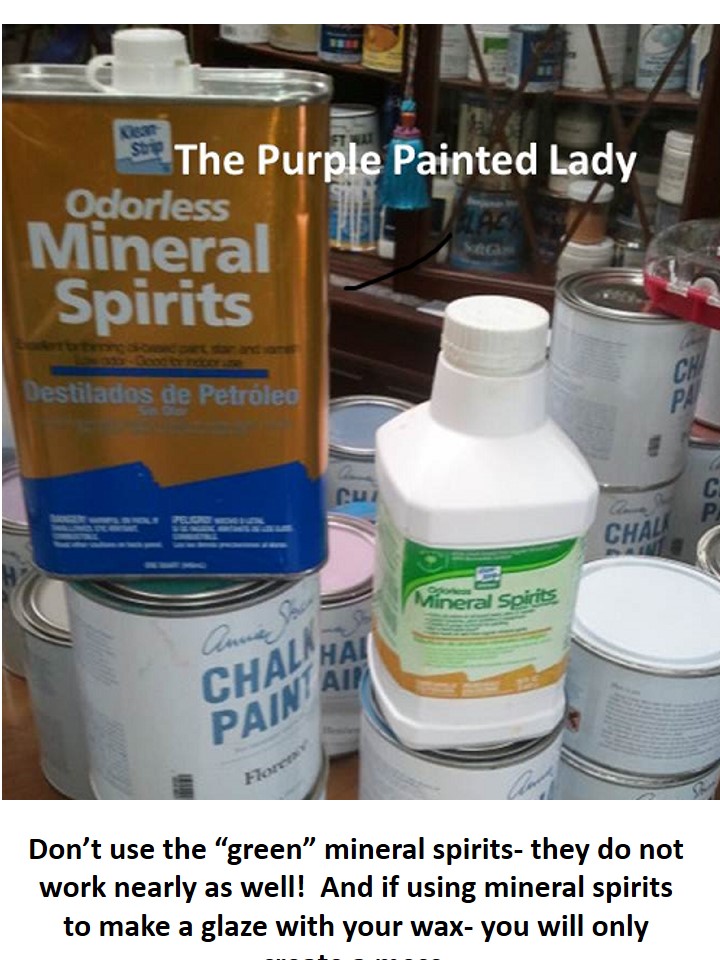
* Will the Chalk Paint adhere to the sides of my cabinets, they are made of a laminate material?
ANSWER: YES! You do not need to do any additional prep- but if you feel more comfortable doing a light sanding using 200 grit sandpaper- you can. I however, have painted many laminated cabinets and have never sanded them.
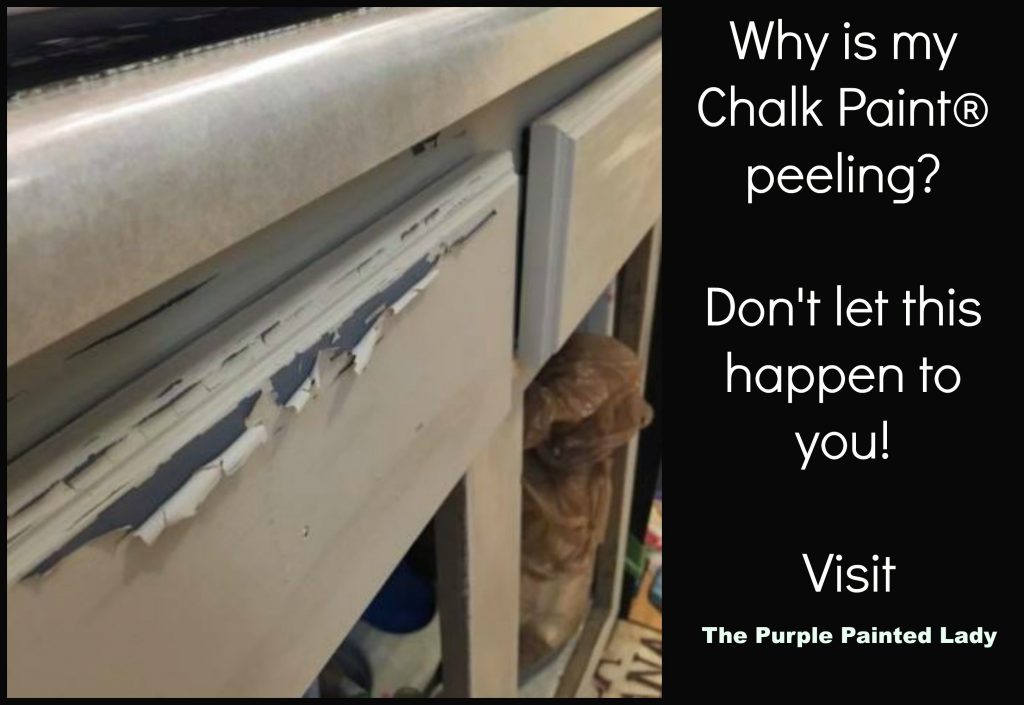
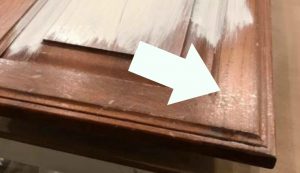
* I have old cabinets and the protective top coat is worn, especially around the hardware. Is there anything I should do?
ANSWER: YES! You will most likely need to apply shellac to your doors. Shellac is a “sealer.” that means it seals in the surface – preventing stain or wood tannins from bleeding through to the paint.
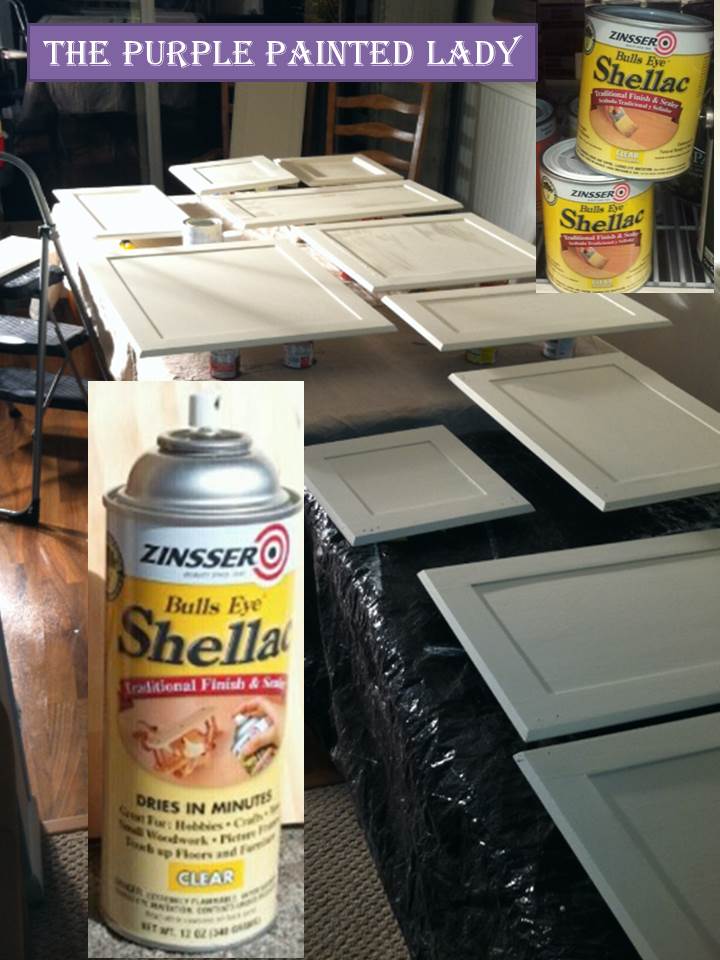
We prefer the clear Zinsser shellac. Again, note that shellac is a sealer so it will seal the surface preventing stain or wood tannins from bleeding through your new paint. I recommend getting the quart of shellac and using a rag, wipe down all the doors and the cabinet frame just like you would wipe down your kitchen table when you clean it. You want the rag moist but not dripping. I cover the whole cabinet in a linear fashion, making sure to NOT miss any spot and to catch the edges also!
Spraying the shellac using an aerosol can is also an option. I have done this many times. On a small job this is good, but remember to spray 2 coats. Aerosol cans of shellac will cost more than buying the quart, so for large jobs- I recommend the quart.

Zinsser shellac comes in quarts and aerosol containers. If you have a well ventilated space and take your doors down- you can use the spray, but I feel the quart and a rag will give you better coverage. I usually will do 2 coats.
If you already started painting and did not shellac prior, and then realize that you are getting bleeding- you can still apply the shellac. Just allow the paint to dry thoroughly and then apply the shellac. 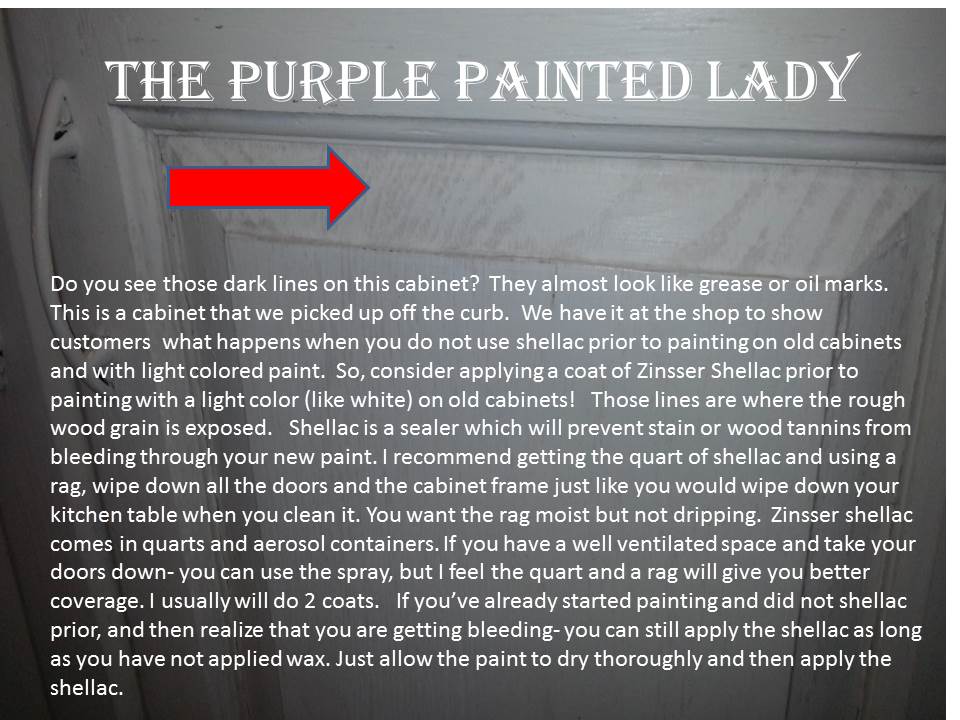
* Do I have to take the doors off to paint using Chalk Paint?
ANSWER: NO…you can leave the doors hinged and on the cabinets when painting. Many do this! However, when I am painting a kitchen- I typically take the doors off and will number them. I then lay them down flat and process them a bit like a production line. If you choose to paint them while they are hanging and plan on painting the hinges, just lightly dry brush the hinges so they are not “caked” with paint.

* How do I calculate how much paint I need?
ANSWER: I will take a piece of paper and make a drawing of the kitchen layout. Literally drawing out the each section of cabinets. I then note the height, width and depth of the cabinets. You need these measurements in order to determine the square footage.
Calculating the square footage is very easy. For each section, multiply the height times the width. The result is your square footage for that section.
Once you have this initial number- understand that this would be for only one coat of paint. A typical kitchen project will take 2 coats. Sometimes, even 3 coats of paint depending on the color you select and the color of your cabinets.
Because you will probably need 2 coats of paint- you will need to double your square footage in the end. Also- don’t forget to paint the underside of your top cabinets. This is the part that is directly over your counter top. And- are you planning on painting the inside of the door? If yes, (and most do) account for that in your total.
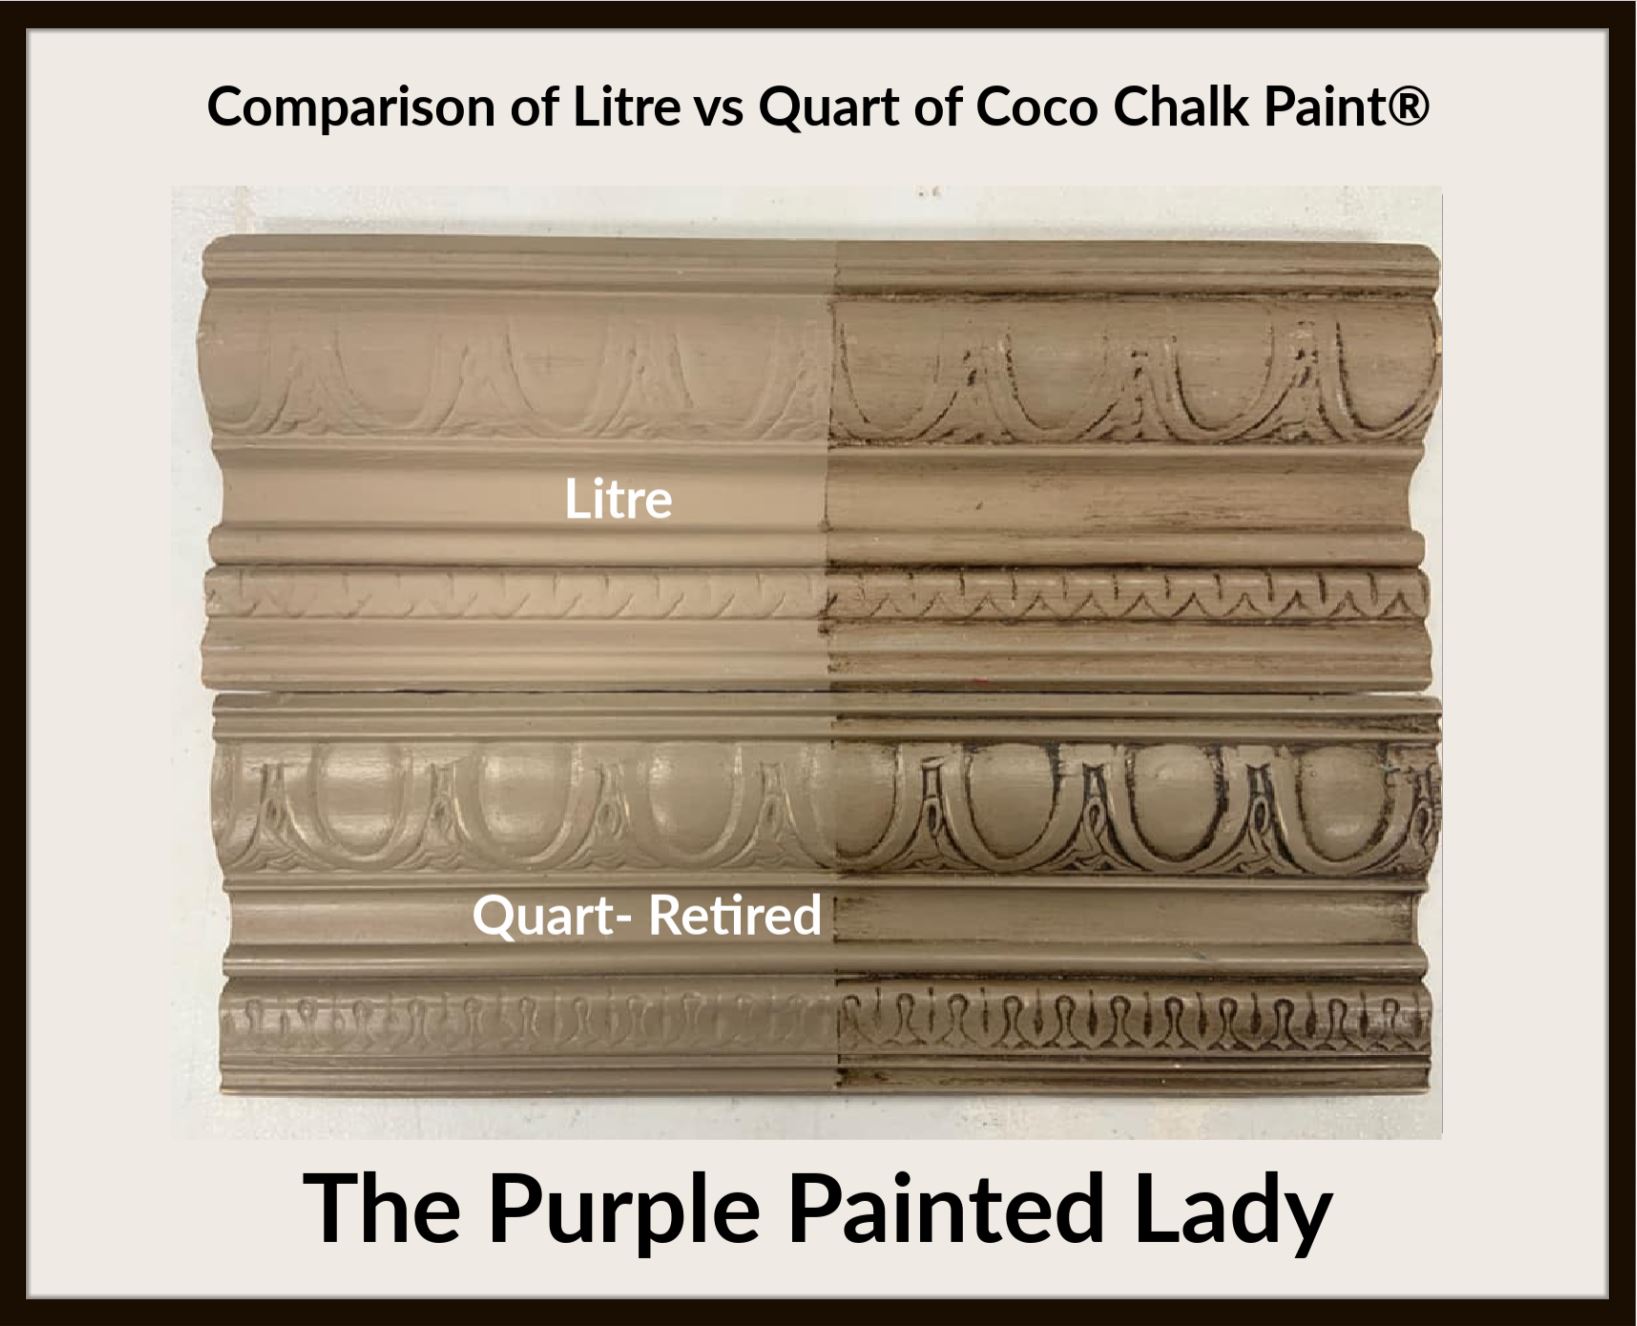
A quart of Chalk Paint® will roughly cover about 150 square feet. So take your total amount of square footage and divide by 150. The number from this calculation will be how many quarts of paint you need. And always error on the side of an additional quart so you have enough for your project.
* I want durability- will this paint work?
ANSWER: Yes! Chalk Paint® is extremely durable and when you finish the paint with the wax- it becomes even harder. Something I suggest to my “kitchen Cabinet” painting customers is to apply a uniform – thin even coat of paint and then wait 24 hours before painting the second coat. There is a lot of science that goes into paint products in general. In the first 24 hours- the paint will really bear down and tighten its grip to the surface. I was once told to think of the paint molecules as floating around with space between them, then as it dries over that first 24 hours- the space between them gets smaller and the paint gets tighter against the surface. Allow science to do its thing and for the first coat of paint to have 24 hours.
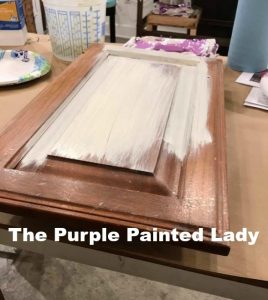
* What is the process when it comes to painting cabinets using Chalk Paint®?
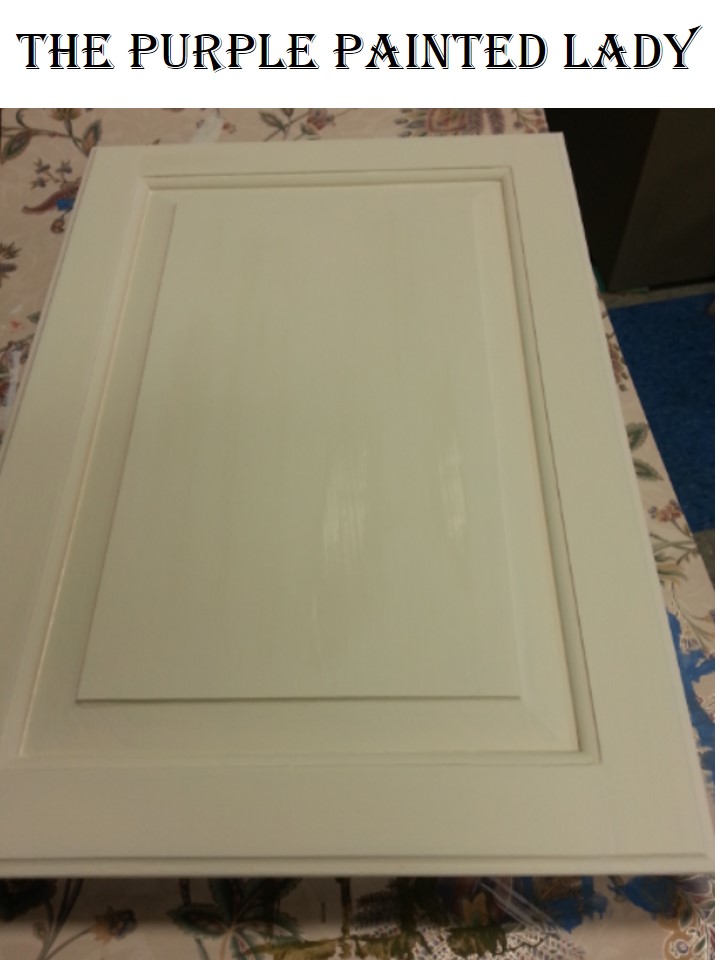
ANSWER: If you are looking for texture, use the Chalk Paint® directly from the quart in the consistency it is made in. However, if you are looking for a more traditional smooth finish, consider applying your first coat directly from the quart. Once the first coat is dry, pour some of your Chalk Paint® into another container and add some water to thin it. I would say add about 10 to 15% water in comparison to your paint. Use a cheap measuring cup so you can easily reproduce this thinned mixture. Apply your second coat of pant with this thinned Chalk Paint®. This will allow to get a smoother finish and it will even stretch your paint a bit.

* Can I paint the cabinets outside in my garage?
ANSWER: Maybe! You should only paint pieces, cabinets or any furniture for that matter if it is at room temperature consistently. The same goes for all of your paint products. Never let them freeze or sit in a 100 degree garage. Temperature will effect your products. This recommendation applies to even while they are drying, curing and the time in between!
A space heater is not adequate and definitely not sufficient if only being used while you are in the workspace.
The best thing to do – is set up a painting area in the house where you know the temperatures will be within normal range consistently and that there will not be any excessive dust.
* Should I paint the inside of the cabinets?
The answer to that is really totally up to you. I always paint the back of the door, but not always do we paint inside the cabinet box. It will add more time and cost to the project and many people are fine with leaving them as is…so consider what is best for you. Consider though when it comes to the resale of your home- having the inside of your cabinets finished nicely is a plus!
* What type of brush should I use?
We recommend using a natural bristle brush. Annie Sloan has amazing brushes available-but I still like to use a 1.5 inch Purdy brush that has an angled brush. These are very nice if you are “cutting” an edge.
* How many coats of wax do you recommend?
I always apply two coats of wax on cabinets that I am doing. Three if I need to add a dark wax glaze.
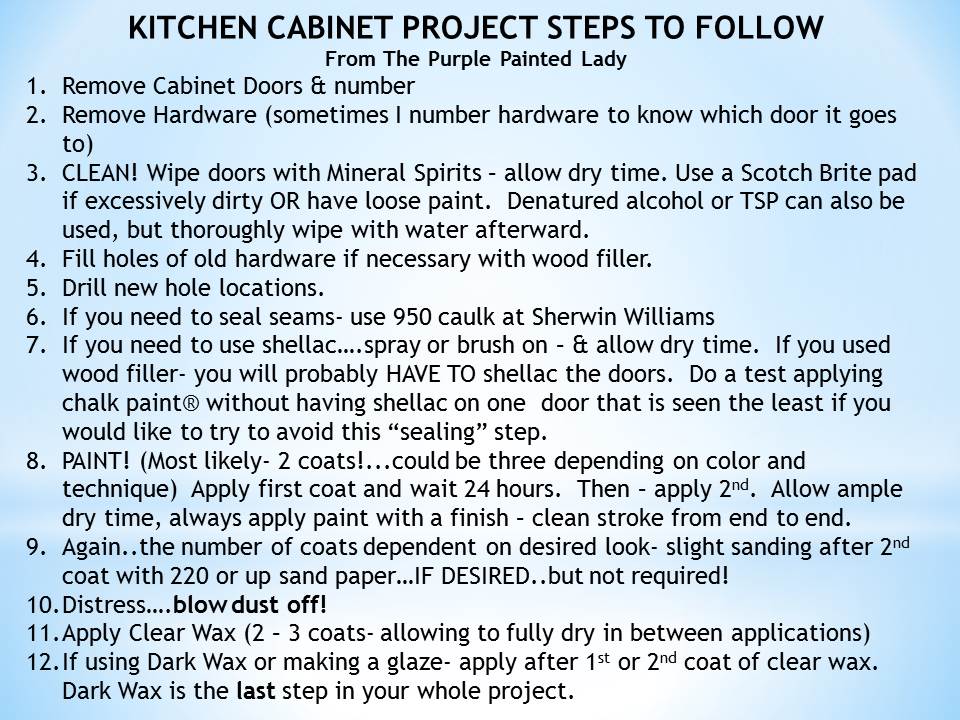
Here is some additional high level information / steps to reference if planning on doing your kitchen.
Lastly- please consider using The Purple Painted Lady if needing to purchase your chalk paint on-line.
Thanks,
Trish


 again….rewetting and rinsing the rag periodically. When using the odorless mineral spirits or the rag with freshwater, neither should be dripping wet!


 kind) on a rag to wipe the doors off. I literally, flip the bottle of Mineral Spirits over a couple times to moisten a rag (it is NOT dripping wet!) You can use an old towel, Blue Scott Shop Towels to do this…it does not matter.Think like how you get a cotton ball moist when using nail polish remover. Wipe the door down thoroughly. This will help remove any grease, grime, dried splattered food, dog drool, kids greasy finger prints, crayon, etc. (I could go on and on in regards to what I have scene on cabinets, but for the sake of your stomach and time- we will skip that!)
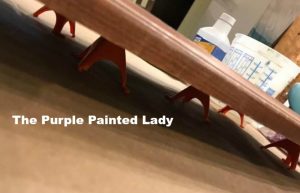 or old books. Anything that can lift the door up so you can get a clean stroke on the edges and the paint cannot pool and seal the cabinet to your flat work space. I like one in each corner and one in the middle.
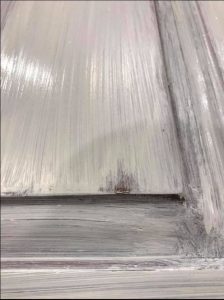
 8. Once the paint is dry, I then distressed my edges and corners. (This is NOT required, but I wanted to do it.) I used my Annie Sloan Medium and Fine sanding sponges. Keep in mind- these are totally reusable, so when the sanding side accumulated dried paint in the crevices of the grit, I just rinsed them and then squeezed excess water out and continued using them. I also used the FINE Annie Sloan Sanding Sponge to lightly “polish” my Chalk Paint® in some areas.