I have a good friend and her name is Janet. She is a modern day Renaissance woman. Seriously, there is not much she cannot do! She is also a professional artist. You can find her on Facebook or on Youtube. She is always painting for others but she recently painted her whole dining room and it turned out so beautiful, I want to share it with you all.
Janet shared, ” Stick a fork in me, I’m done!”
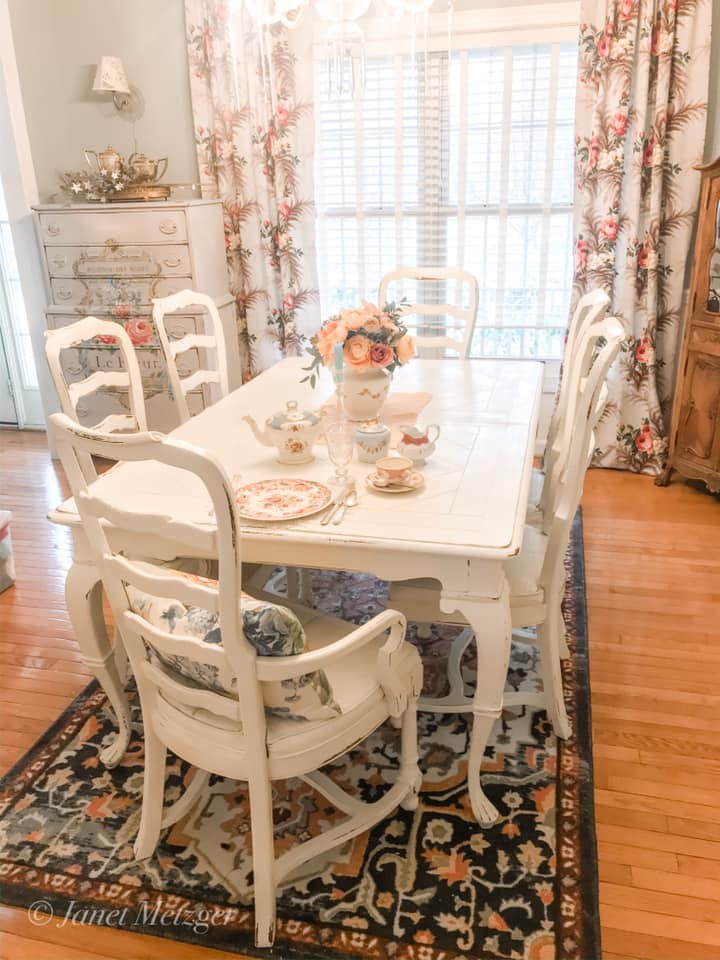
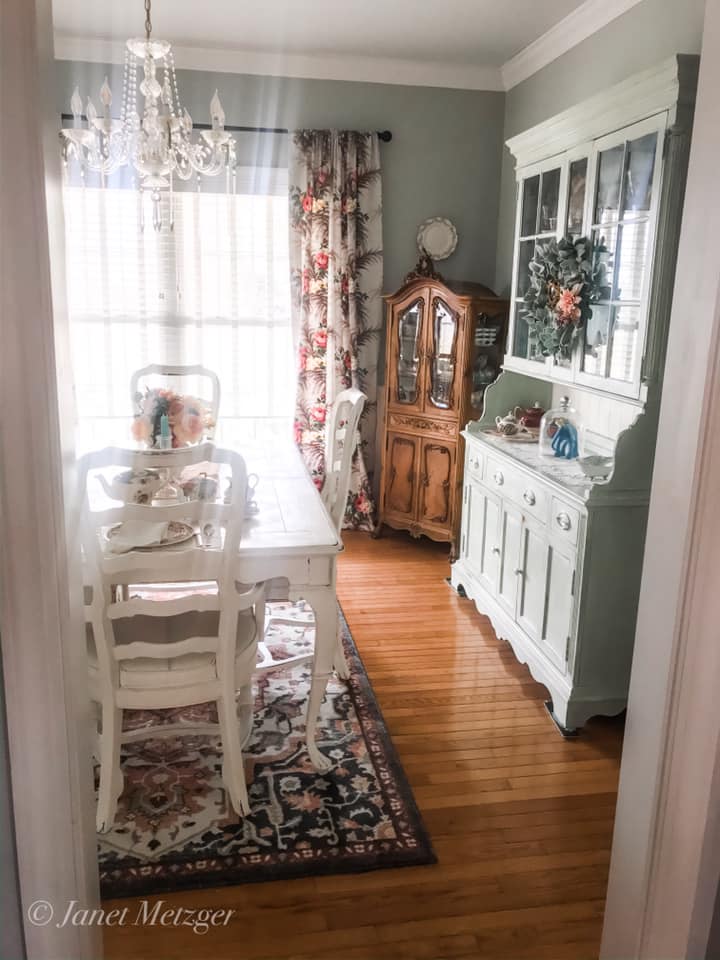
“OK, so let’s talk about what I did to update my dining room. My dining room is a very small room and for years I’ve always thought it was just is too dark. There’s only one window, although it’s large, and it gets a little afternoon sun. So most of the day it’s pretty dark in there.
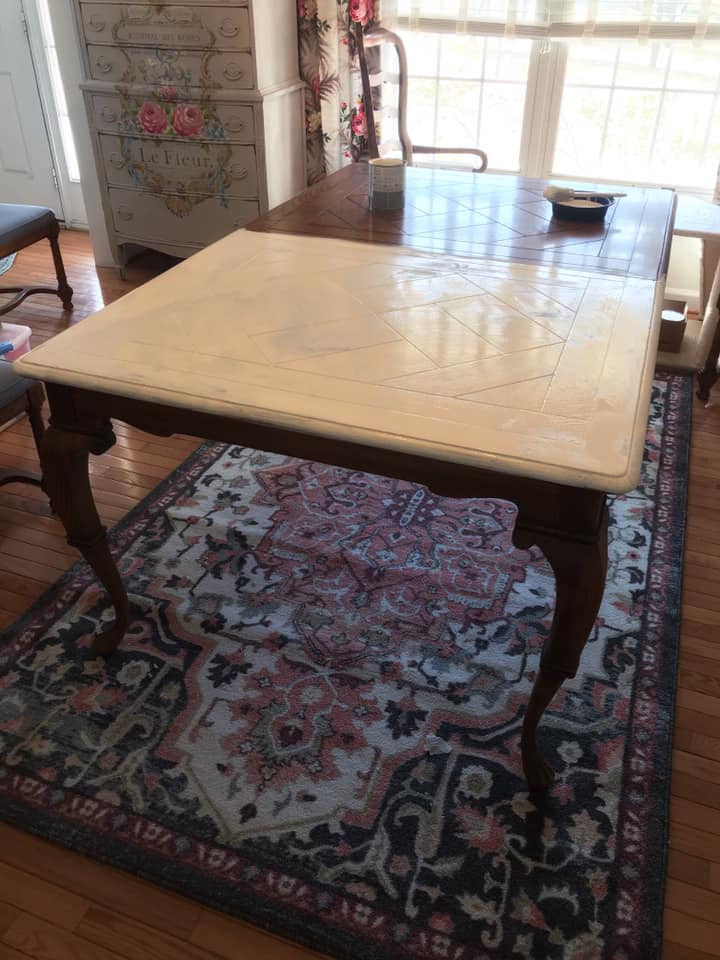
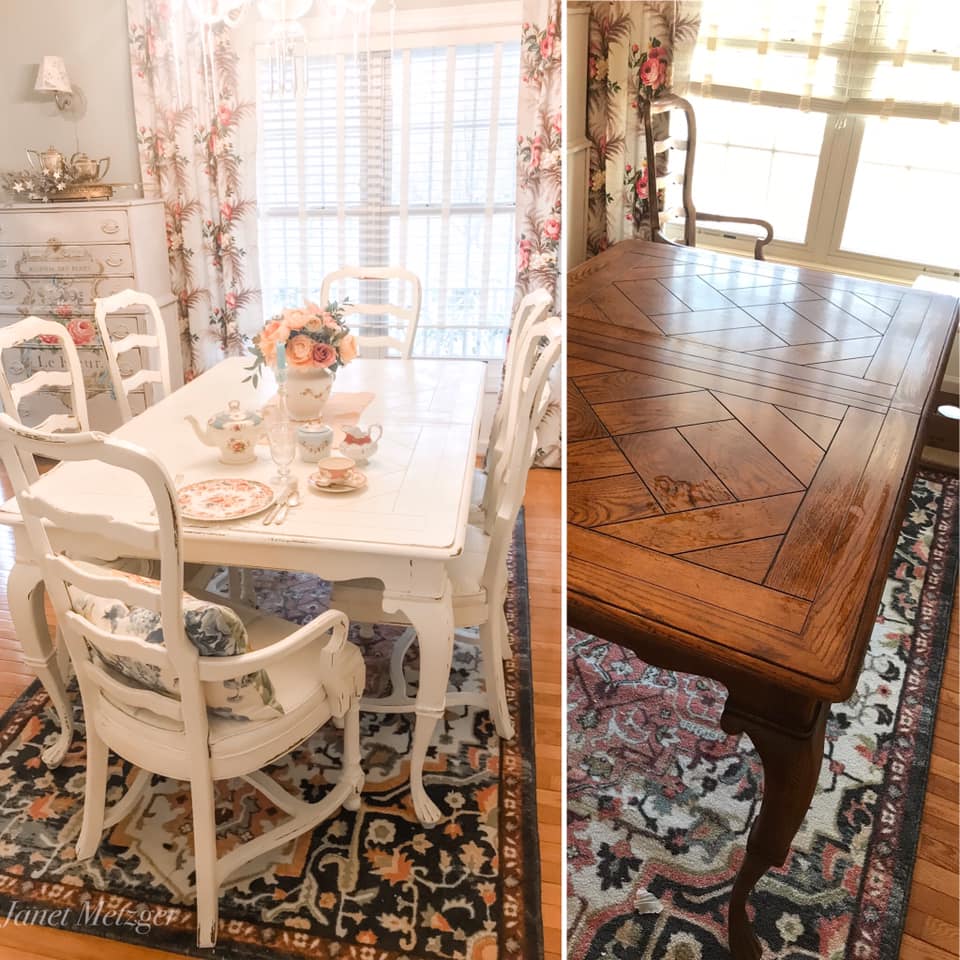
First let me say this is not a valuable antique table. My table is from the 1990s, it is oak and made by Drexel. It was a yard sale find years ago when I lived in Texas.
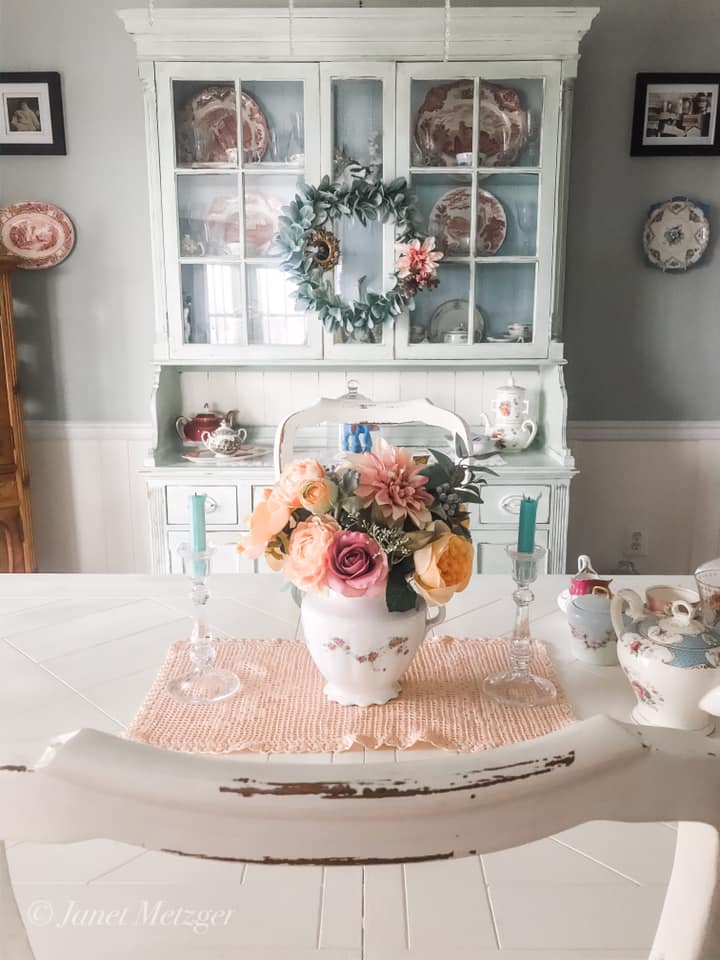
If you follow me, you know that about a week ago I painted an oak cupboard that’s in the same room. I lightened it up and gave it a pretty Swedish Gustavian vibe. Of course the moment I stepped back I looked at my cupboard I knew I had to paint my table and chairs.
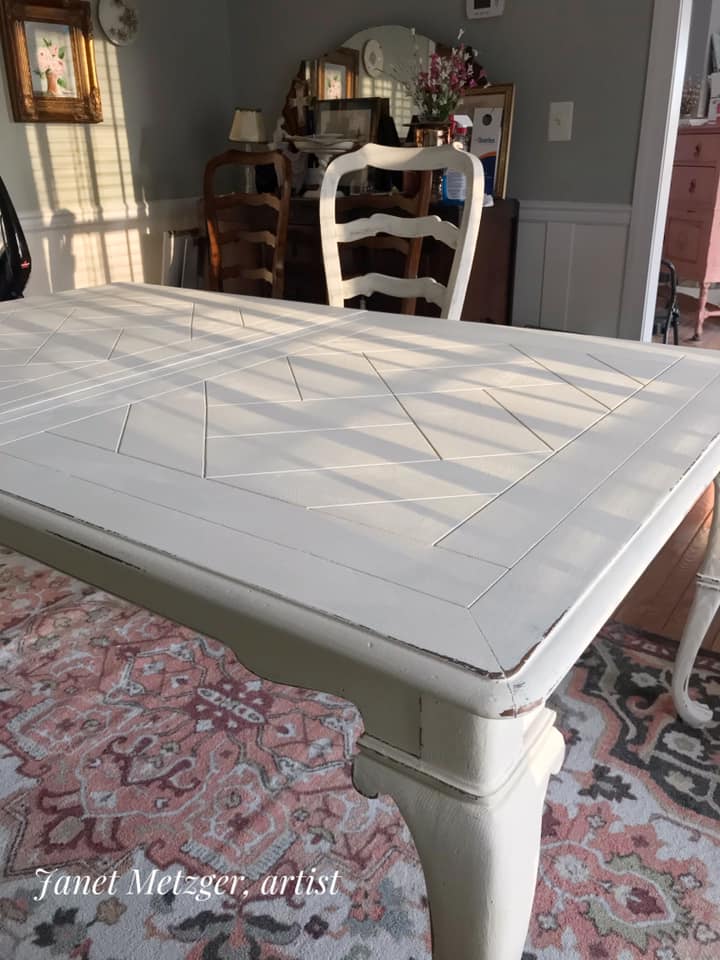
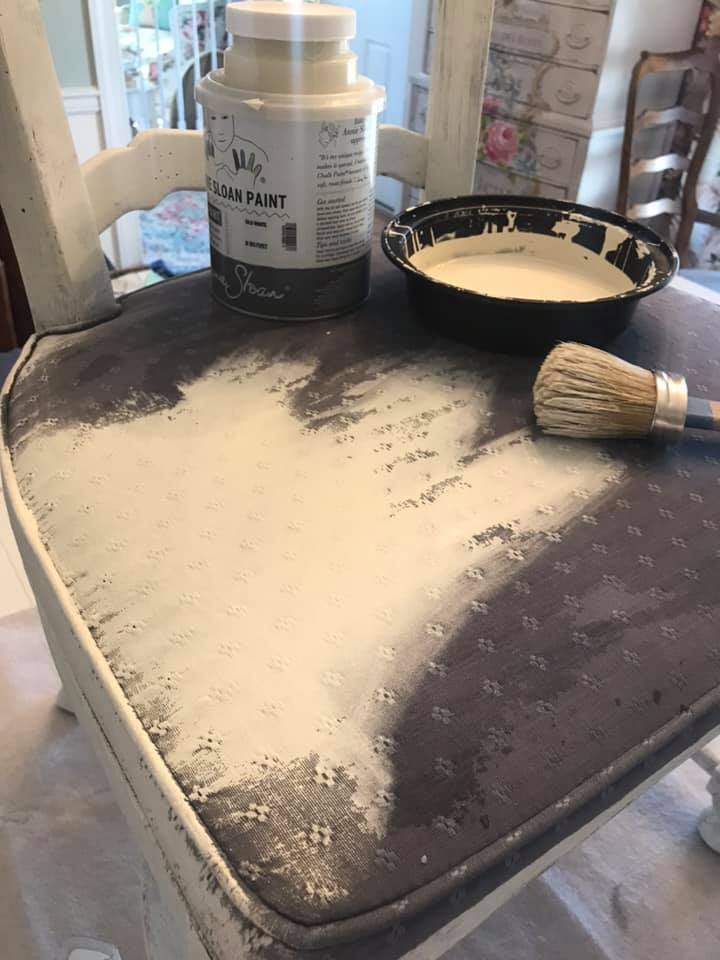
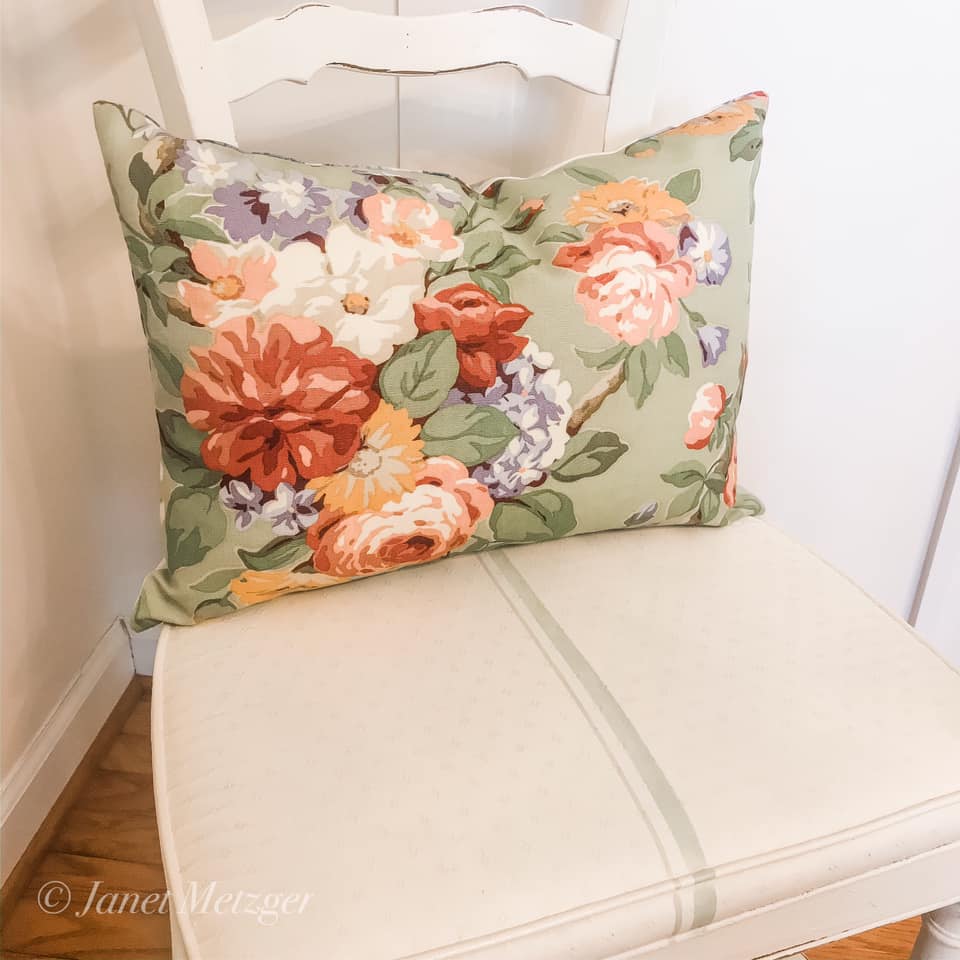
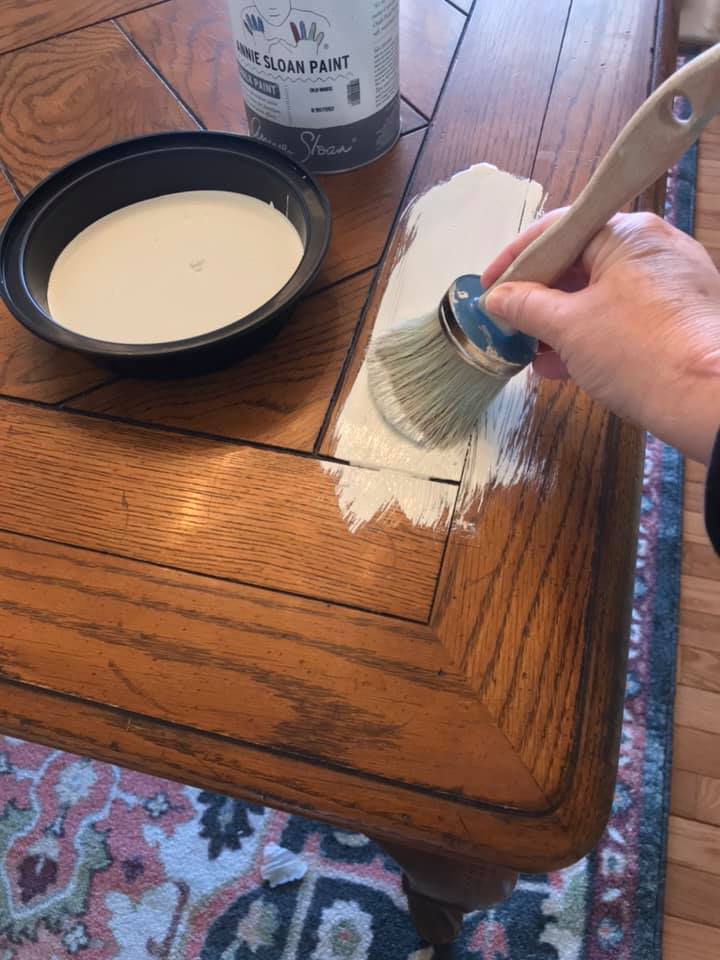
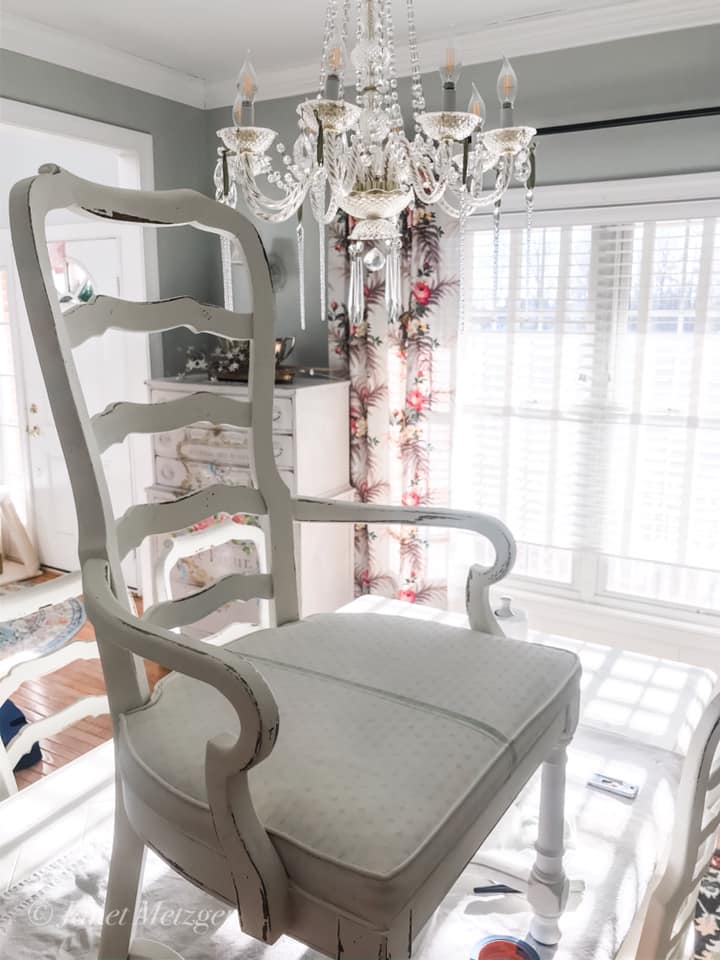
I wipe down all the pieces and then proceeded to paint two coats of Old White Chalk Paint® by Annie Sloan using my Small Annie Sloan Paint Brush on everything, yes even the fabric!
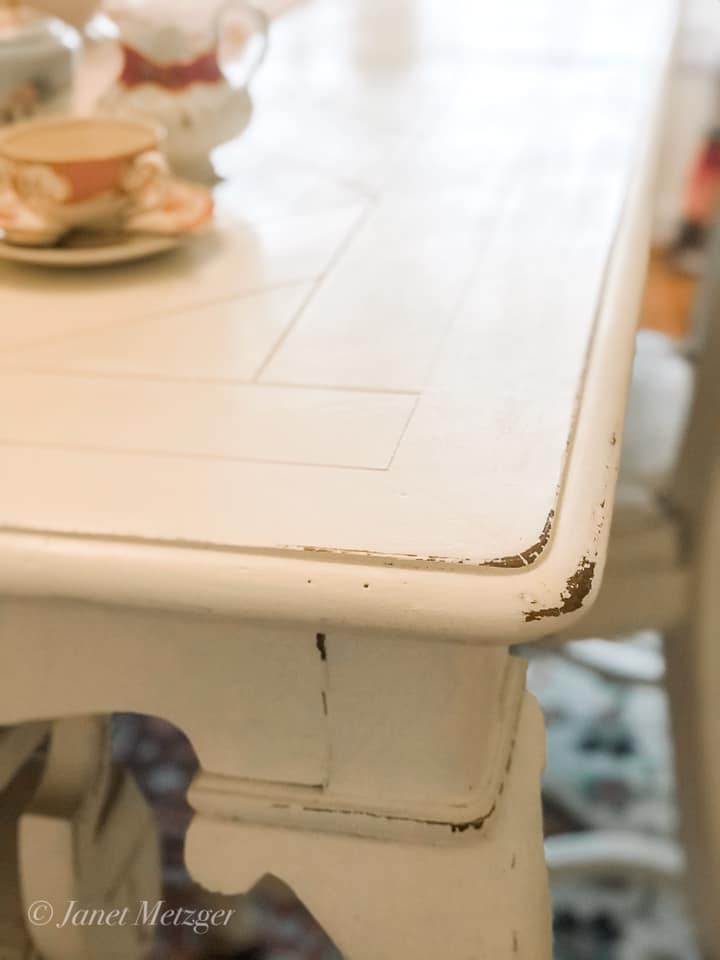
I lightly distressed everything with my trusty straight edge razor just add pressure points from where the body would touch or where the table would be handled over the years.
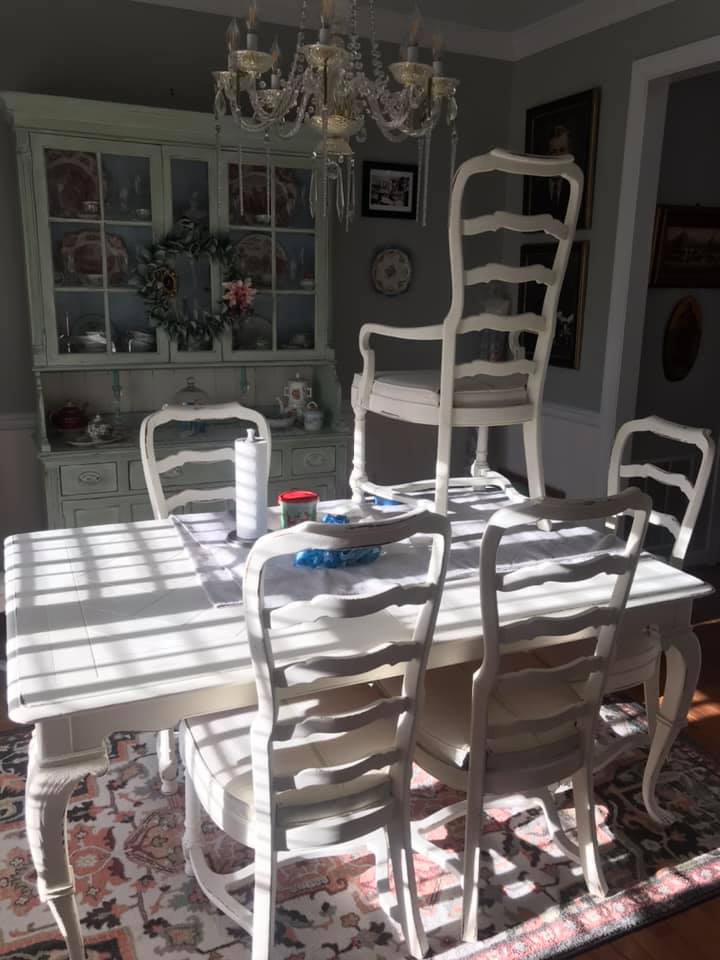
Using some of the leftover custom green from my cupboard project, I painted French ticking stripes on all the seats. Taking stripes are my go to design when I want a little something and I don’t want it to clash with other patterns in the room. You can paint them freehand or tape them off with blue painters tape. The key to getting a nice stripe is to use very little paint, in fact almost no paint on the brush. Too much paint and the stripe would bleed underneath the tape.
On day two I took my can of Annie Sloan Clear Chalk Paint Wax and applied one coat on the chairs, the fabric seat cover and the whole table. Over the next few days I will apply two more coats of wax, waiting 24 hours in between applications, on the table top only. That way I’ll have a nice protective finish on the top which can be easily repaired in the future should there ever be any damage to it.
And that’s it, she’s all done! I can’t tell you how lovely it was to walk downstairs this morning and see this light and pretty table in my dining room after years of so much dark wood. I know this look is not for everyone, I get that. But for me, during this time in my life, it’s absolutely what I yearn for. Clean light and bright.
The thing I love about what the paint did for my table, is that the parquet, which I’ve never cared for, is very much toned down when you look at the table. You don’t notice that, where before that is the first thing you noticed.
I know it’s daunting to look at big projects like this and put them off, I did it for over 20 years. But just get started and once you see the transformation happening it’ll give you that boost to keep going. Is this a big project, yes of course. But is this a hard project, absolutely not. I used one can of Old White and a half a can of clear wax. So basically with about $75 worth of products and a little elbow grease I got a whole new dining room, not a bad investment😉
The Purple Painted Lady