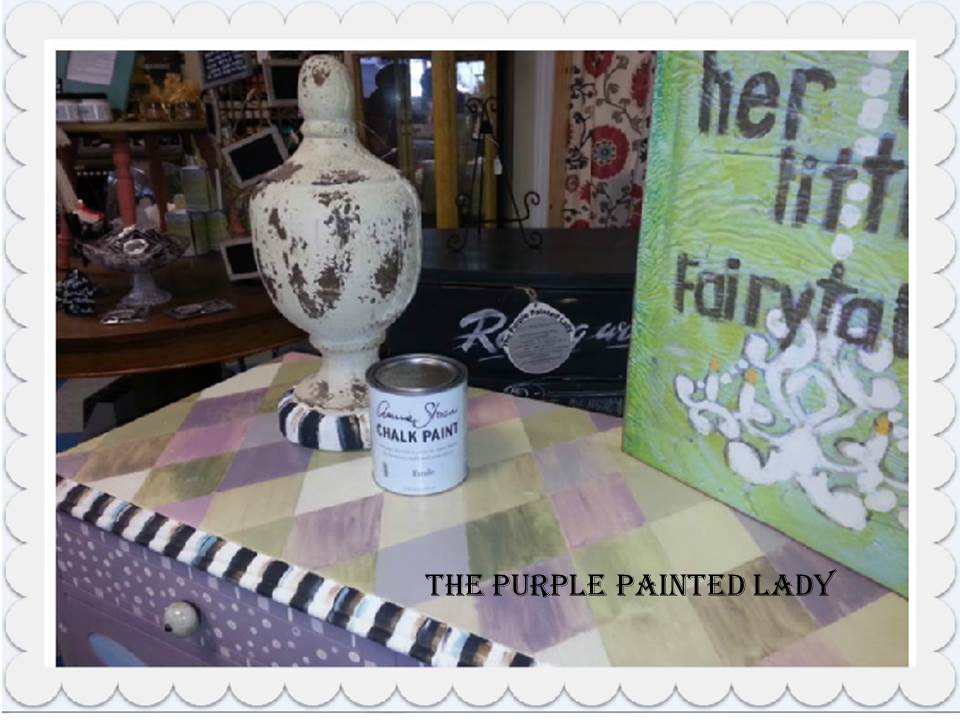
It was an adorable little dresser that I painted in many Chalk Paint® decorative paint by Annie Sloan colors: My color choices? Well…..I was a bit indecisive so I selected Paloma, Old White, Country Grey, Versailles, Emile, Henrietta & Old Ochre.

There are many reason why I love Chalk Paint®…one of them is the ease of use of the paint. It is exactly like how Annie Sloan describes it – it is a kind paint. First of all- it is super easy to apply. And – the process is super quick. All I did to “prep” this piece was wipe it down with some Odorless Mineral Spirits and I shop vac the drawers out. I started by painting the top in Annie Sloan Chalk Paint Old White..which took a whole 5 minutes.

There was specs of dark “stain” on the top…and the Old White covered it all. Next I started to paint the body of it in Annie Sloan’s Emile- which is a beautiful warm soft aubergine color with pink red undertones giving it a rich complexity that makes a sophisticated lilac tone. I LOVE this color!!!!! I started the whole process at 11:03 am and finished painting the entire skeleton of the dresser within 15 minutes. (Now keep in mind- my store is open on Saturdays and I am doing this all the while I have visitors.) I didn’t use anything fancy to paint the dresser – in fact- I used one of my handy old brushes.

Here are a few suggestions that may be helpful for you.
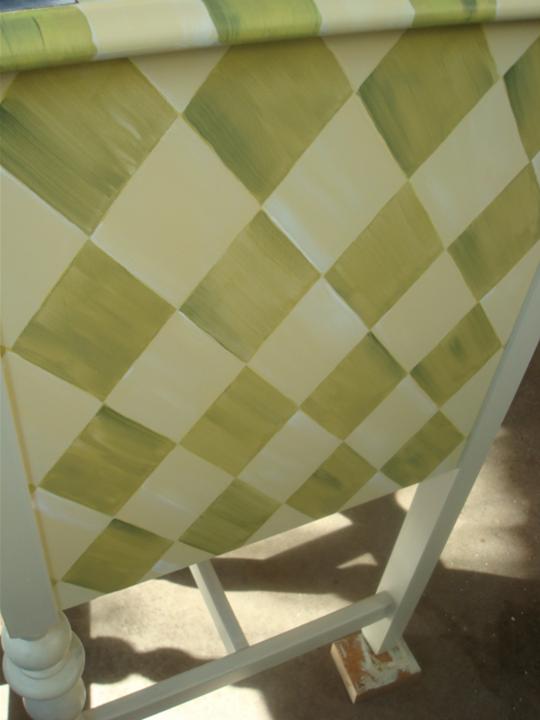
1. I always put whatever I am painting, up on scrap blocks to elevate it off the floor. You can see my blocks in the photo above. It will make painting the ends of its legs easier, especially if you have a drop cloth on the floor. For some reason- drop cloths always bunch UP and get in the way of painting.
2. If you paint pieces to sell or if this is for your home…please don’t forget to paint the back of it. I like to use the analogy that when a woman goes to the hair dresser she still gets a cut & color on the back of her head…even though she cannot see it. The same applies to furniture. And this includes painting inside the drawers. By putting in this little extra effort – it gives the piece double duty in case you want to use it to divide a space in a room or, depending the size of the dresser, if it is small enough, place it at the foot of the bed. The back can be kept the same color, or use a surprise color! But definitely paint it. A piece that is painted all the way around – conveys that it has more value and commands a higher price)
3. That whole surprise color idea- applies to inside of the drawers too. Use a fun accent color for a bit of whimsy. Or- if this is for your teenage daughter who insisted she wanted her walls of her painted in bright neon orange, but you compromised on a different color- use the orange in the drawers! She will love it!!! Annie Sloan likes to refer to this surprise color inside as, “Quiet Riot.” I think that is so cute!
REMOVE THE HARDWARE:
Now I know we are all in a hurry and time is of the essence- but go to the effort and take the knobs off the drawers as shown below. It will make painting much easier- and besides- now you can decide to use the existing knobs or purchase new ones without the worry of having to match the shape and size. Also, you won’t have the existing hardware painted on- which prevents switching them later. Seems elementary, but thought I should write it.

CREATING A TEMPLATE:
I personally like to create a template and then a simple grid…and map out my diamonds.
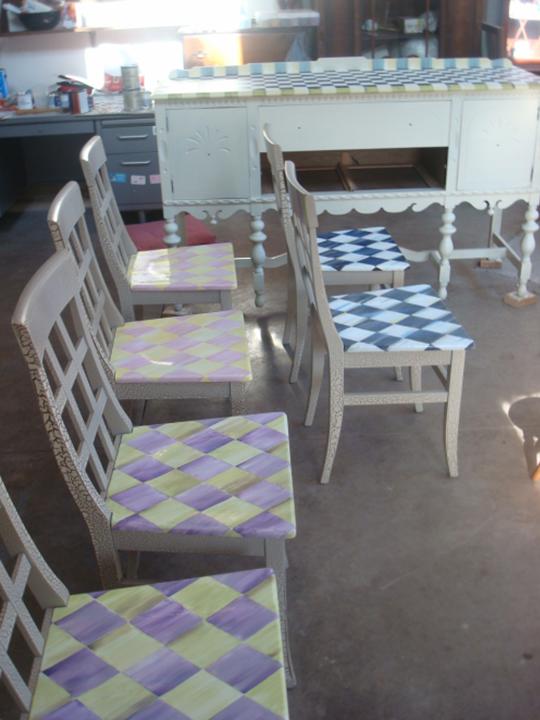
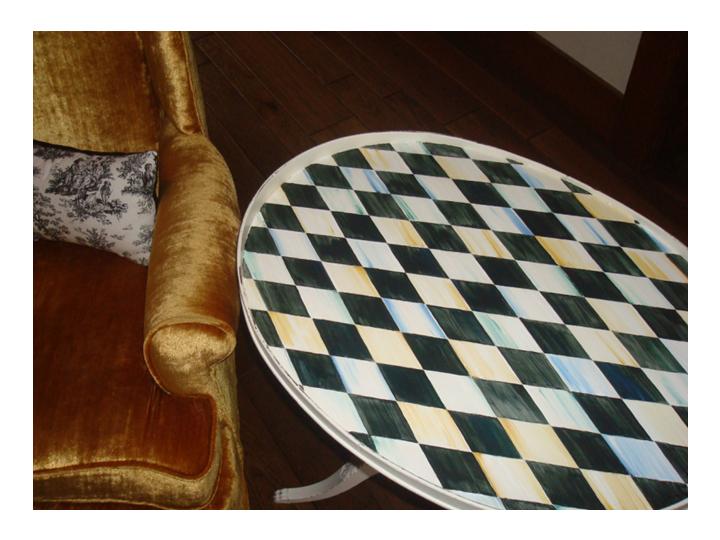
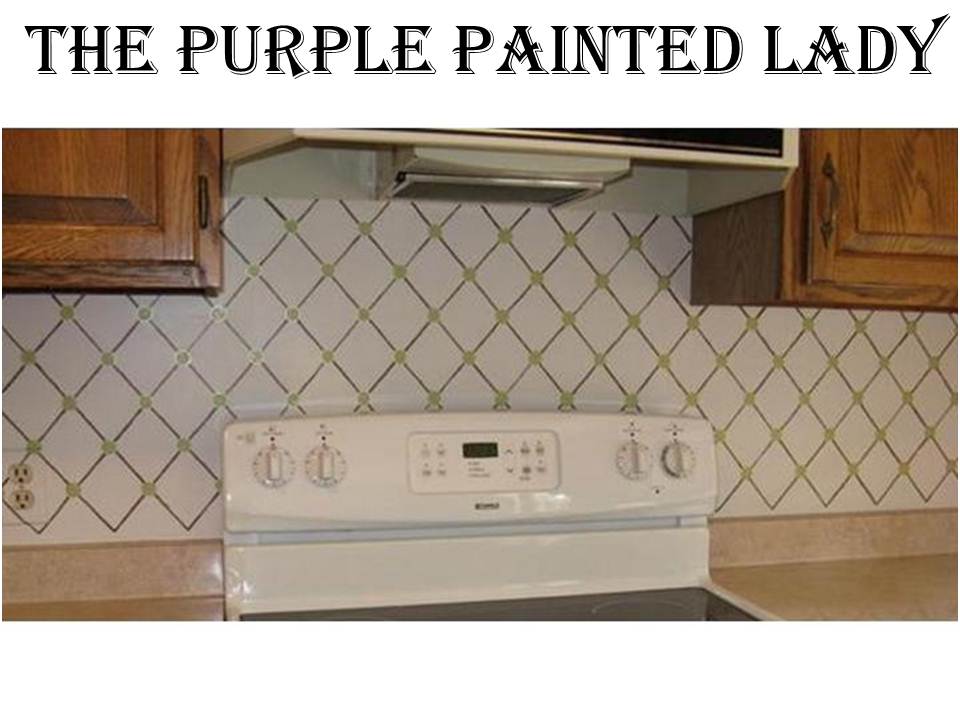
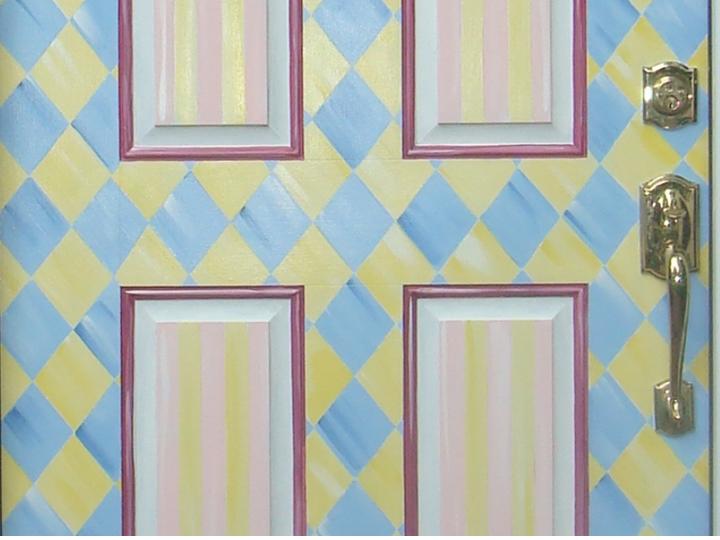
This process works great on dresser tops, the side of dressers, on buffet doors, front doors, seats of chairs, FLOORS!…..you name it! Keep reading below and you will understand!
To begin this “harlequin” step, first I determine what size I personally think would look good for the diamonds. I take a ruler and place it from the front to the back dresser and measure the depth. From here – I decided that three FULL diamonds or close to it would look best.
HELPFUL SUGGESTION:
When doing a layout of diamonds- personally I do not like seeing a diamond pattern on a piece of furniture where the diamonds are not centered and one side of the pattern is cut off,
OR
The last row of diamonds is cut off in half, but all other rows are full diamonds. This looks very…amateur to me. (I apologize- if that offends you, but that is really what I think when I see a poorly planned pattern) So, take the extra minute and plan out your pattern. Measure twice, so you can create a layout that looks cohesive and professional on the first attempt.
Take the measurement using a ruler and divide it by 3. (Find your old yard stick – and just make sure that the ruler is not bending or warped)
Next, I created a template using card stock or some heavy paper. I mapped out my diamond, draw the shape using a pen, and then cut the shape out. I like to leave the lines visible inside my cut edge.

I then find the center point on top of my dresser and using water color pencils – I draw my lay out. Remember that watercolor pencils will blend once wet- so make sure to use a color lead that is similar to the color you plan on painting. Why is this helpful? Well, if you are doing a layout and plan to paint pink diamonds on a white base- choose a light pink watercolor pencil. Once you paint over the pink lines- they will blend in perfectly with your design, versus the grey from a graphite pencil.
So, just in case you missed what I was trying to stress above…..never use regular lead / graphite pencils since the lead smears and is difficult to cover. And although Chalk Paint® has wonderful coverage qualities, keep it easy for yourself – and do not use your kid’s school pencil. The Graphite pencil is a very stable material. It does not fade in light. It does not bleed in water unless other dyes are added and for other reasons, lead from “traditional” pencils can just be messy.
WHERE TO BUY WATERCOLOR PENCILS:
I typically buy my watercolor pencils from Hobby Lobby or Michael’s Crafts, but I think you can find them at WalMart too.

How I approach this is that I make a grid to find the center point easily. I place my “diamond” template centered on top of the dresser and begin my layout always using either a watercolor pencil (some people use a piece of chalk- but I don’t – they tend to smear a little)
Again…I suggest to not use your run of the mill lead or graphite pencil because depending on the paint you are using- it can be a bear to cover and the lead will smear in you paint and alter the color.
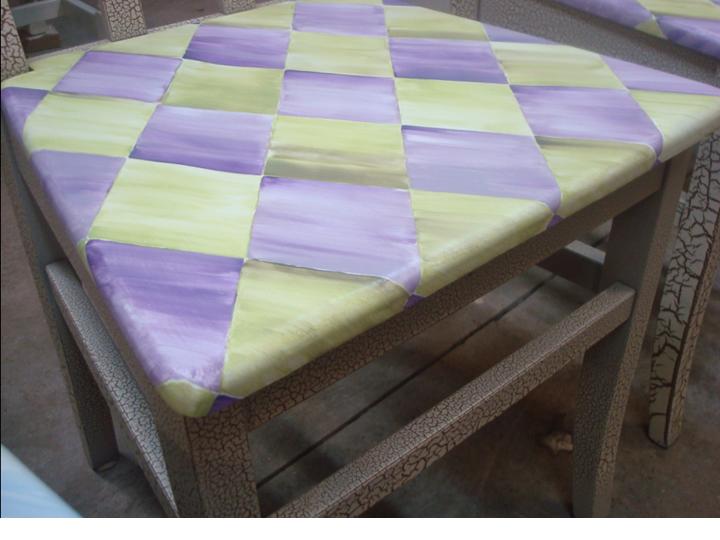
When I painted the diamonds in using about 6 different colors- to get more interest- I would thin out the paint- almost to a “wash” consistency just to get variation in hue and depth of color. It gives the piece more of a water color feel. I personally- like to make sure that the brush strokes always go in the same direction. Also- use a “Flat Bristle” artist’s brush. Click HERE to see an example of some at Hobby Lobby.

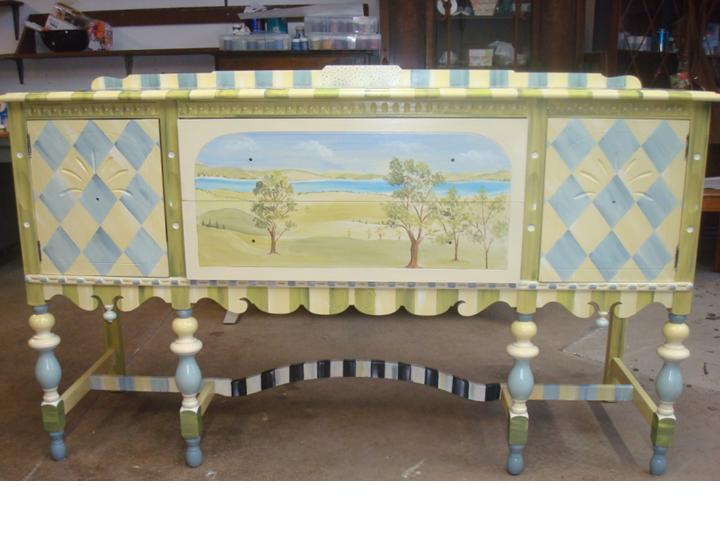
When I was doing all of this – my shop was open and I had multiple paint sales and people coming in with questions about Chalk Paint®. So- I did not finish the piece that day. Below are some additional photos of how it looked through the progress. I painted out the front panel on the drawers in a cream because my next step after finishing the harlequin pattern was to add a pretty landscape of one of our beautiful NY Finger Lakes.


For this project- I used my Chalk Paint® by Annie Sloan as if I was painting with water colors. I mixed the paint with water to give it a soft, muted effect. To do this, I will use a picnic styrofoam plate. This allows me to put paint in one section, water in another- and then I will use the remaining compartments to mix water in different amounts to get a different degree of the color.
Visit our Facebook page HERE – we would LOVE to hear from you!
BUY PRODUCT FROM THE PURPLE PAINTED LADY™:
XO
The Purple Painted Lady™ ~ the serial no. is 86/641,416 with the US Trademark Office
Tricia Migliore Kuntz ~The Purple Painted Lady ~
Design/Consulting, Kitchen Cabinet Refurbishing, Custom Painted Furniture, Chalk Paint® & MMS Milk Paint Retailer & herRochester Blogger
PHONE: 585-750-6056
Come visit us:
At our MAIN STORE at 77 West Main Street in Macedon, NY 14502 OR
STARTING JULY 1st, 2015 ~ 650 South Ave. in Rochester, NY 14620 OR
3200 West Ridge Road in Rochester, NY 14626 (The Shops On West Ridge) OR
Our Syracuse, NY location at 1 West Genesee Street in Baldwinsville, NY 13027
Please LIKE me on Facebook! http://www.facebook.com/pages/The-Purple-Painted-Lady/291882785710
Check out our website and online store! http://www.thepurplepaintedlady.com/
(How did I get that business name you ask?……I started the business in my 1885 purple painted Victorian – and I LOVE to paint – so the business name just fits perfectly!)